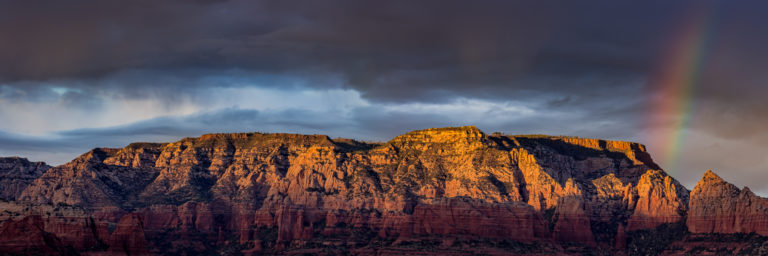
It can be hard to get skies looking bold and beautiful when the natural scene you had to work with wasn’t ideal to begin with. We went live with Visual Flow Ambassador Rey Benasfre in our free Facebook Group to talk about how he gets epic skies and clouds in his photos with the help of our Visual Flow Crush Pack and Retouching Toolkit and Luminar’s Sky Replacement Tool. Learn more about Luminar 4 and use code SLRLOUNGE for an additional $10 off!
1. Underexpose the Sky & Light Your Subjects
There are times when the sky acts as a third subject in images, taking up a dominant presence in the frame and therefore requiring more attention or specific settings to yilef the greatest result. Rey suggests to underexpose the sky and use a light to illuminate your portrait subjects to best expose for all the detail in the image. He loves using Soft Light or HDR from our Crush Pack to then bring all that information out in vibrant detail.
2. Sky & Clouds Retouching Local Adjustment Brush
With Lightroom’s Local Adjustment Brushes we are able to fine tune and emphasize certain aspects of our photos to get to a final result that packs more of a punch. When working with images with beautiful and colorful skies and clouds, Rey uses the Sky & Clouds Brush from our Retouching Toolkit or the Graduated Filter with the Sky & Clouds Brush Preset applied.
3. Swap Out the Sky with Luminar 4
So what do you do when you’re working with a plain blue sky and no clouds? Although bringing an image into Photoshop is an option, it does take quite a bit of finessing and experience to accomplish it. Rey loves using the Sky Retouching Tool in Luminar 4 to swap out boring skies with no detail to give the image the grand vibe it deserves. (use code SLRLOUNGE for an additional $10 off)
Learn more about Rey and see his work using our Visual Flow Preset System in his Artist Feature. Stay tuned for more live videos and tutorials, tips & techniques from our Visual Flow Ambassadors exclusively in our free Lightroom Facebook Group.


