When you think about tilt-shift, we often think about complicated lenses that we need to learn how to use properly, followed by an equally complicated editing session in post. Well, today I’m here to help you save your money and space in your camera bag. How? Well in today’s video we’re going to show you how you can create a convincing tilt-shift effect in Lightroom quickly and easily!
How To Do Tilt-Shift in Lightroom
Today, we’re going to show you a little more from our Mastering Lightroom Workshop using the power of Graduated Filters and the Visual Flow Presets to simulate the effect of a Tilt-Shift Lens in your images.
Step 1. Press “M” to get to Graduated Filters
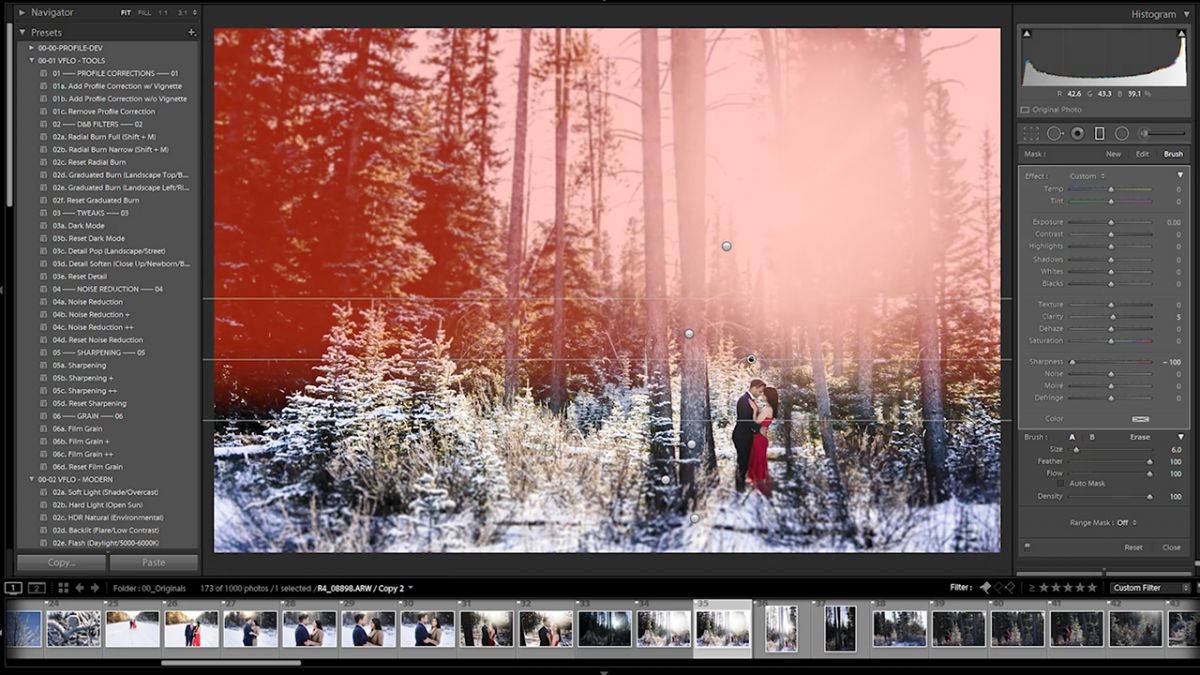
Pick a color graded (already edited image) from your library and open the Graduated Filters in Lightroom by pressing “M” while in the Develop Module. This is the first step in how to do tilt-shift in Lightroom. If you have the Visual Flow Presets you can jump right to the Bokeh preset (61a) to make things quick and easy, but if not, it’s still an easy solution! You’re just going to dial your sharpness down to -100 and then add 5 clarity.

Hold shift and then click & drag this “preset” across your image and you’ll notice a blur where it’s being applied.
[Related Reading: How to Import Photos Into Lightroom Classic CC and Create a Standard Import Preset]
Step 2. Apply the Bokeh Graduated Filter In Stages
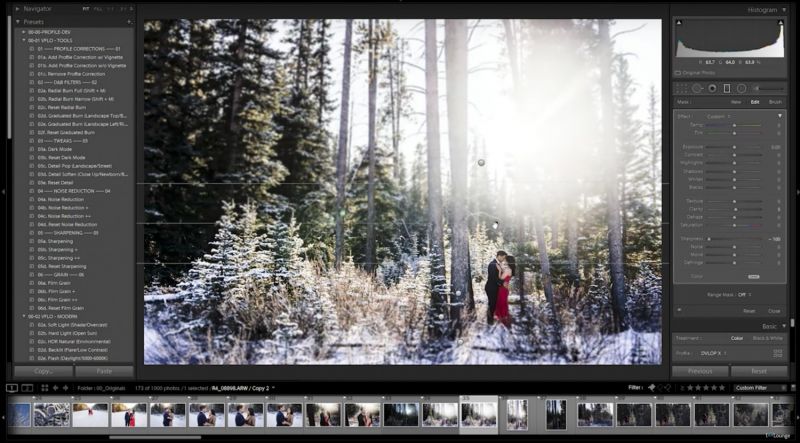
What I like to do to make this look a little more convincing, is to apply it in stages, by adding several “layers” of the graduated filter and feather them over one another. (Note; past 2-3 applications you won’t see any difference in your image). What this layering effect does is it smoothes out the area between where the look starts and stops.
Step 3. Use the Brush Option to Clean Up Your Mask
Now that we’ve layered up our Bokeh Graduated Filters, it’s possible that the blur has now been applied to an area we don’t want it, like our subjects faces or bodies. To fix this we can simply select the Brush option under the Graduated Filter window and check the Pin for the filter we want to adjust. Then just hold down ALT or Option and paint it off of the area you want to remain sharp.
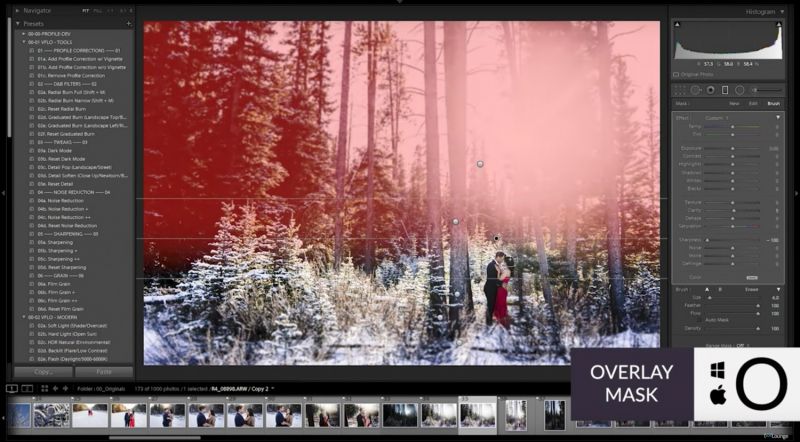
Then we can press O to look at our mask and ensure that our couple and any other areas that need adjustments are clean in the frame.
Step 4. Lost Your Pins? Don’t Worry!
Sometimes when editing with multiple tools and filters in Lightroom, we can lose sight of our Pins in the frame. If this happens, you can simply hit the H key to toggle (hide/reveal) your adjustment brush pins.

[Related Reading: Complete Guide to Engagement Photography – 10 Tips & Tricks for Better Photos]
Step 5. Bonus Tip – Start With An Image Where Most Everything Is Already In Focus
To help make sure that this look is convincing, is to start with an image where everything is in focus already. If the image already has a lot of bokeh in the background, the effect won’t really be all that convincing. So, if we’ve selected an image that has the entirety of the frame already in focus, once we’ve added our graduated filters, when we zoom in and look left to right on the “line” where our subject is, the whole line should be sharp and in focus just how a tilt shift would be.
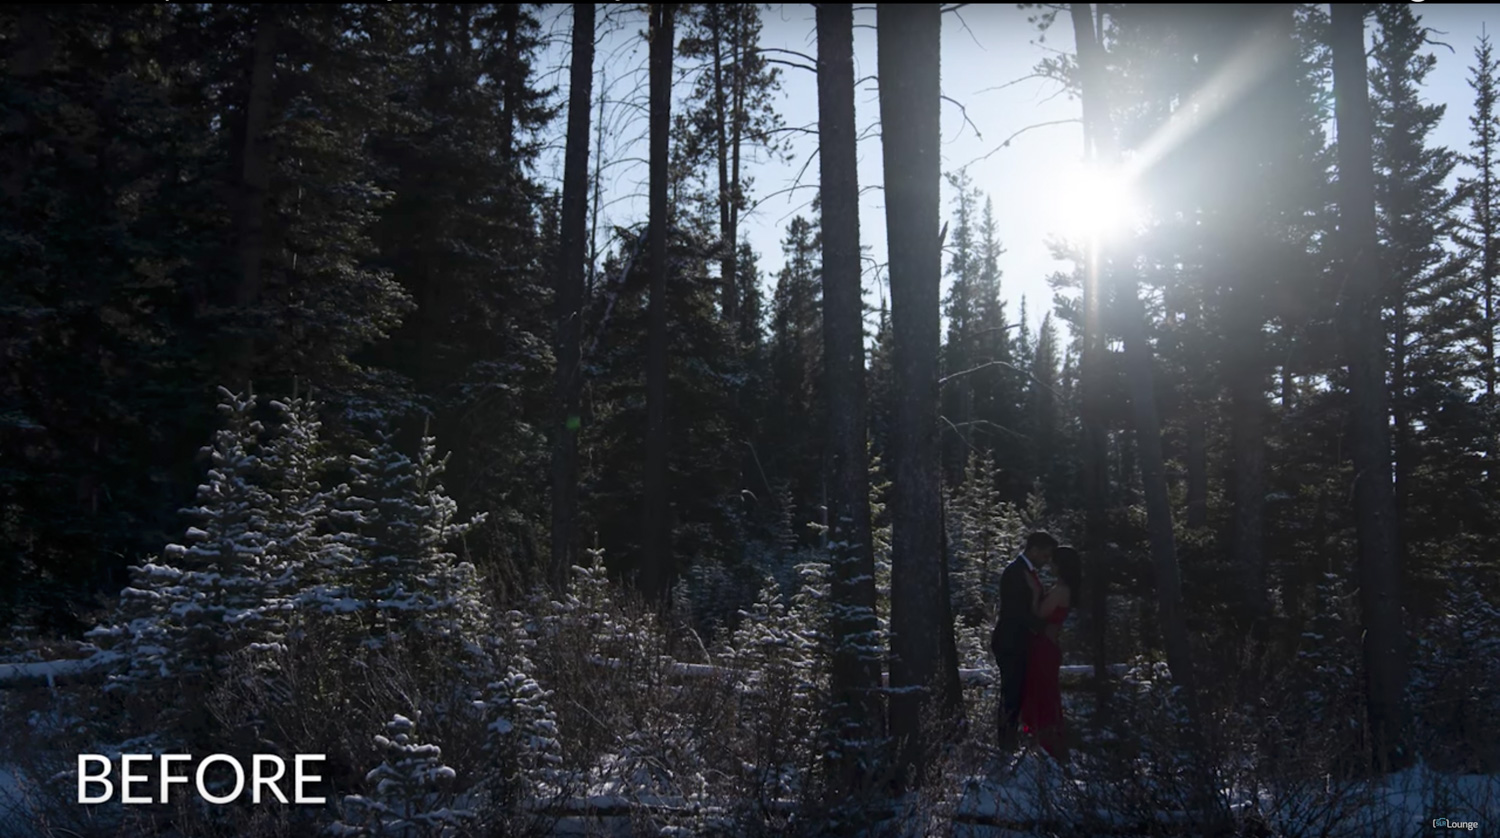

Now we should also be clear, a Tilt-Shift lens does a lot more than just this “effect,” so if you’re going to use it for things like architecture and more, then by all means, add that lens to your tool-kit. But if you’re just looking to add a little creative flare to your portrait portfolio, then this is the quick and easy way for you.
Bonus: Editing the RAW File
To be honest, I kinda screwed this one up. It’s clearly salvageable, but when I shot this, I wasn’t used to the dynamic range of these new Sony Cameras, so it was about an extra stop underexposed for what I would have normally shot. So I’ll start by bumping the exposure up by around 2 stops. Why do I shoot this underexposed? Well, the answer is simple. Sometimes, I don’t necessarily know where I want to take it in post. So, if I can save all my data, I can process the image in a plethora of different ways.
To complete the “Pre-Tilt-Shift” look, we chose the “Back Light” preset from our new Visual Flow Preset System. You can see in the video that this compensates for the light coming from the back of the subject and foreground, and allows me to get to the right exposure while retaining the contrast and colors that we want to look natural. That’s it. Just the exposure bump, the preset application, and then a slight tweak to the color temperature and contrast to get us to the starting point of applying the graduated filters.
We hope you enjoyed this video and lesson on how to do tilt shift in Lightroom. For more tutorials and lessons on Adobe Lightroom and other editing fundamentals, check out Mastering Lightroom Workshop!
