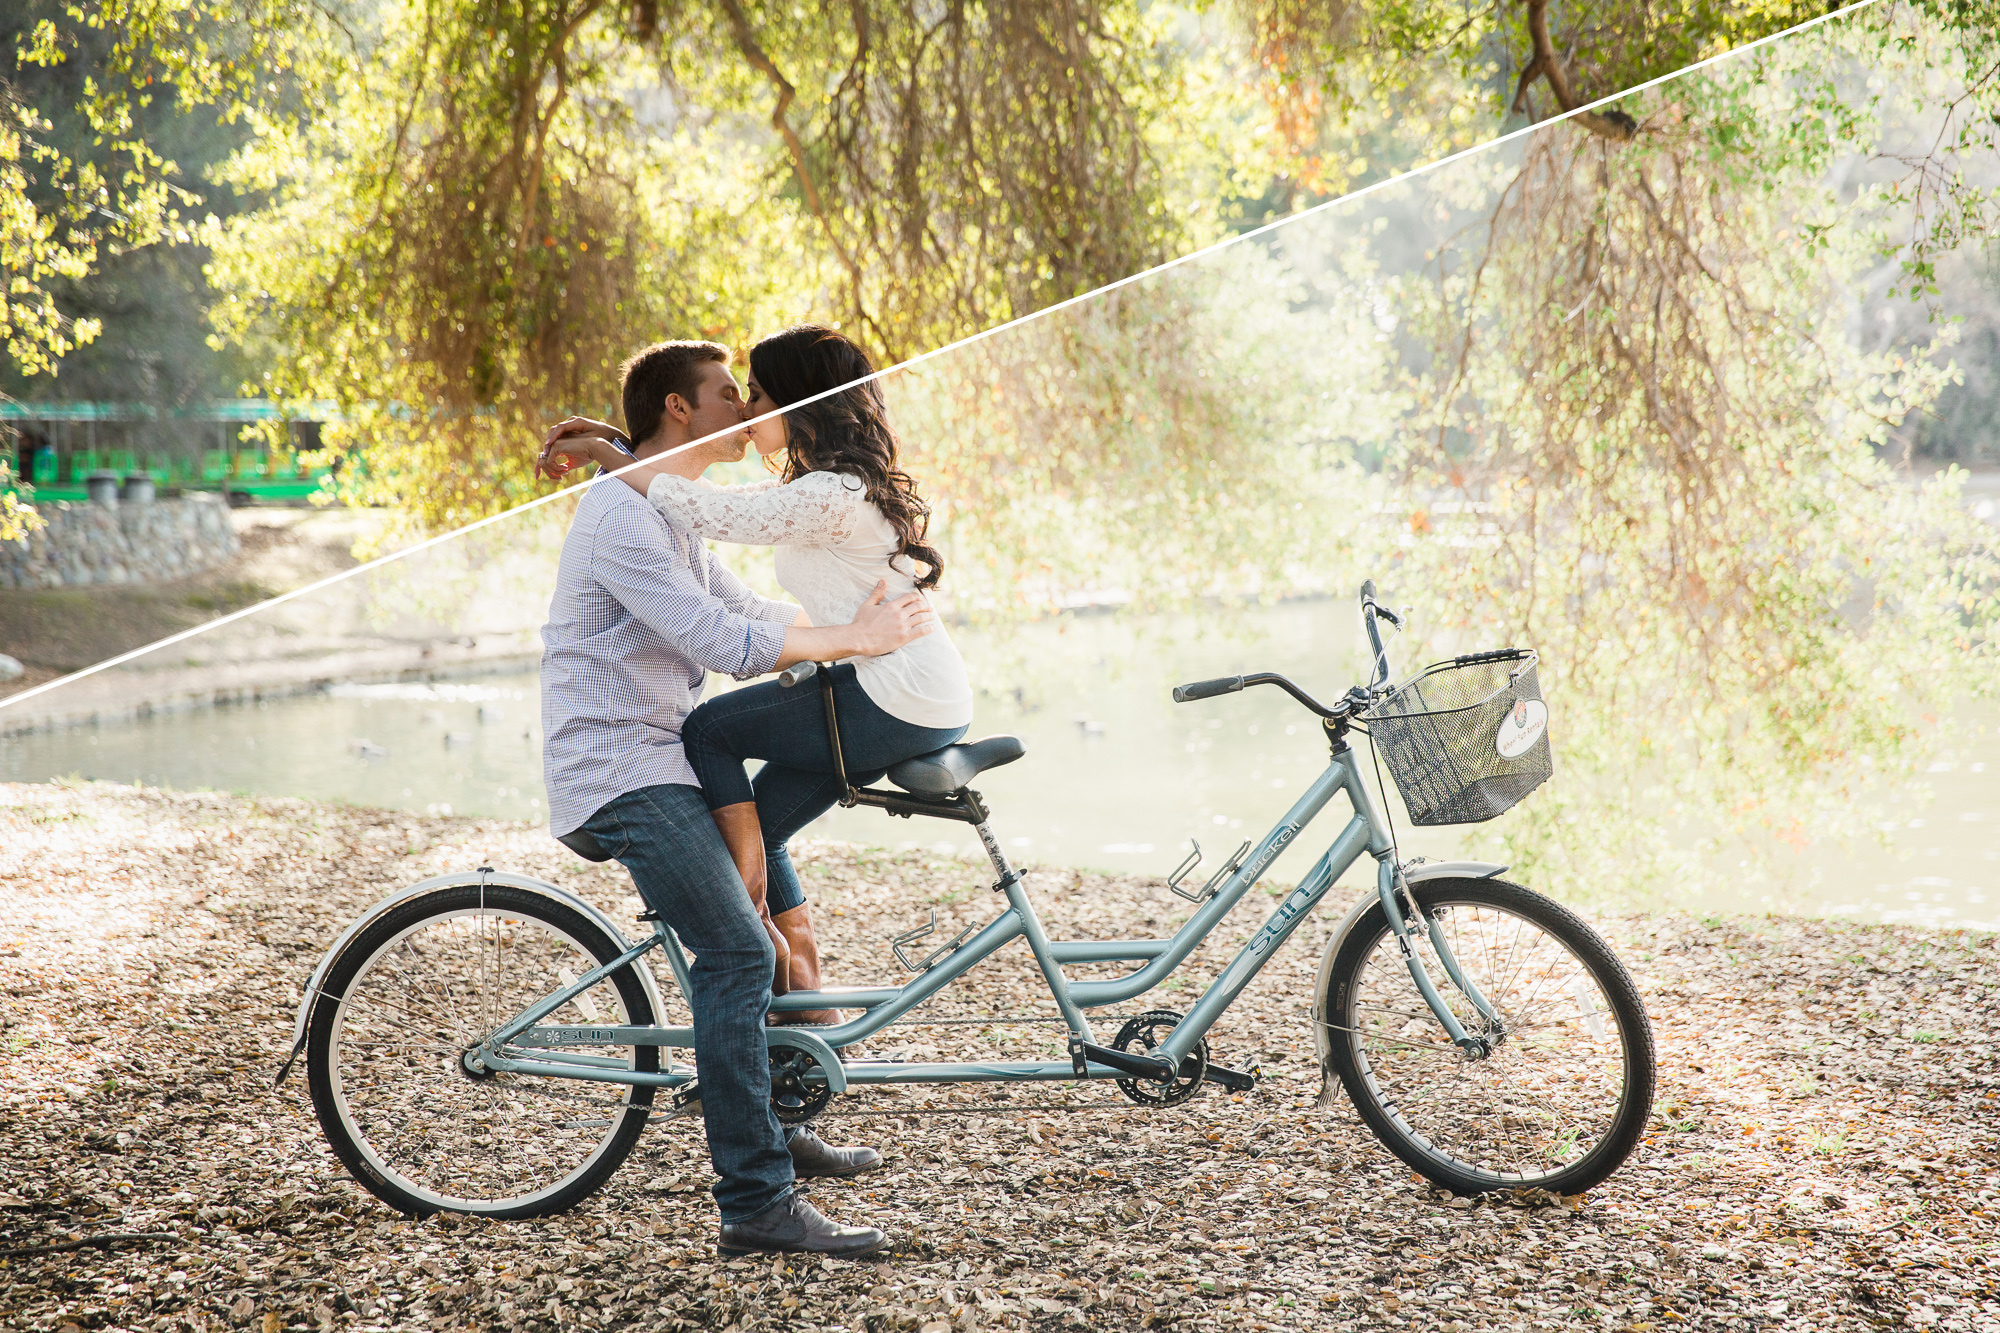
We are so excited to bring our second preset pack – the Pastel Pack – to our community! It’s definitely a fun look to work into your style, but make no mistake, to pull it off well requires a different style of shooting and imagery. While our Modern Pack is designed for true tones and images that were shot to maximize dynamic range, there are significant differences to consider both in-camera and in post-production when using Pastel presets. Here are 5 tips to get your images looking bright & airy from shoot to post.
1. Use Neutral White Balance
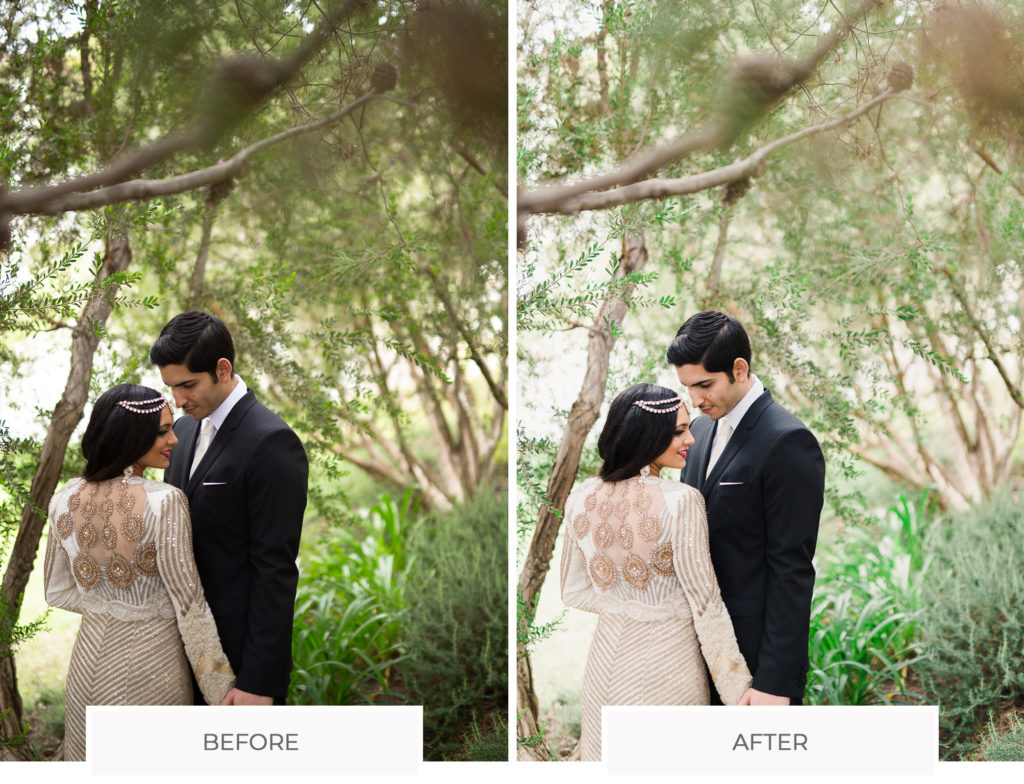
One of the big things you guys will need to get used to when editing for Pastel is a more neutral white balance toning. These presets will be super sensitive when it comes to hitting that right white balance. If you process the image too warm – the entire image will take on a warm/sepia looking color tone. This example shows a neutral white balance in a green-dominant scene.
2. Think Filmic
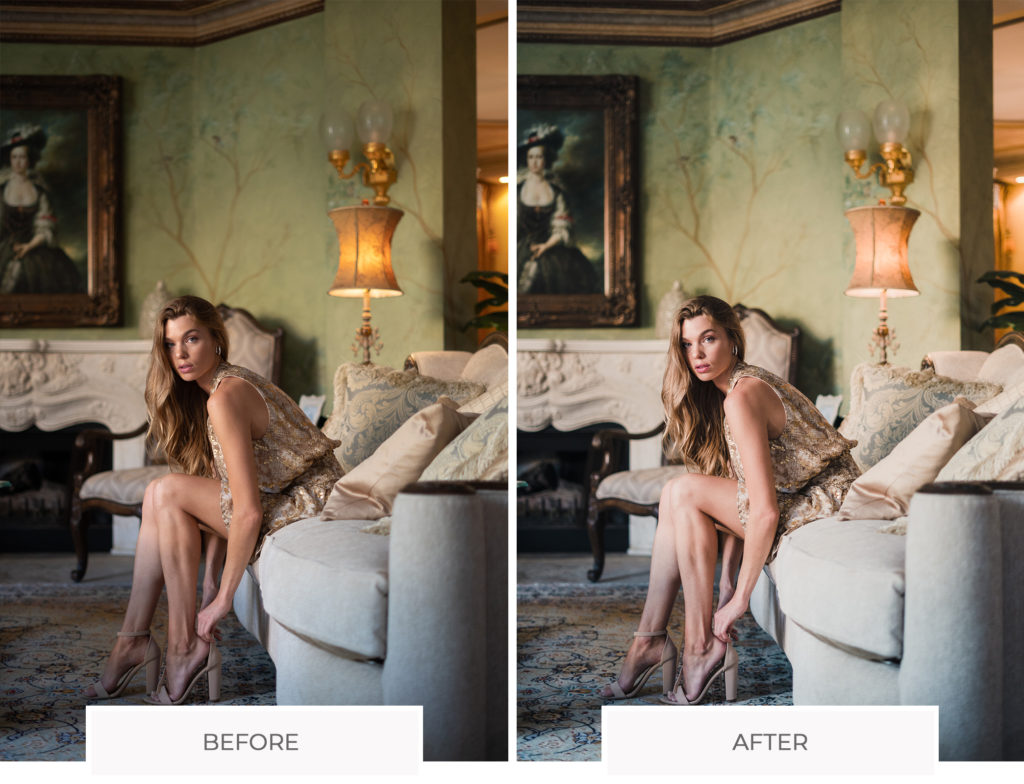
Inspired by Fuji 400h – Pastel is a modern take on Fuji film. But, because of that, this means authenticity in your image is key. You want images that fit a more vintage tone/vibe. Modern lighting, modern cars, modern sets, it’s all going to throw off the vibe and authenticity of the final image. While our Modern Presets can be applied to pretty much any scene, Pastel has more restrictions on what can and can’t work.
3. Natural Light Imagery Is The Way To Go
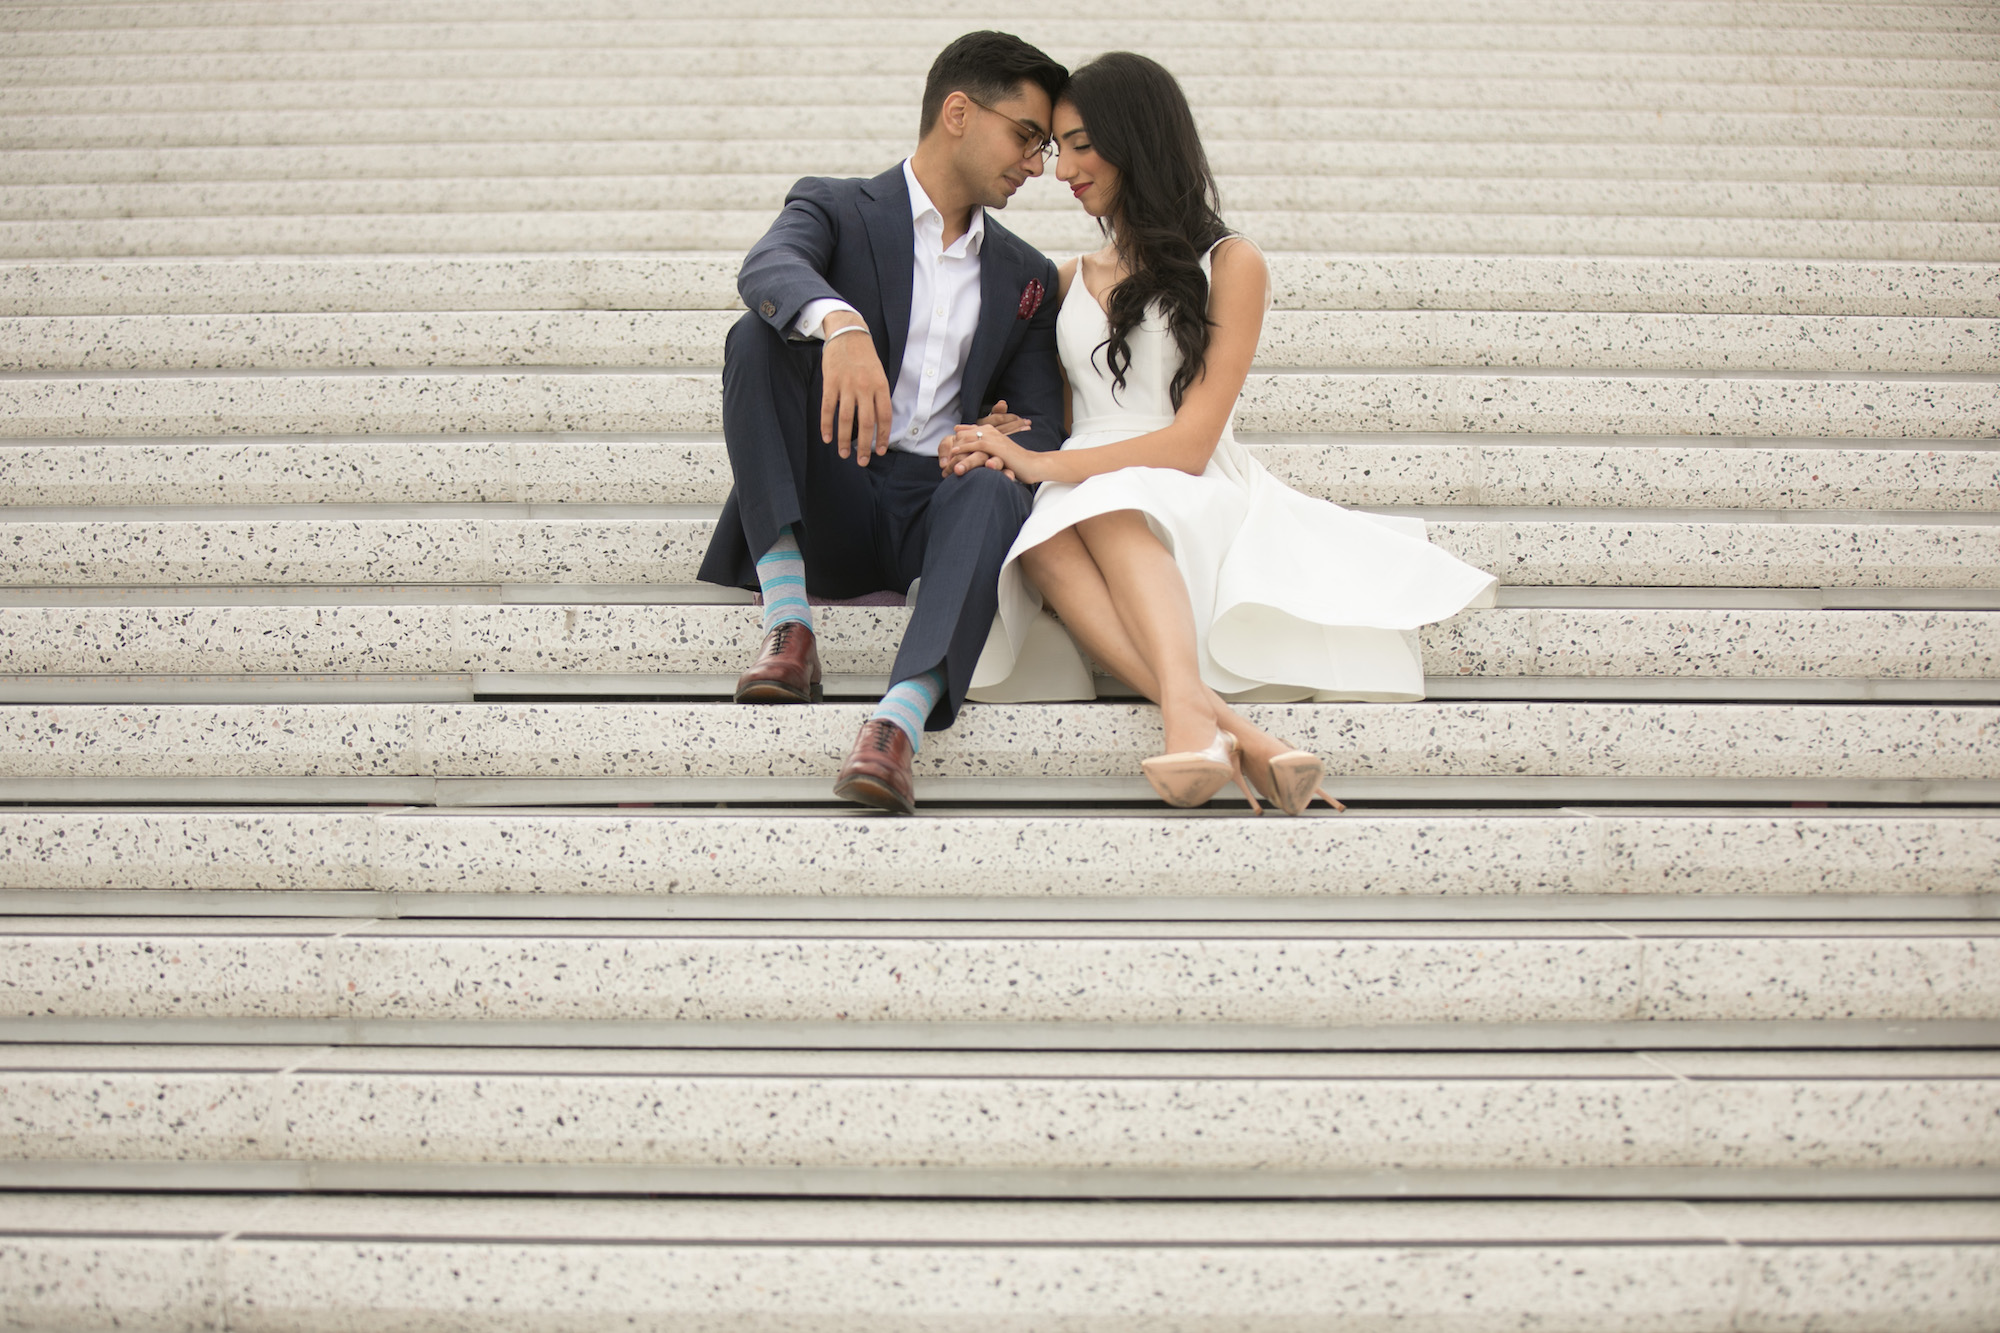
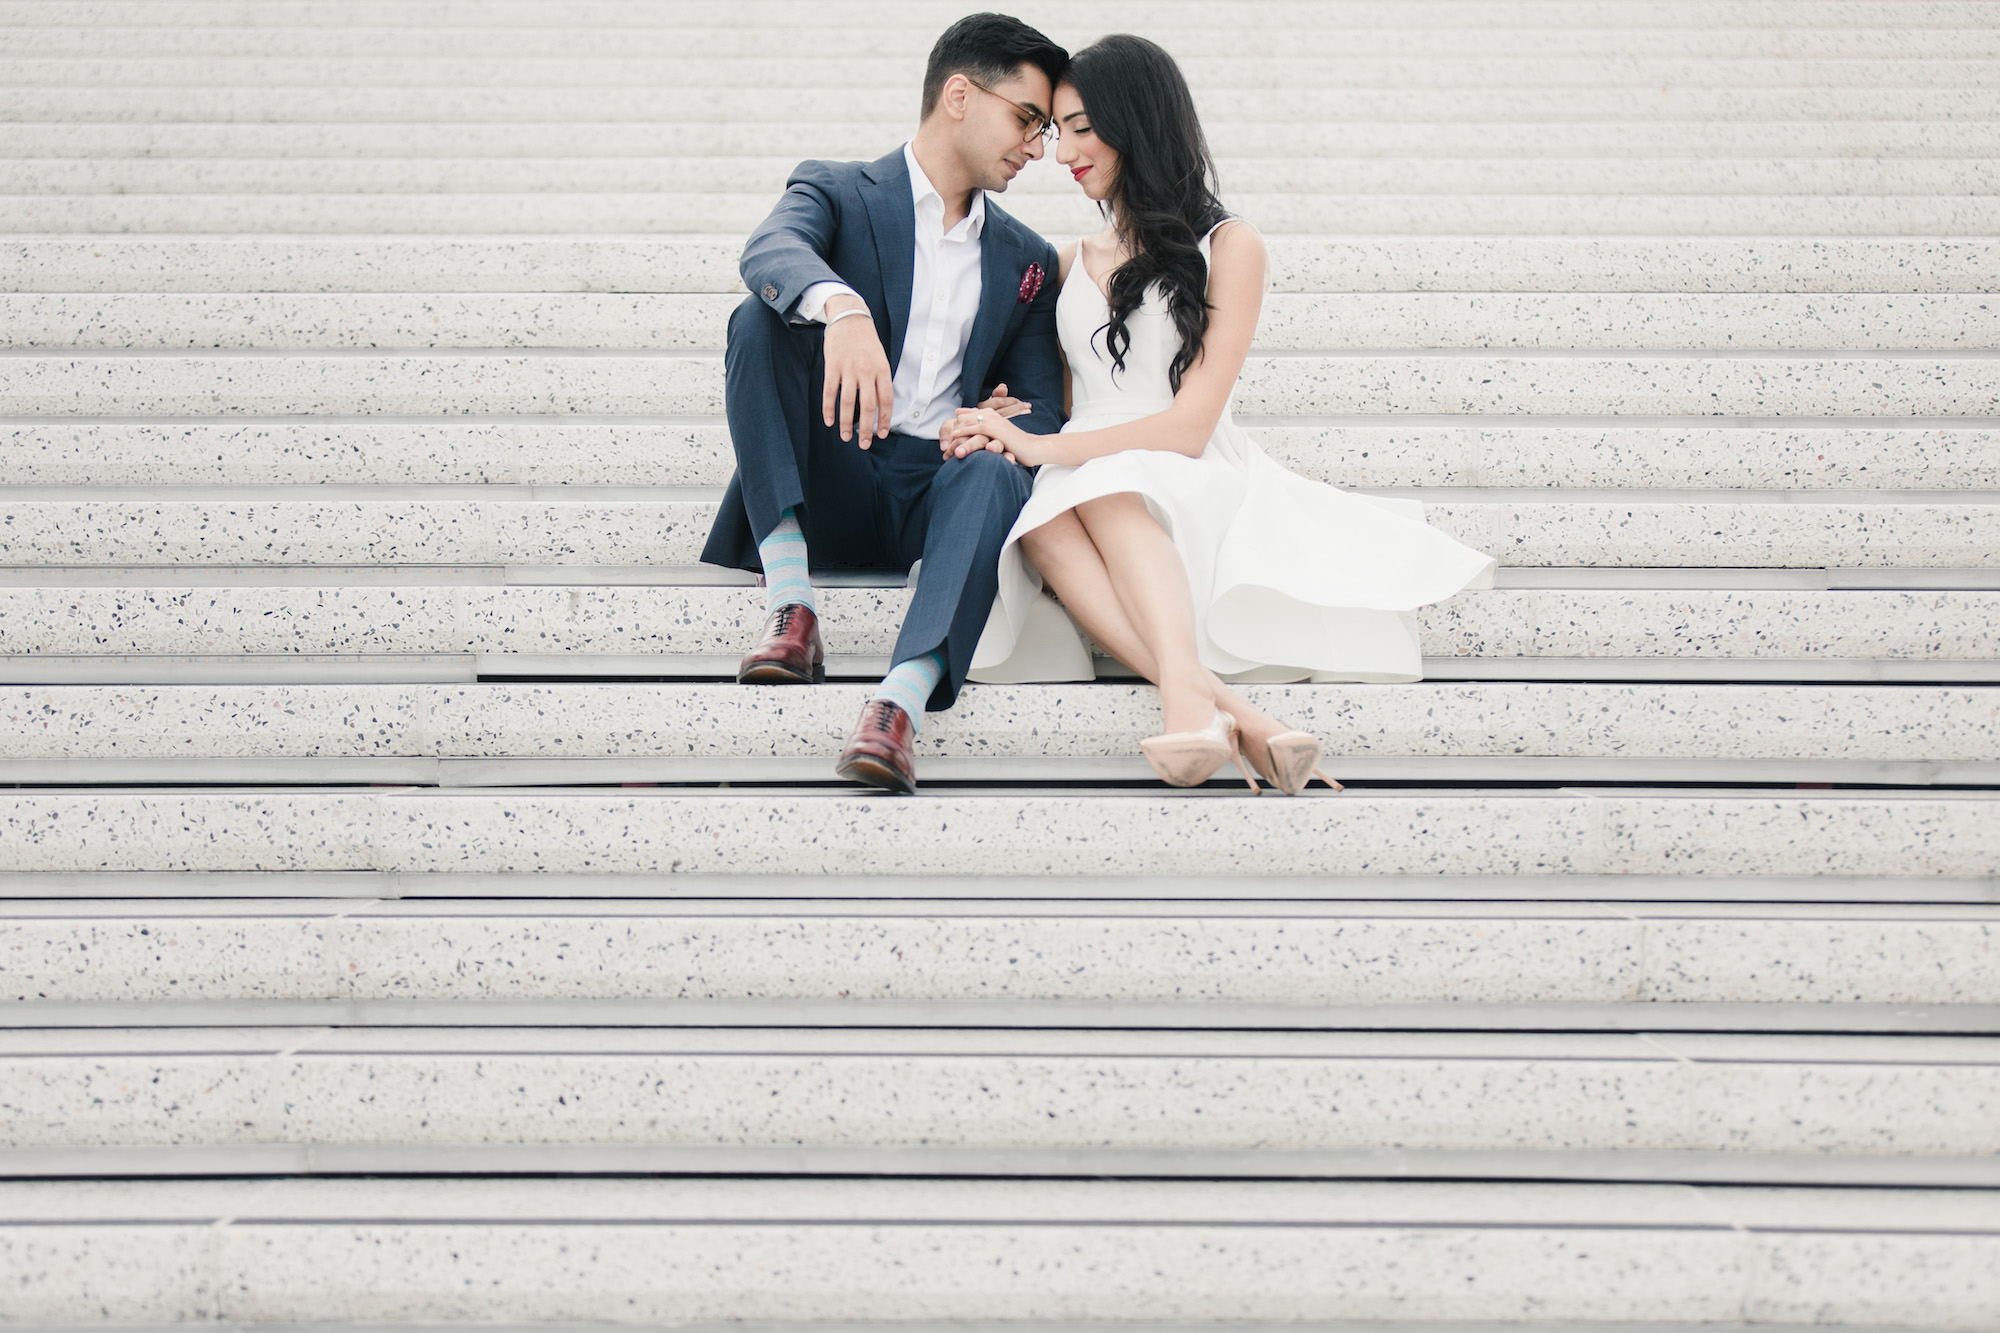
This image uses the Soft Light Presets from our Pastel Pack. On the right is the RAW SOOC image and the left is the processed Pastel image – Image by Shivani Reddy.
When dominant natural light isn’t available, we want to emulate natural light using flash. We designed one of our best-selling Lighting courses around this idea to provide photographers with a multitude of techniques designed to simulate natural light. Modern high power drama is not Pastel (you’ll want to wait for Crush for that, or use Modern).
4. Build Imperfections Into The Photo
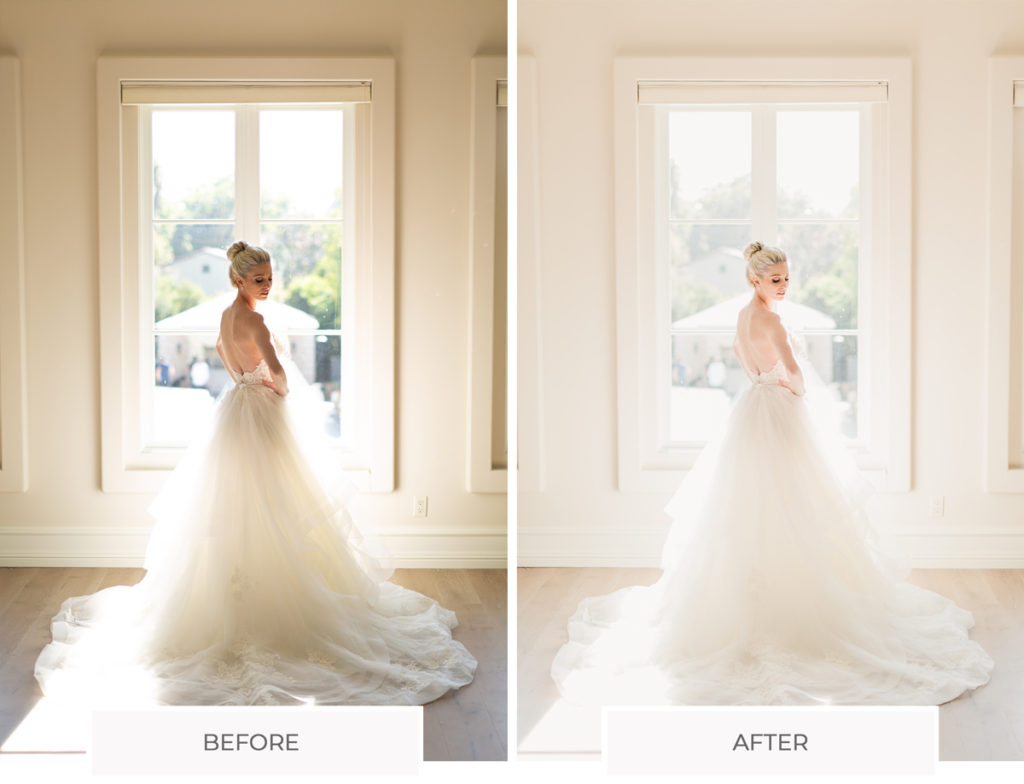
Pastel is designed to handle blown highlights and darker shadows like film. When shooting for this look, think “perfectly imperfect.” Focus on authenticity, and be more whimsical in your shooting style and vibe. This will be tricky for shooters that try to “perfect” each component of a scene and lighting.
5. The Brighter The Better
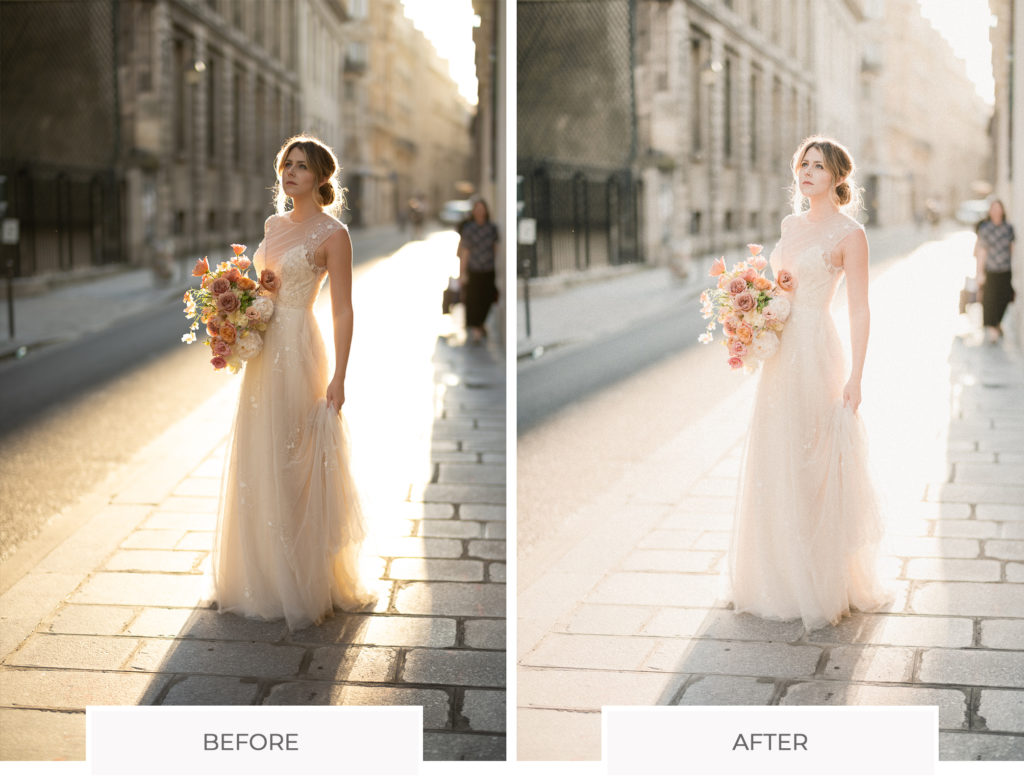
You’ll be processing your Pastel images far brighter than a typical Modern/Crush or any other style. It’s part of the look (hence the bright & airy effect). This may affect how you shoot the photos in the first place, overexposing instead of retaining the information in the shadows and highlights. While our Modern Pack is great for underexposed or images that maximize dynamic range, the Pastel Pack works best with slightly overexposed images with brighter overall exposures.
If after going through these steps and reviewing your images you find the Pastel Pack best fits your style check it out here! If you are more of a visual learner, check out our Pastel Primer to see how to shoot and process to best fit this style. Make sure you join our FREE Facebook Group to show us your before/after images.
