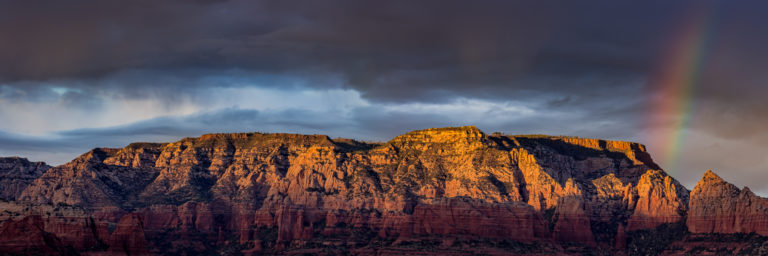
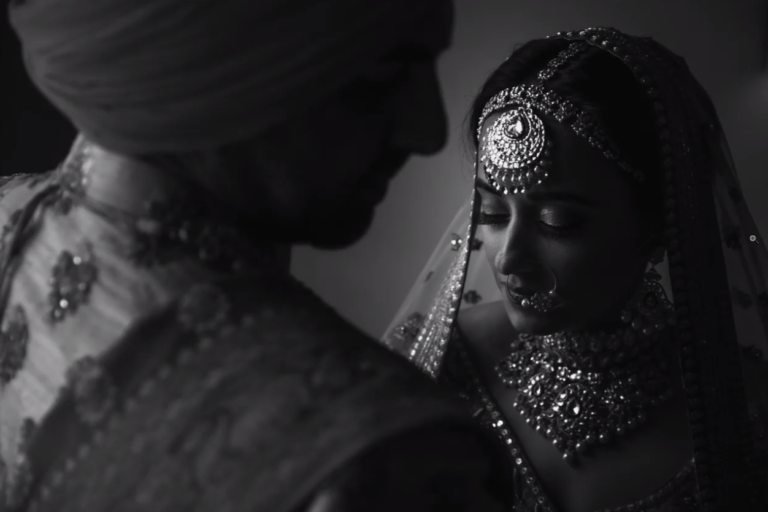
Using Lightroom presets can have a profound impact on your workflow and significantly reshape not only how you edit your photos in Lightroom, but also how you capture the images in the first place. Seriously.
In this article, we’ll show you how to create presets that work with your style of shooting to quickly edit your photos in Lightroom.
What Are Presets?
Presets are powerful post-production tools meant to simplify your post production process. If you repeatedly make the same adjustments while editing your photos, then learning how to create presets can help you cut a lot of the repetition out of your workflow.
Step 1. Create a Preset in Lightroom
Fortunately, Lightroom makes it easy to create presets. Whether it involves making basic slider adjustments or tweaking the sharpness, noise reduction, lens corrections, and other custom adjustments, investing your time to create a set of presets is worthwhile and can save you tons of time down the road.
The settings you use for presets will vary based on your personal editing style, but if you’re mindful of your common shooting conditions (such as shooting in hard light vs. soft light, for example), then you can create custom presets that apply to a wide range of sessions. See our Bonus Tip at the end for more on that.
Here are some basic steps to follow for creating a preset This list is not exhaustive.
- Dial In your exposure: After loading your photos into Lightroom, open the Develop module, select an image, and dial in your exposure. This usually involves getting the subject’s skin tone close to where you want it.
Note: We won’t save the exposure as part of the preset, but you’ll need to dial it in so that you can see the effects of the other adjustments you’re making. - Adjust your Highlights, Shadows, Whites, and Blacks: You may need to pull down your Highlights and Whites to retain more detail. At the same time, you might lift the Shadows and bump the Blacks up or down, depending on the dynamic range you captured in the image. These adjustments will be saved eventually.

- Add a Tone Curve: Adding an “S” curve to the Tone Curve panel will add a little extra contrast, giving a kick to the highlights and crushing some of the blacks in the image. With “Point Curve” selected, click and drag a point on the diagonal line in the Tone Curve panel to make your adjustments. You can lower the point in the top right corner to soften the highlights and lift the bottom left point to flatten the shadows a bit. See the image above for an example of an “S” curve.
- Adjust Regions: Adjusting the Region sliders will allow you to fine tune the “S” curve you just created. Play around with it until you find a look you like. Again, you can find example settings in the image above.
- Adjust Presence: For portraits, we tend to soften texture and clarity just a bit to create a more flattering appearance.
- Adjust Hues, Saturation, and Luminance: These adjustments should be made according to your taste, but we generally drop the hue and saturation a bit for our greens. The easiest way to use these tools is to select the dropper next to each section (Hues, Saturation, and Luminance) and click and drag in the appropriate direction over the colors/area you want to adjust (see the image above).

- Adjust Split Toning: Here, you can mimic the teal/orange split toning look made popular in Hollywood. In the image above, you can see we’ve clicked on the little bar next to Shadows and then clicked and dragged the cursor over the area in the image that we wanted to adjust.
- Luminance: Subtly increase luminance to slightly soften the skin for a more flattering portrait. It’s important not to overdo it or else you risk making your photo look edited, in a bad way.
- Increase Sharpening Amount: Again, be careful not to bump it up too much or you’ll risk overdoing the detail.
Step 2. Save Your New Preset
After you’ve dialed in your settings for the preset, it’s time to save it. Click on the “+” in the Preset Panel on the left hand side to create a new preset (see the image below).

Next, you’ll need to complete the “New Develop Preset” dialog box (see the image below).

First, give the preset a name that gives a hint as to what the preset will do. This will come in handy when your preset collection grows. You can choose which preset group you’d like to store the preset under as well. Below, you’ll find some of the important boxes that we DO NOT check when saving our presets:
- White Balance: The white balance can change drastically depending on your location and the time of day when the images are captured. This is something you can set once the images are in Lightroom and then include in a batch edit.
- Exposure: Like white balance, your exposure is another setting that can vary dramatically, and you can easily dial it in after importing your images into Lightroom.
- Graduated and Radial Filters: These will change based on the composition of your images and the placement of your subjects, so it’s best to add these to taste while your adding the final touches to your photos in post.
Once you click on the “Create” button in the lower righthand corner of the dialog box, your preset should be saved and ready to use.
Step 3. Update Your Preset When Necessary
In the event you want to update your preset, say to add a feature that was previously left off (such as “chromatic aberration”), Lightroom makes it simple.

After you’ve made your adjustments in the basic edit panel on the righthand side, right click on the preset you want to update under the Presets panel on the left and select “Update with Current Settings” (see the image above).

The Dialog box will open once again. Make sure the box is checked for the settings you updated, and then click “Update.”

Remember, when we saved our preset, we left the Exposure (and White Balance) unchecked, so you’ll need to adjust it accordingly.
Bonus Tip: Shoot for the Final Edit
Many presets claim to be a one-size-fits-all solution for your editing needs, like a magic filter that can instantly transform your images into award-worthy works of art. The truth is, presets are powerful, but how you shoot will affect how well presets work with your images. The same preset that was designed to produce a dodge & burn look, for example, won’t necessarily look very good when applied to photos that would benefit more from an HDR edit (see the images below).

Before you create any presets, think about how it is you shoot. Do you regularly shoot to maximize dynamic range, for example, or do you shoot in Auto Mode and accept whatever results the camera gives you? It’s important to be mindful of the decisions you make as a photographer so that you can shoot consistently and create effective presets.
Conclusion
On that note, it’s important to remember that presets are not set in stone. You can continue to fine tune them as you dive deeper into Lightroom’s Develop tools and really start to understand how each affects your overall edit.
Whenever you revise a preset, follow Step Four above and be sure to update your preset. Then, create a virtual copy of some other images that were shot in a similar style and test the updated preset on those images. If the edits look great across your selection of images, the new version of your preset is good to go.
If you really want to learn the ins and outs of Lightroom to maximize your editing efficiency, check out SLR Lounge’s Mastering Lightroom Workshop: A-Z Tutorials on Lightroom. As stated in the course description, “From learning the interface and catalog structure to mastering Lightroom’s raw processing, this workshop is guaranteed to level up your Lightroom abilities.”
Additional Learning Resource: Adobe’s “In a Lightroom Minute” Series
Episode: How to Utilize Presets in Lightroom
Episode: How to Save Edits as Presets in Lightroom
Related FAQs
The article above also applies to the following FAQs that we receive in our community:
- How to create your own Lightroom preset
- How to make Lightroom presets
- How to make preset folders in Lightroom
- How to organize presets in Lightroom
- How to rename presets in Lightroom


