Step 1. Set Up a Folder System in Lightroom
First, the system you set up will depend on your level of production. If you’re a casual photographer, you can create a single catalog and save it to the fastest hard drive on your computer with adequate storage (this is actually the default solution for casual Creative Cloud users). If you’re a professional or aspiring professional photographer, we suggest a little more complex folder structure. Here’s our system:- Choose a location for your photos and create a general folder. This will be your headquarters for storing your images. We’ll go into backing up your files later in the article, but you need a place to start. You might call this folder “Photos” and place it on your desktop (for example).
- Within your general “Photos” folder, organize your photos by year. In other words, create a folder for all of the photos you take in 2020 and call the folder “2020” or “2020 Photos.”
- Inside the yearly folder, arrange individual folders by the project/shoot date with a brief description. Some may argue against using the date to organize your folders as a date is not descriptive of the event, which is why we suggest including some details about the event: “2020-01-31 Janae and Steve Engagement.” Problem solved.
- In each event folder, you’ll find the following sub folders:
-
- Catalog: This is where you’ll store your Lightroom catalog. You should create a new catalog for each photo session. (See Step 2 for more information on how to do that.)
- Originals: This is where you’ll store your raw/original files from the session.
- Edits: This will be one of the locations used for storing your final edited photos.
Step 2. Create a Catalog
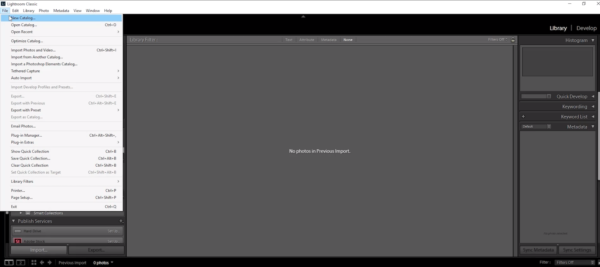 When you open Lightroom, the catalog’s Import Dialogue box will be one of the first things you see. We recommend avoiding the default catalog and location system and instead opt for one of two options: Create one new catalog (for those who don’t shoot often) or create a new catalog for each event (ideal for professional or aspiring professional photographers). You can learn more about setting up a catalog here.
Step 3. Customize Lightroom Preferences
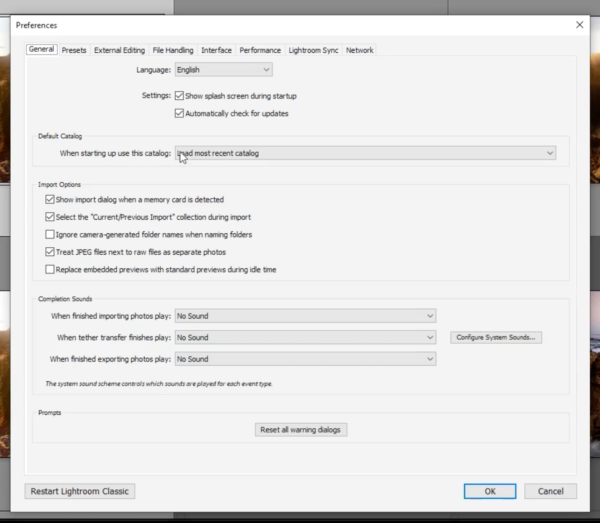 Customizing your Lightroom preferences will allow you to streamline your workflow and dial in basics like deciding which catalog you’ll see when you open Lightroom as well as a number of other import options and miscellaneous details. In an earlier article, we previewed each of the tabs used to customize Lightroom preferences in the Preference Dialog Box, and we focused on the options that we feel are most helpful.
Step 4. Adjust Catalog Settings
Your Lightroom catalog settings include options for backing up your catalog, handling your files, and managing metadata. You can open your catalog settings with the following shortcuts: CTRL+ALT+, (Windows) and CMD+Option+, (Mac). It’s important to note that the backup is just a copy of your catalog and the edits you’ve made using the various modules within it. The backup does NOT contain your actual photos, previews, presets, etc. How often you should update the backup is subjective, but we suggest scheduling steady backups (such as every time you close the catalog) to minimize losses in the event of disk failure or other catastrophic circumstances. We covered the other important settings in the article linked in Step 3 above. Basically, customize your option for “When starting up, use this catalog.” If you tend to pick up where you left off in a previous session, then choosing to load the most recent catalog will save you time. However, you need to be aware of which catalog you’re working in so that if you import additional images, they wind up where they actually need to be.Step 5. Import Images Using Import Presets
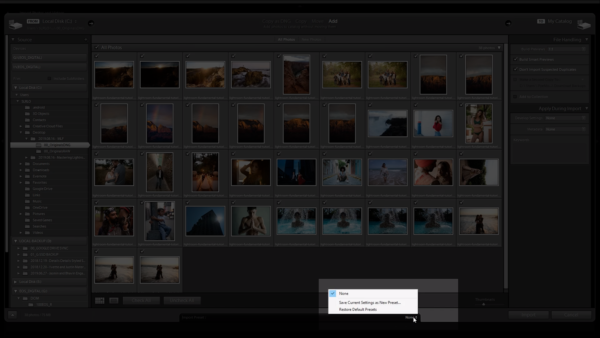 You can import images into Lightroom using one of at least four methods and there are shortcuts available for each. In fact, we highly recommend creating import presets to make quick (and consistent) work of this task. You can find more information on importing photos into Lightroom Classic CC and creating a standard import preset here.
Step 6. Cull Images with a System in Place
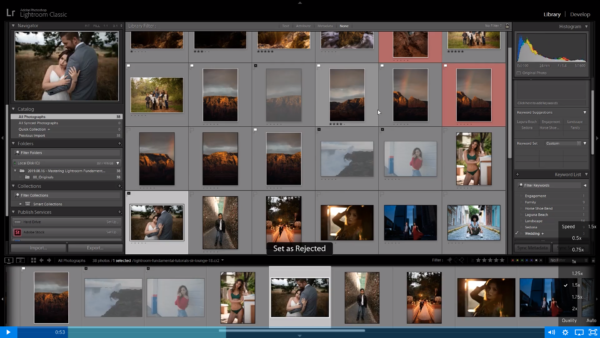 Culling is a process of finding the keepers and discarding the undeliverable images in your Lightroom catalog. With the massive amount of images we capture using today’s digital cameras, it’s imperative that you get a culling system in place to ensure you’re culling efficiently and effectively. There are several approaches to culling in Lightroom, and we cover a number of them in this article. Hint: Whether you use flags, stars, or colors…we recommend the flagging system.
Step 7. Use Collections & Smart Collections (or Don’t)
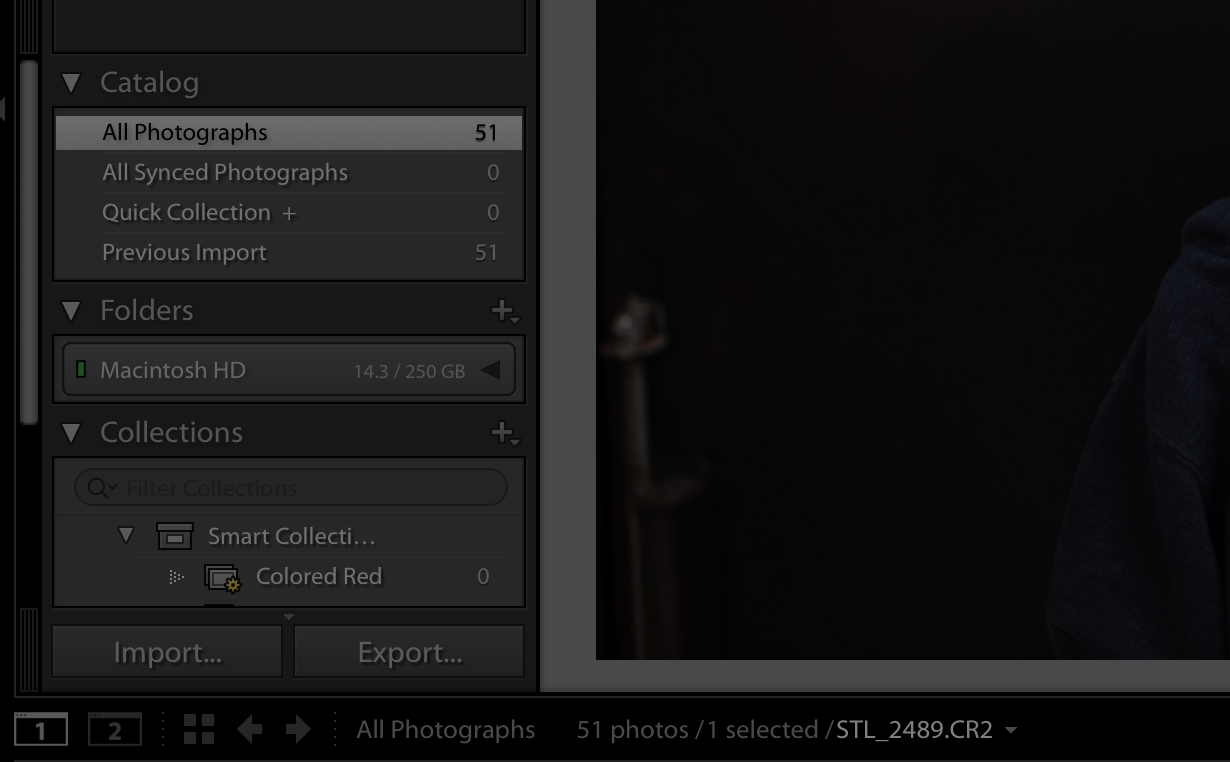
Using smart collections can be useful for filtering, such as identifying family shoots, or even newborn photos within family shoot, for example. It’s important to note, however, that they exist only in Lightroom and merely reference the images; they’re meant to help YOU find the images you’re trying to locate – the images actually “live” in the import folders, not the collections. You can add collection preferences when you’re setting up your import presets.Step 8. Set Up Your Export Settings
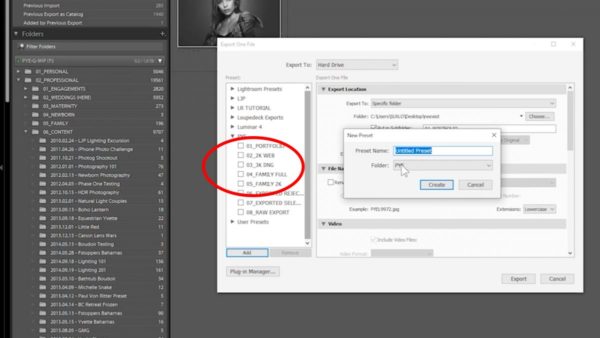 Lightroom offers simple solutions for exporting your images to share on social media platforms like Instagram and Facebook, and it’s a good enough raw editing program (both Classic and Creative Cloud) to “go straight to print” with your images if that is your goal. You can find more in-depth information on how to set up your export settings in the articles below.
- The Best Lightroom Export Settings for Instagram and Facebook
- The Best Lightroom Export Settings for Print
Step 9. Back up Your LR Catalog AND Your Images
Be sure to understand that Lightroom only backs up your catalogs, while you will have to manually back up your photos. If you don’t already know the “Three C’s” strategy for backing up images, it’s as simple as this:- Copy: The first step involves copying your files from your camera to your computer or an external hard drive. This might involve importing your files into Lightroom using the import presets mentioned above.
- Clone: Because most hardware is destined to fail at some point, be sure to create clones of your files. While there are several ways to go about doing this, one way we can suggest is using an app called Carbon Copy Cloner, which lets you completely customize & automate your cloning and it checks for incremental changes on the fly. You might consider running this task while you’re occupied with other work. Copying/cloning terabytes of data can take a pretty long time.
- Cloud Storage: Again, because hardware regularly fails, Cloud Storage is the final and probably most important step of the backup process. So long as you sync your files to your Cloud Storage on a regular basis, all you need to do in the event of an emergency is download the backup from the cloud and start right where you’ve left off.
