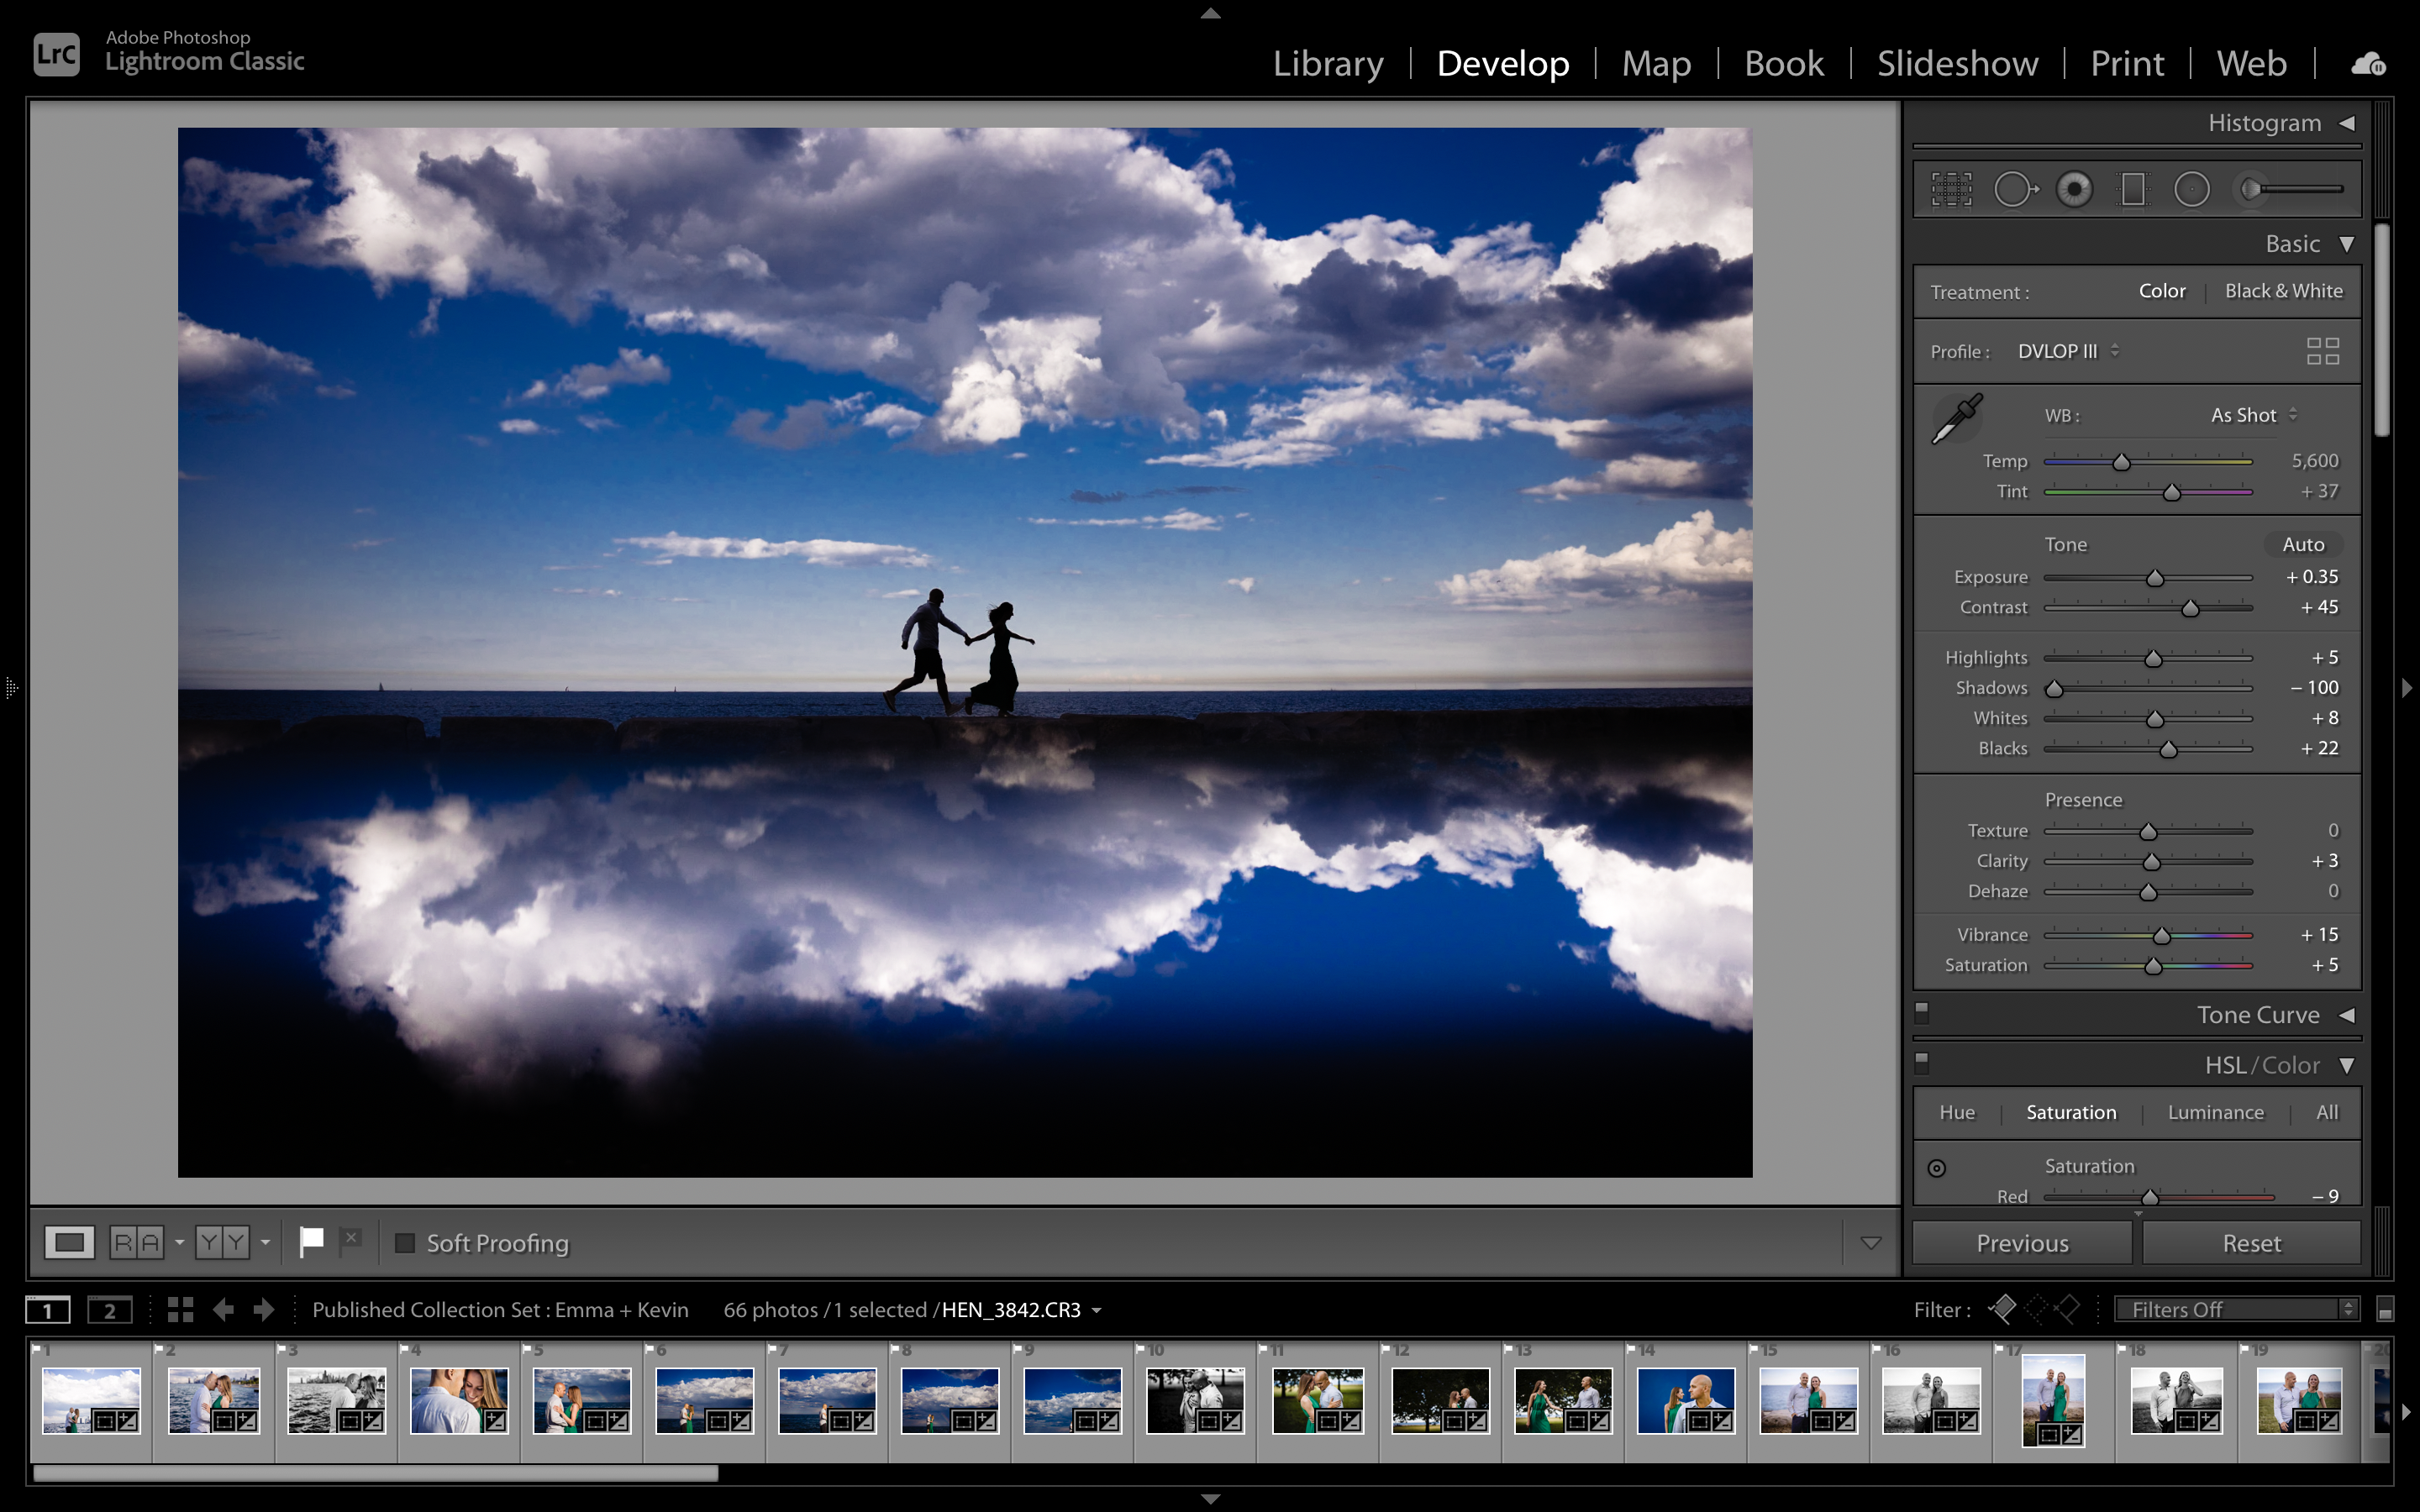
An important aspect of editing any image is being able to check your work. In other words, you want to compare how it started with how it’s going. Did you push the edit too far? Did you not push it far enough? Fortunately, you can easily check the before/after in Lightroom for easy comparison.
Here’s how you do it:
Step 1: Open and Edit the Image
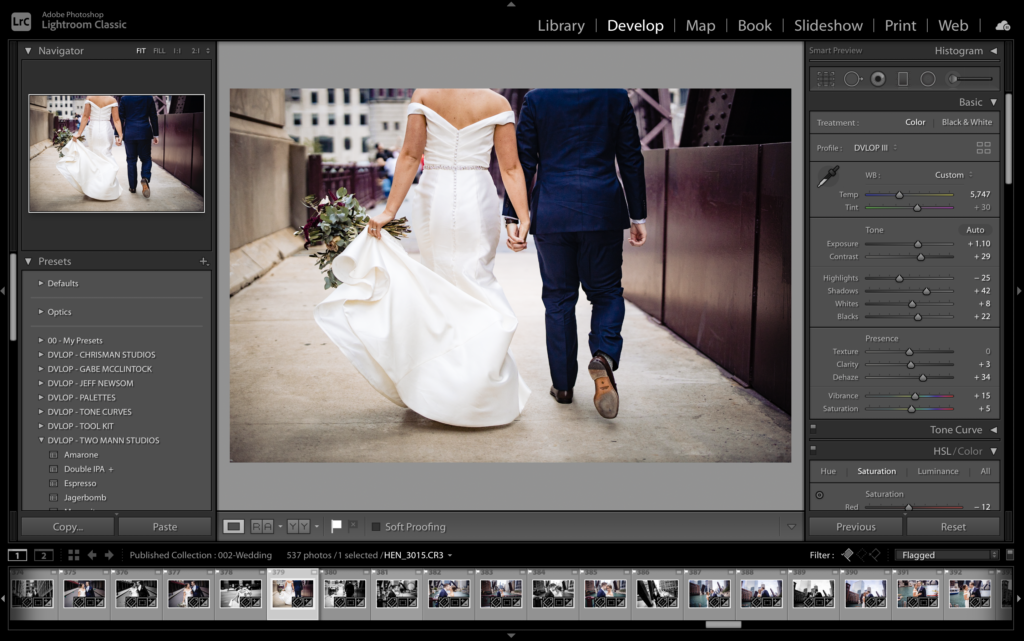
The first thing you’ll want to do is open and edit the photo to taste, ideally using your favorite presets to save time and produce consistent results. Once you’ve edited in the develop module, you may want to take a look at the before/after. I’ll show you how to do that in the following steps.
Step 2: How to See the Before/After of an Image
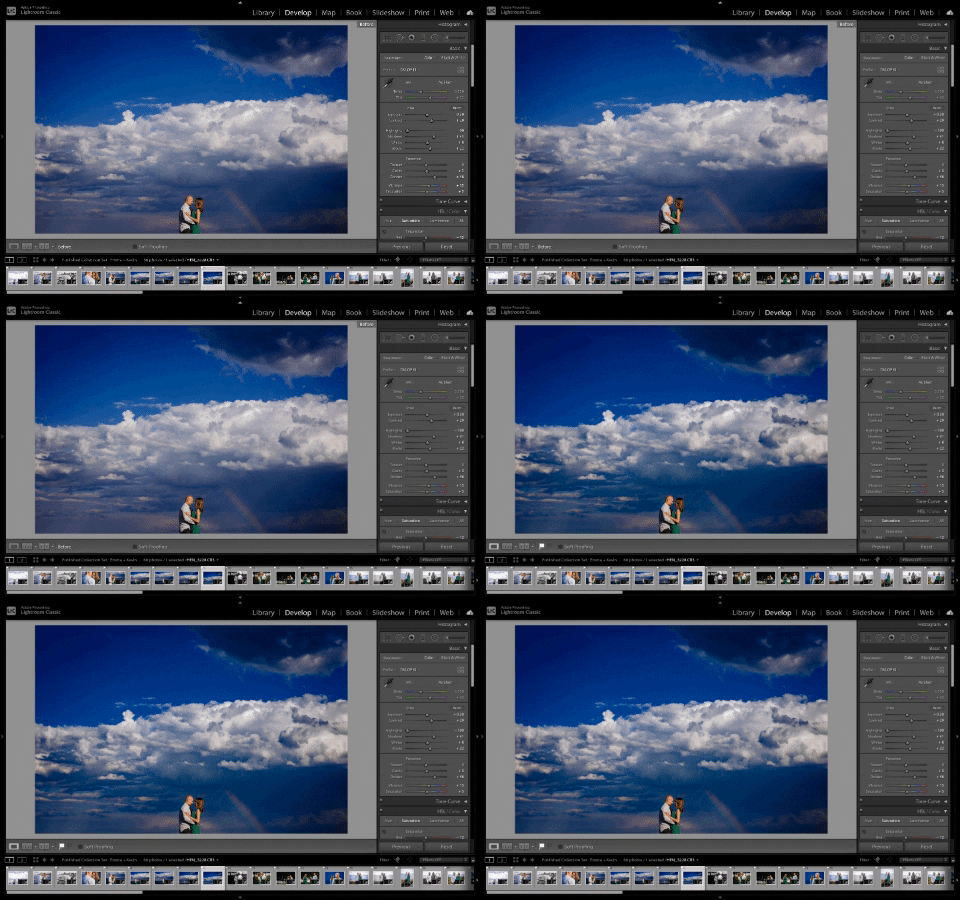
To see the before and after of your edited photo, you can follow these easy steps:
Before and After in Lightroom Classic
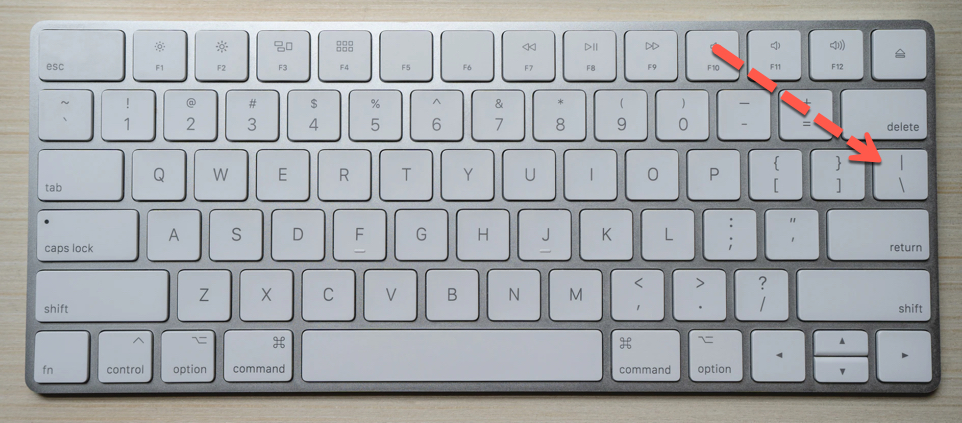
To see a before and after of your image in Lightroom Classic, you can follow these steps.
- Select (D) on your keyboard to activate the Develop panel (unless you’re already there).
- Select the ( \ ) button on your keyboard.
- You should now see the original image you took with no edits.
Before and After in Lightroom Mobile

To see a before and after of your image in Lightroom Mobile, you can follow these steps.
- Place a thumb or finger on the image that you have edited and hold it there.
- The image switch to the original, unedited image.
- Lift your finger off the image and it will again show the edited image.
Conclusion
If you want to peek backwards at the original photo after you’ve applied your presets and made your tweaks, it’s easy to do in both Lightroom and Lightroom Mobile. To recap, in Lightroom Classic, all you have to do is press “\” on your keyboard and it will display the before image. In Lightroom Mobile, you literally only need to hold your thumb on the image.
If you have any other questions about how to perform the before/after function in Lightroom, leave a message in the comments below.
