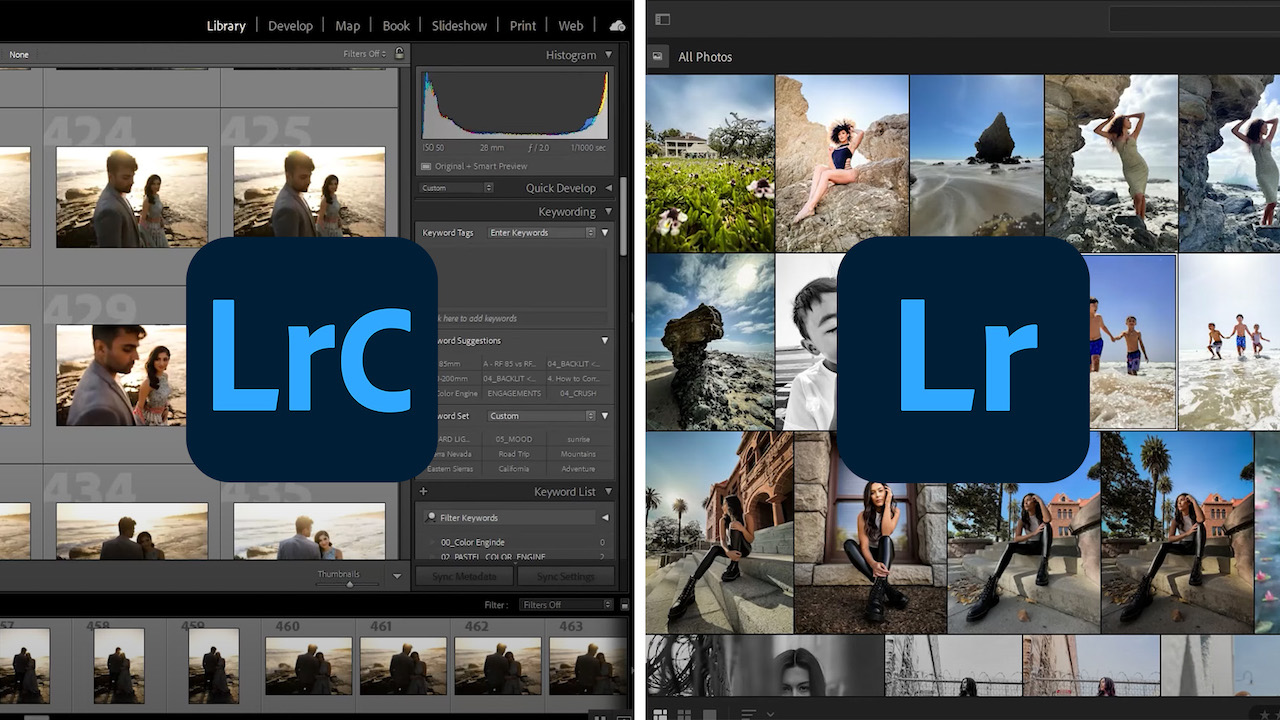
If you’re new to Adobe Lightroom, or even if you’ve used earlier versions, you might wonder why Adobe offers two different versions of its popular photo editing software with Lightroom CC and Lightroom Classic. Furthermore, you may wonder how exactly these two versions compare. While they sound nearly identical in name and perform similar functions, they each serve distinctly different purposes. To help break down the differences between Lightroom CC vs Lightroom Classic, I’m going to share my workflow for both of these apps and demonstrate their power and versatility.
Video: Lightroom Fundamentals – Adobe Lightroom vs. Lightroom Classic Fundamentals
Lightroom Classic
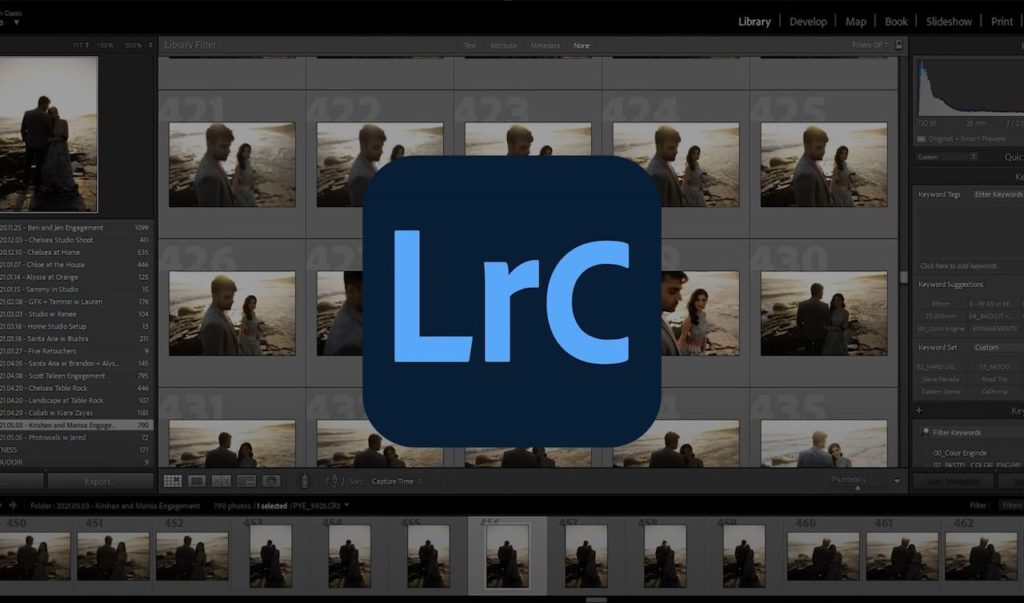
Enthusiasts and pros alike no doubt have some familiarity with Lightroom Classic, at least in its functionality. To put it simply, Lightroom Classic functions as a catalog-based system that you will use to store the images in your catalog on either your computer’s local hard drive or another physical, external drive.
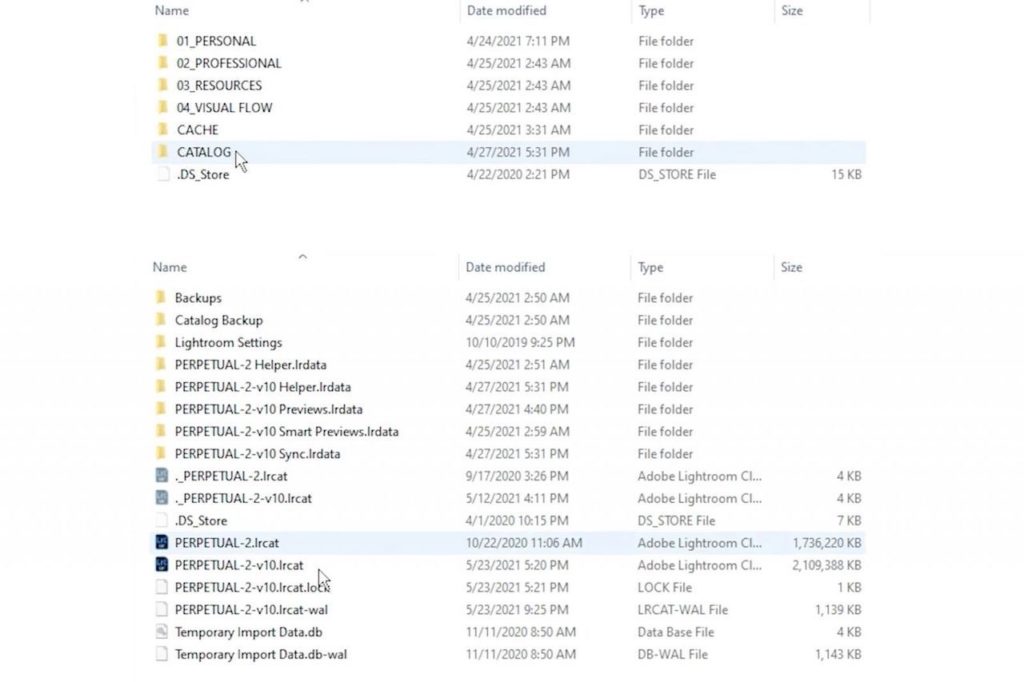
I keep what I call a “Perpetual” Lightroom Catalog, which serves as a “best of” home for the best images I’ve captured since the early days of my photography journey. I’ve chosen to keep this catalog on an external USB-C SSD drive due to its speed and portability. It allows me to take my catalog on the road.

When you open Lightroom Classic, you’ll see Lightroom previews, which serve as “references” for all of you’re imported image files. I use the word “references” because the images are not actually stored in the catalog. Instead, the catalog simply references the image from its original location on your computer or hard drive.
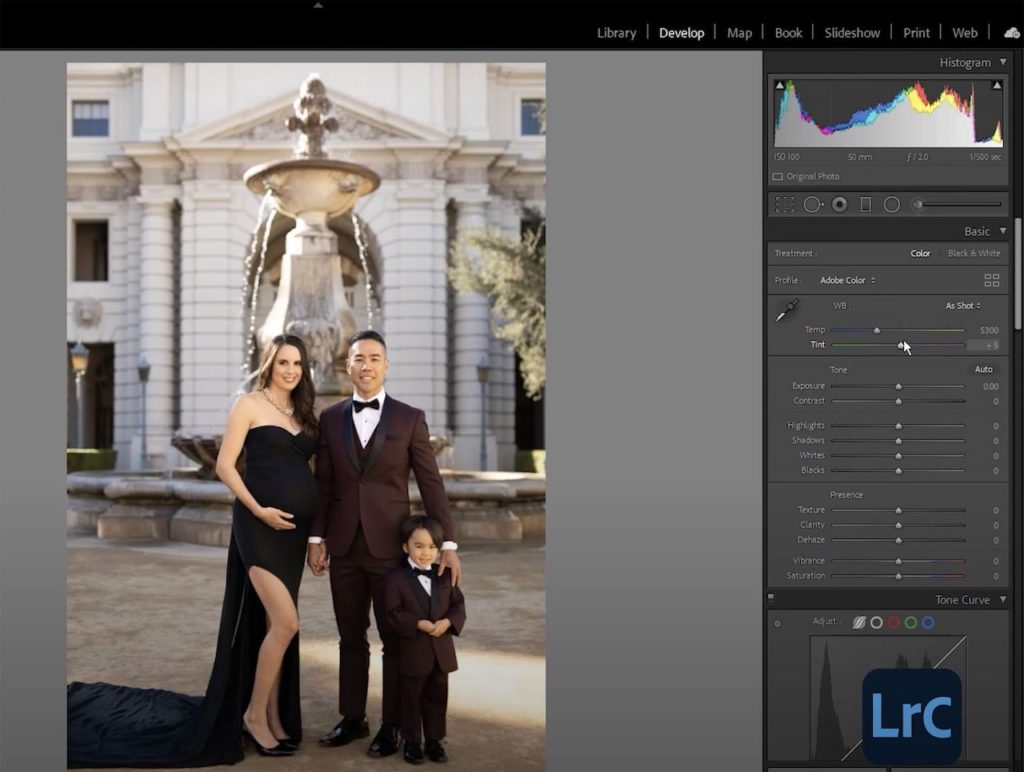
If you look across the top panel of the Lightroom interface, you’ll see a number of different modules. You’re going to use the Library to organize and cull your photos. You’ll likely spend most of your time in the Develop module, however, editing your images. Of all the modules, I use these two the most, and you probably will, too. The same holds true for both Lightroom and Lightroom Classic, which operate similarly in terms of organizing and editing your files.
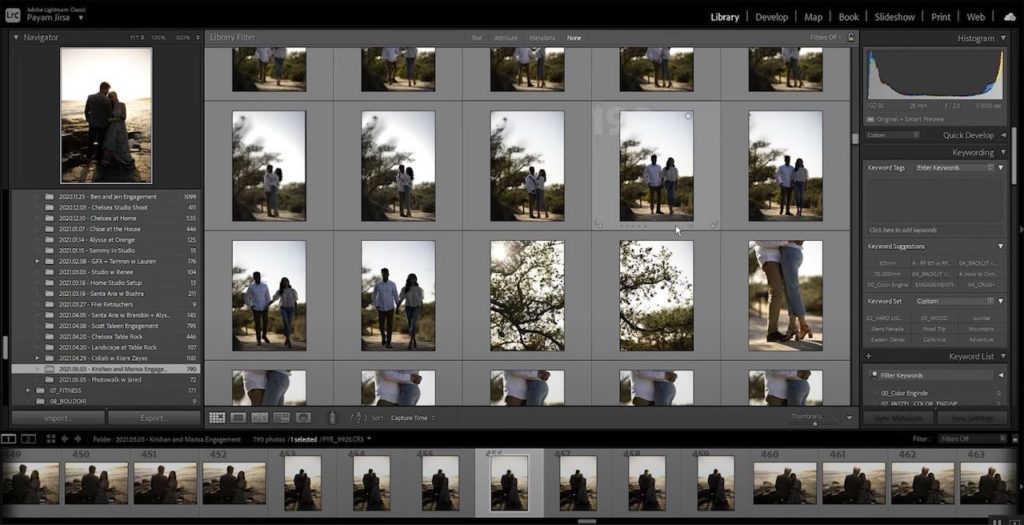
When debating on whether or not you should choose to work in Lightroom Classic, as opposed to Lightroom CC, consider your workflow. For example, I mostly shoot weddings and portraits, which means I can easily capture up to several thousand images per shoot. For that reason, it would make sense for me to use Lightroom Classic and keep my files local. Trying to upload them to a cloud would take too much time. In my opinion, Lightroom Classic makes the most sense for high-volume workflows like mine.
Lightroom

The first thing you’ll notice when you open Lightroom is the main library of images. In the Library, you can organize your images and rate or flag them, just as you would in Lightroom Classic. The key difference here between Lightroom CC vs Lightroom Classic, however, is that Lightroom is a cloud-based system. As a cloud-based system, Lightroom will use your Adobe-ID to store your images on Adobe’s cloud. The real benefit here is that you can access all of your images across your devices, whether they be on your computer, phone, or tablet.
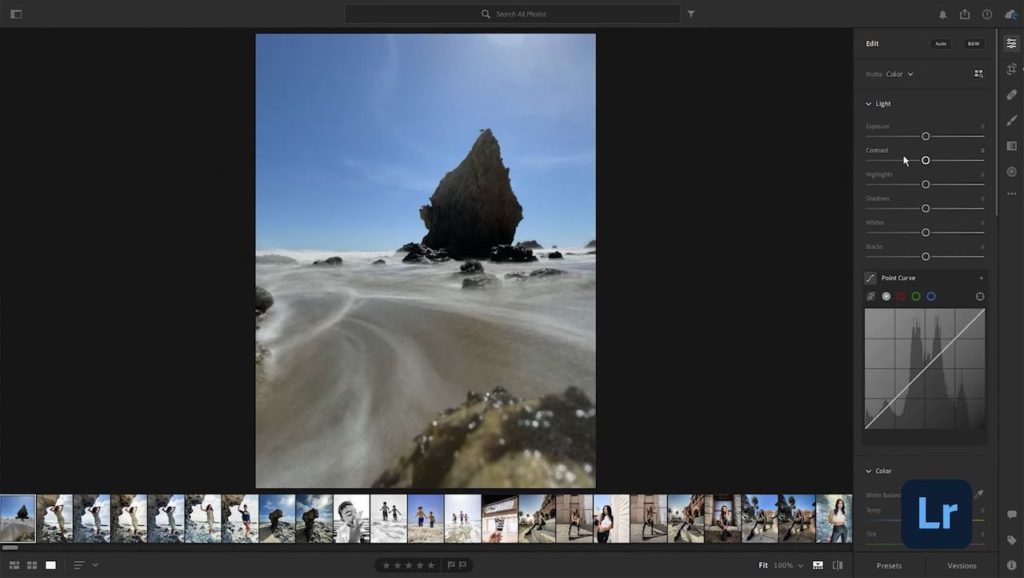
The edit panel looks a lot like it does in Lightroom Classic, and it boasts many of the same features. Again, because this version works through the Adobe cloud and syncs across your devices, you’ll always have access to helpful tools like your presets. Don’t confuse Lightroom as a mobile-only app, however, because that would be untrue. The main difference resides in how the software accesses and provides access to the original images.
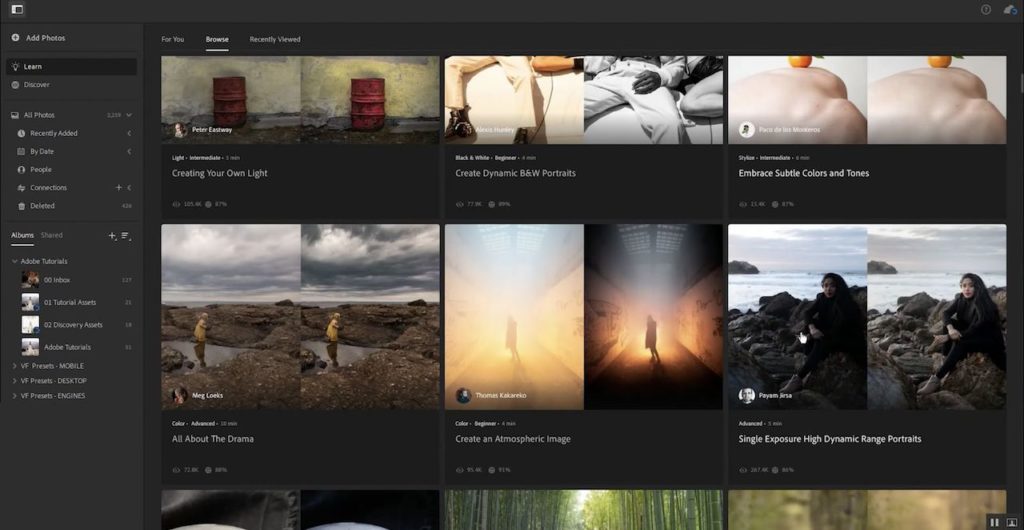
Be sure to take some time to get familiar with the Learn and Discover feature. Learn works as a networking/educational tool and gives you access to other creatives and Adobe partners, including myself, who’ve shared interactive tutorials inside Lightroom.
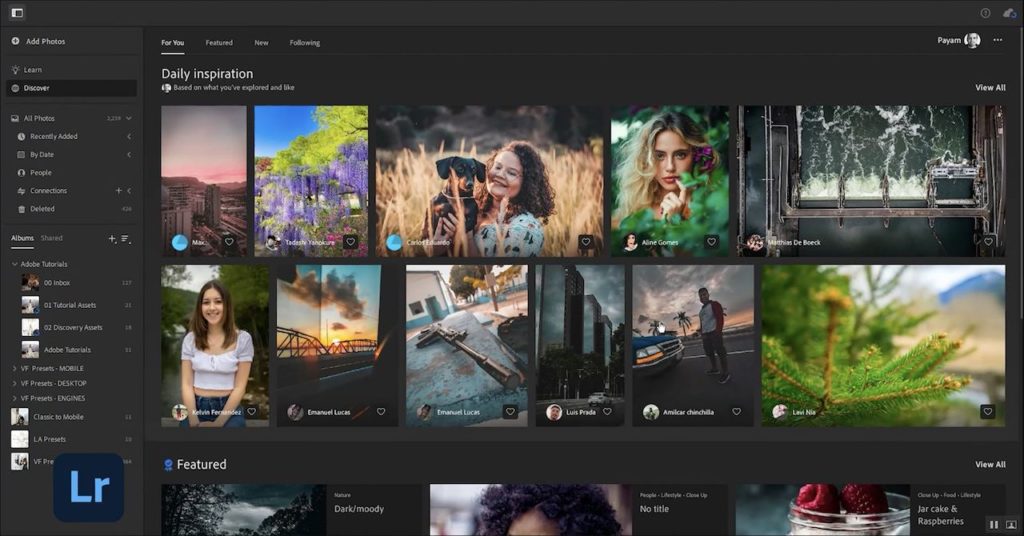
Discover, on the other hand, grants you access to a community-based library of images. You can do more than just enjoy the images. Each image includes information on the settings used to create the final product. If you like, you can download these settings as presets, which adds even more value. Lightroom, therefore, works as both an incredible editor and a powerful learning tool.
My Workflow
Now, let’s talk about my workflow for high-volume projects. These projects include everything from engagements and weddings to family portraits or even corporate events. As you can imagine, these photo sessions lend themselves to taking a large number of photos.
1. Load Images to Lightroom Classic
To start, I typically load my images through Lightroom Classic. Once they’re loaded, I’ll begin culling and choosing my keepers, which I’ll soon edit in bulk with the batch editing tools.
2. Sync Keepers to Lightroom
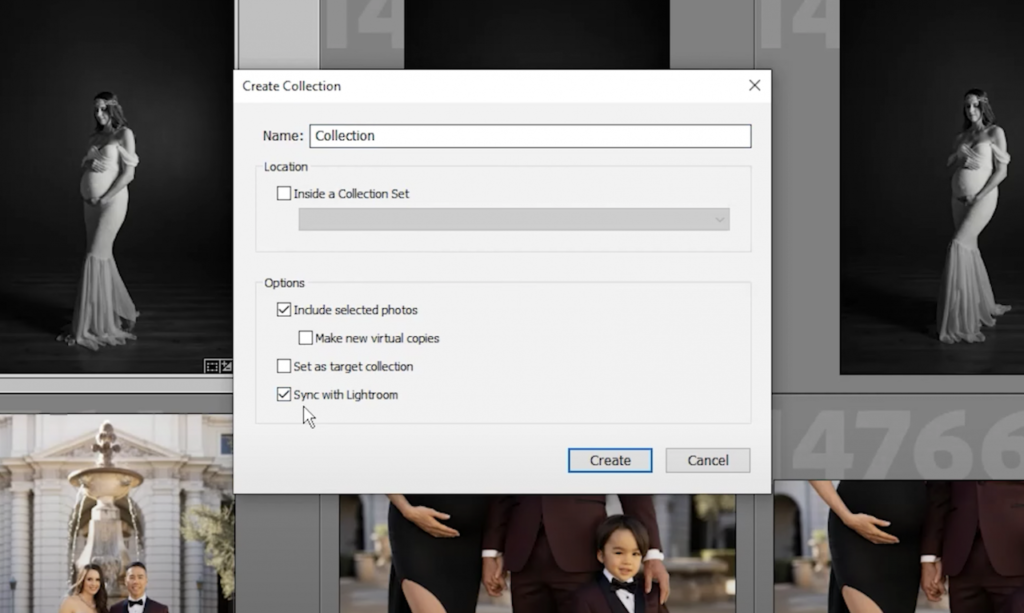
I use a variety of selection tools (like flags, stars, colors, and more) to separate and identify the top images I plan to include in my perpetual portfolio. Then, I create a new collection in Lightroom Classic and select “Sync with Lightroom.” Once my collection syncs with Lightroom, I can access my images from anywhere if I need them. This method works especially well when I want to share teasers with clients on social media.
3. Edit in Lightroom Classic
Once my images have synced with Lightroom, I can start to edit my keepers. It’s important to remember that I edit high-volume projects in Lightroom Classic only, and not in Lightroom. Any changes I make in Classic will automatically sync with Lightroom and update the files with my edits.
Conclusion
I hope you enjoyed our look at the differences between Adobe Lightroom CC vs Lightroom Classic, as well as our examples for using both to maximize your workflow efficiency. Each version of Lightroom offers versatile and powerful editing tools for all photographers, from beginners to advanced. At the end of the day, I recommend taking both versions out for a test run to see how you can use them to your advantage.
Leave a Reply
You must be logged in to post a comment.