Natural, Tasteful HDR Photography
All of the Visual Flow preset packs include a preset called HDR Natural. In this article, we’ll do a deep dive into the HDR presets, showing you when to use them and what they are doing to the images.
Why did we call this preset HDR Natural?
The term HDR can sometimes have a negative connotation in the minds of photographers who have seen the HDR technique applied with a heavy hand. We’ve all seen the overly crunchy, grungy, and almost dirty looking HDR images of the 90s.
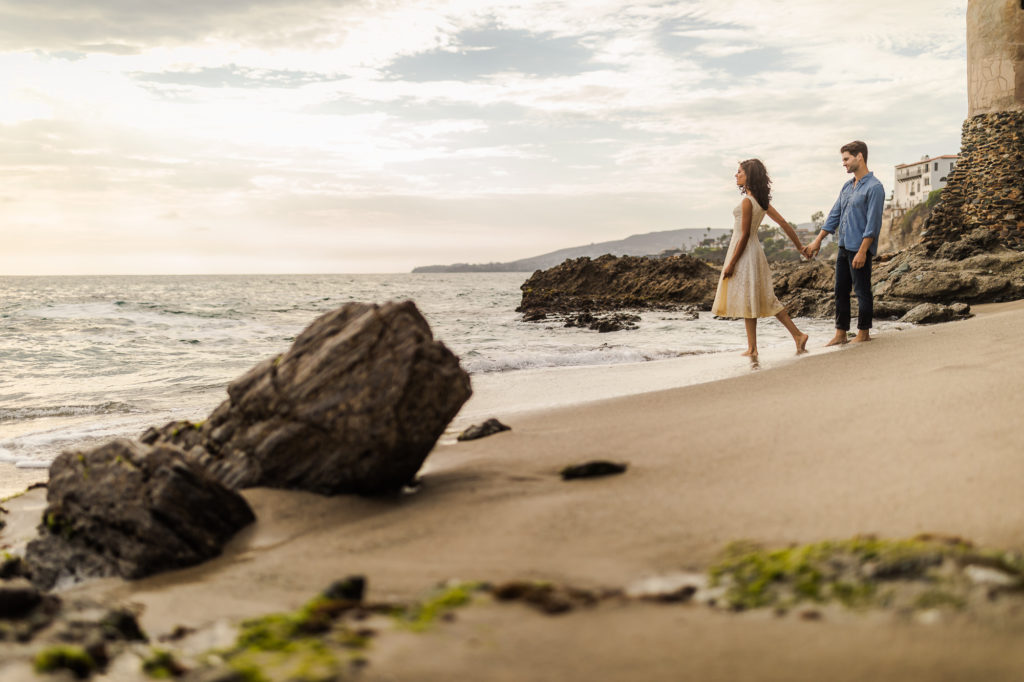
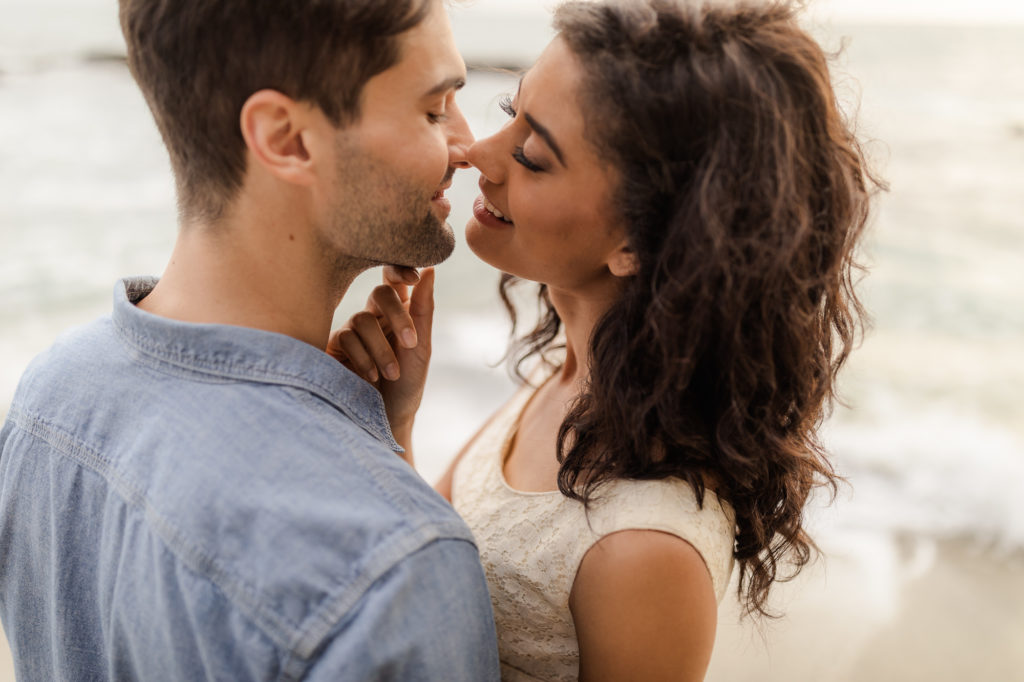
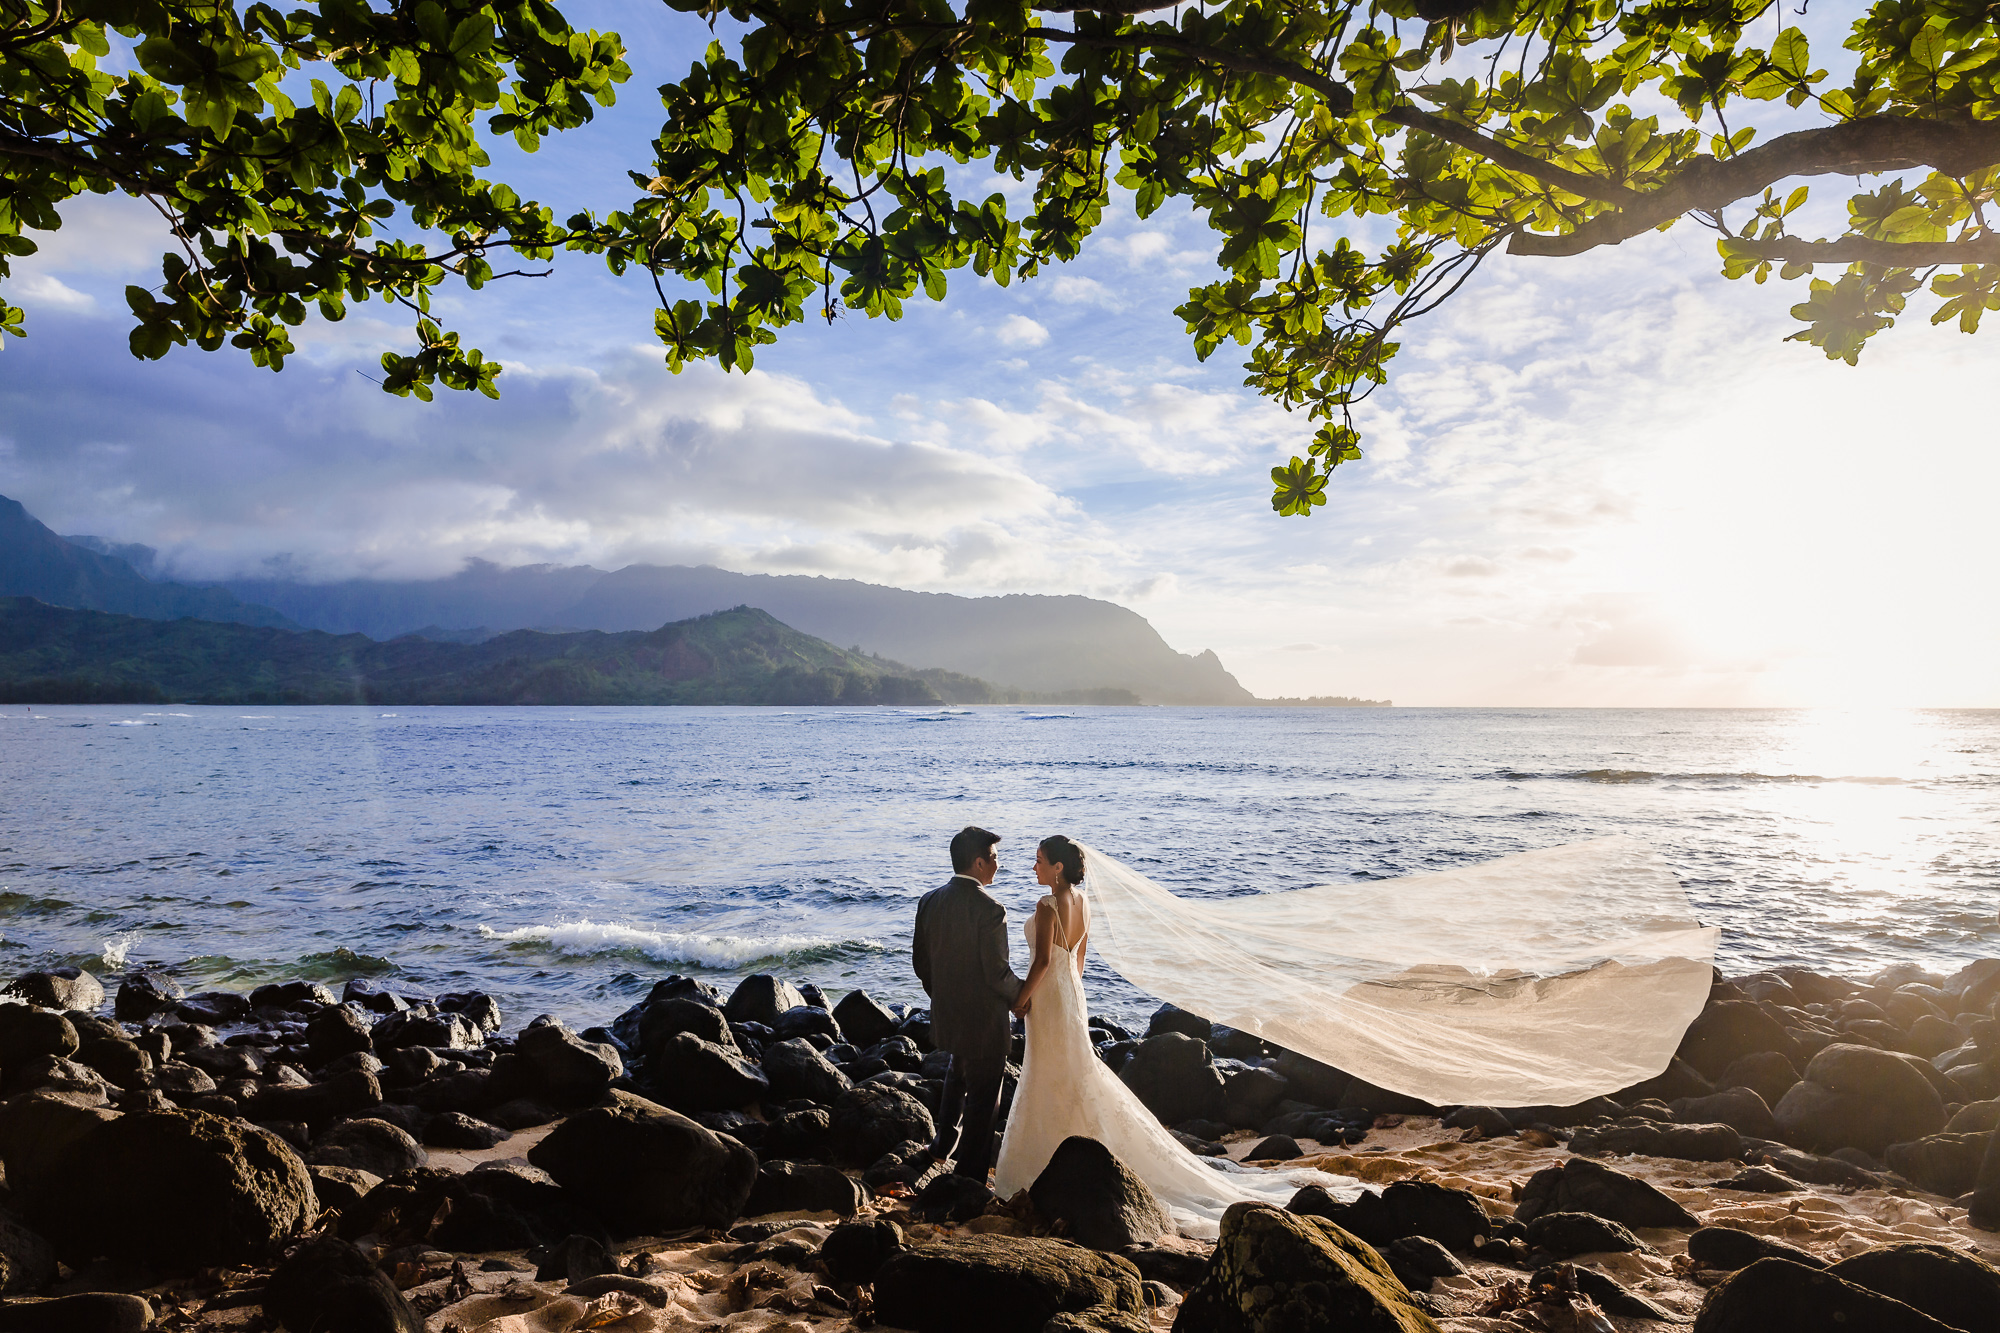
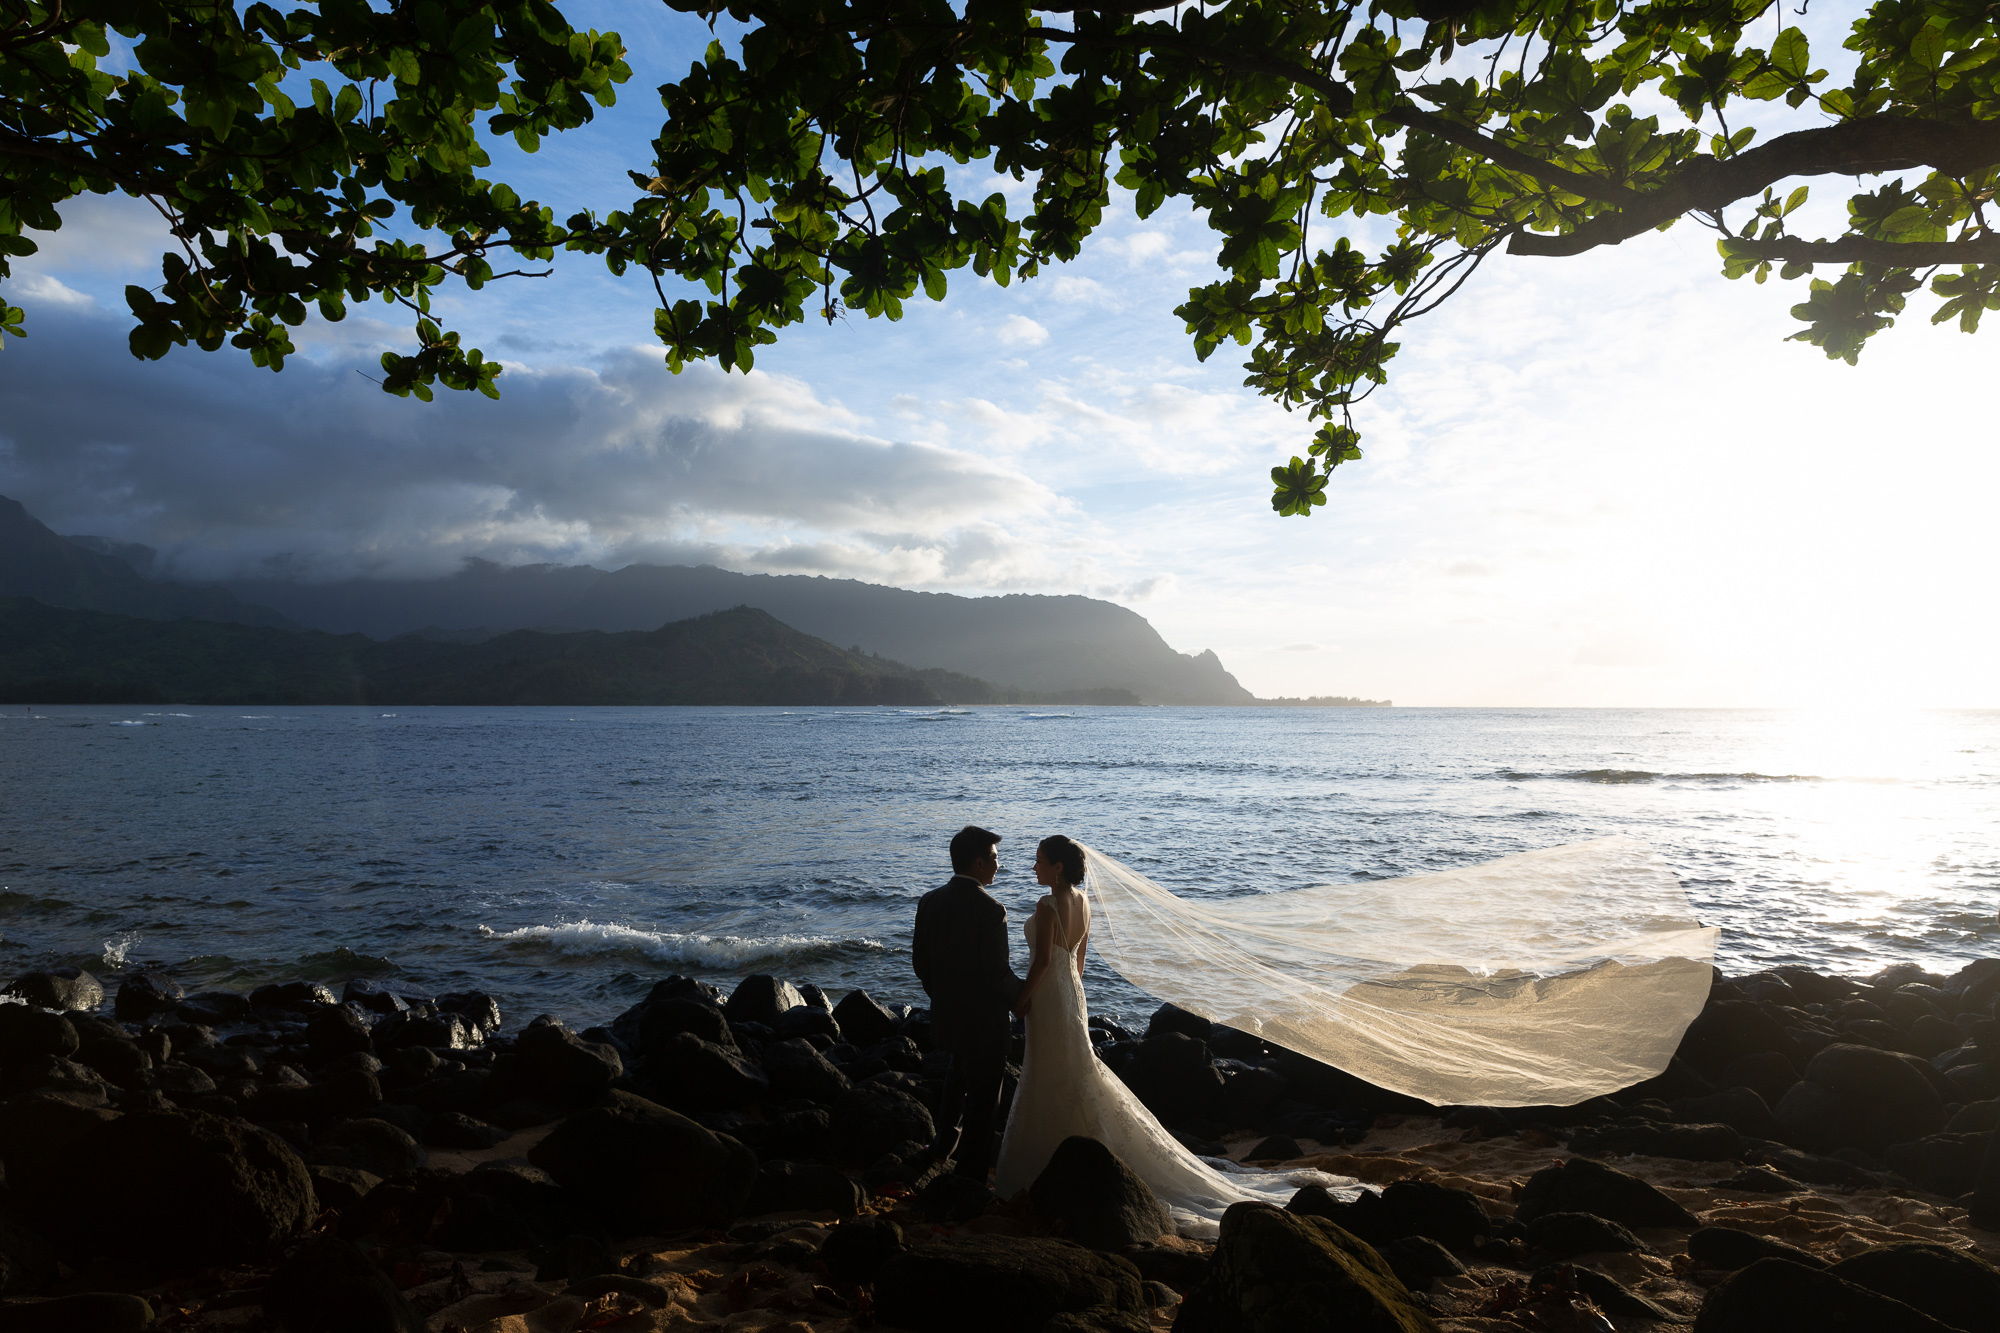
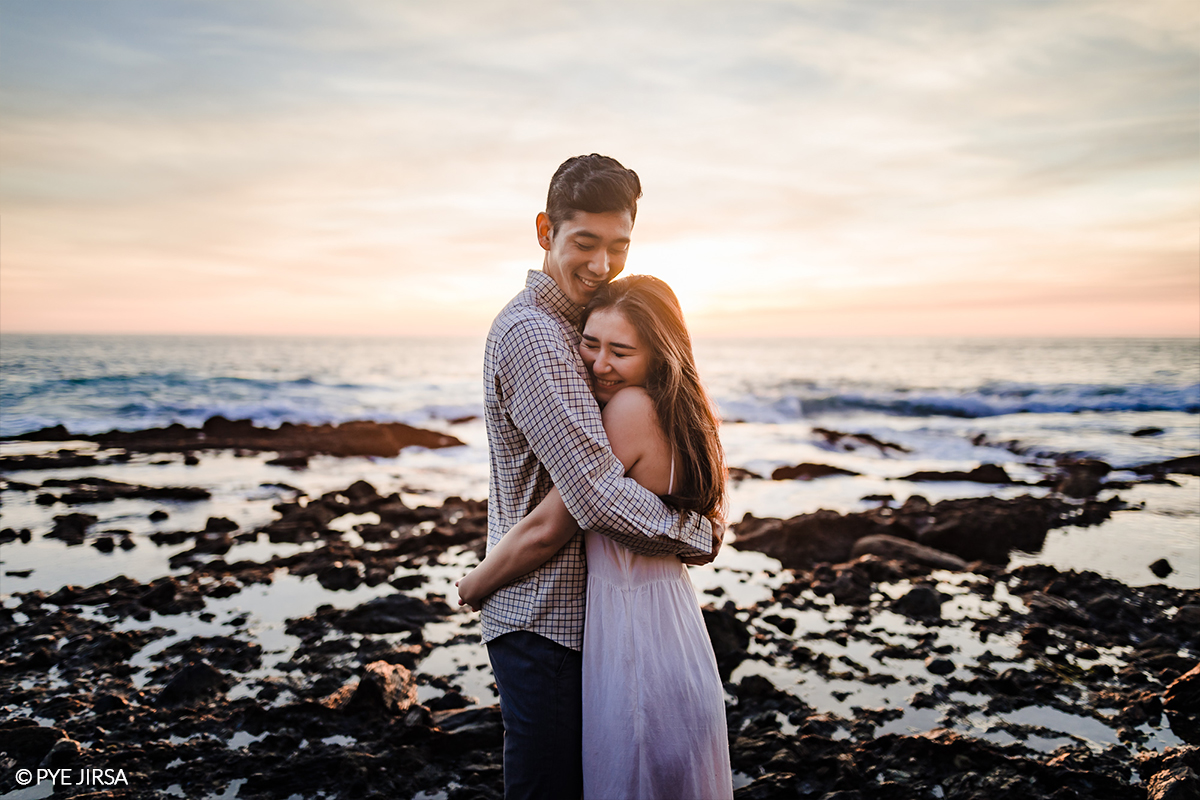
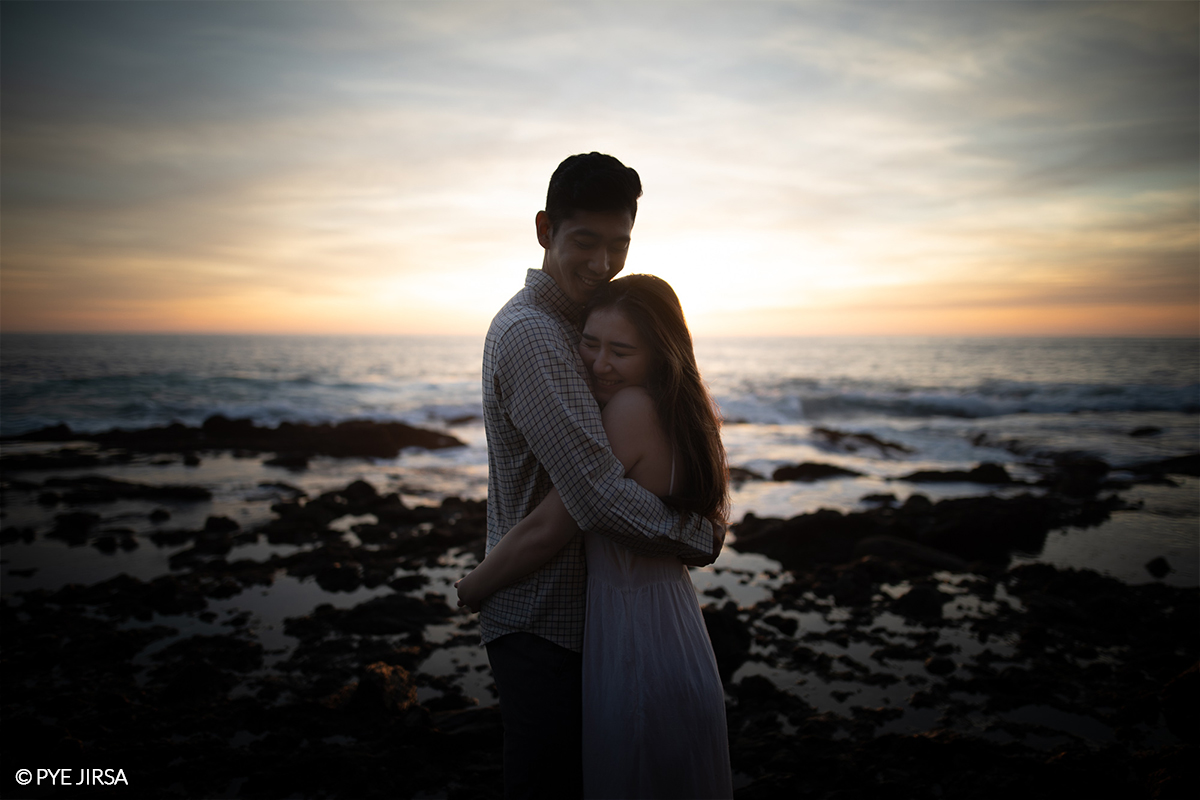
We made sure to design our HDR preset with a natural look, especially in regards to skin tones. As you can see from the two images below, your HDR images will have the same look and feel as the images edited with the other presets, such as soft light.
When should you use the Lightroom HDR Natural presets?
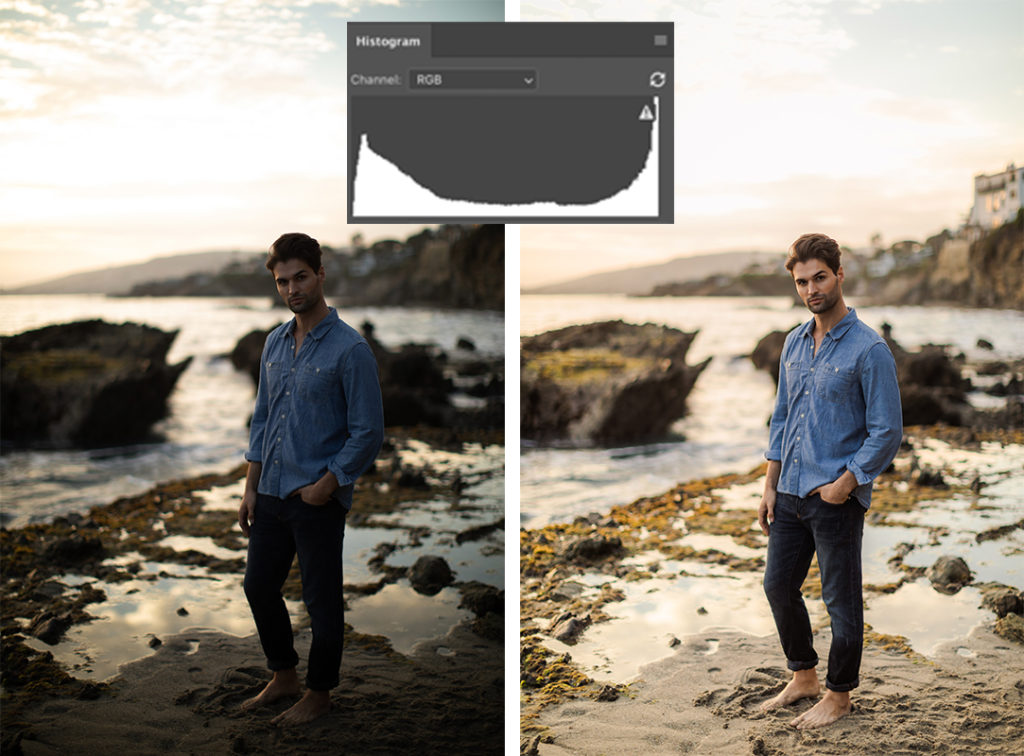
The HDR preset is intended for use in scenes with high dynamic range, with bright highlights and deep shadows. In other words, the histogram in these images will typically spike at both ends.
Typical scenes for the HDR natural presets are:
- Outdoor Photos (beach, mountains, parks, etc)
- Sunset Photos or Sunny Weather Photos
- Outdoor Wide Angle Wedding Ceremony Photos
We typically do not recommend using the HDR presets for indoor photos, overcast photos, night time photos, and any other photos that would fit the other lighting conditions better, such as photos with soft light, hard light, tungsten light, etc.
What Does the HDR Preset do to an Image?
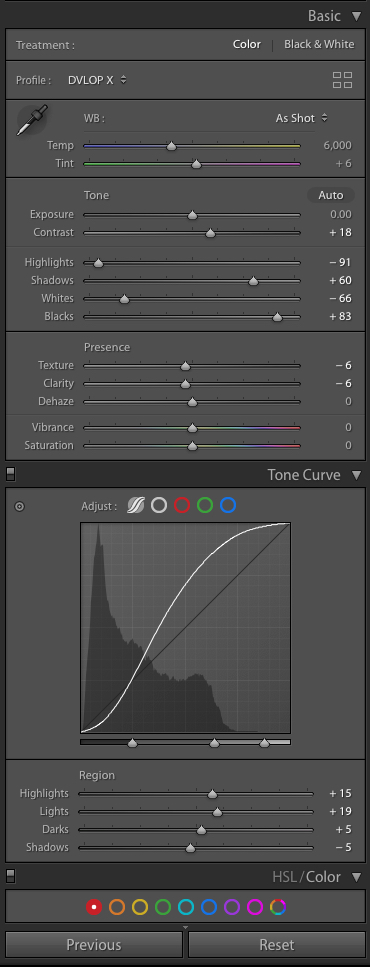
At its core, the HDR Natural preset pulls back highlight and shadow tones to reveal more detail while retaining image contrast.
The preset heavily manipulates color, texture and clarity to ensure skin tones remain natural.
These settings were then tested and adjusted over thousands of images to ensure users could achieve incredible results in as few clicks as possible.
Examples of the HDR Preset in Use:
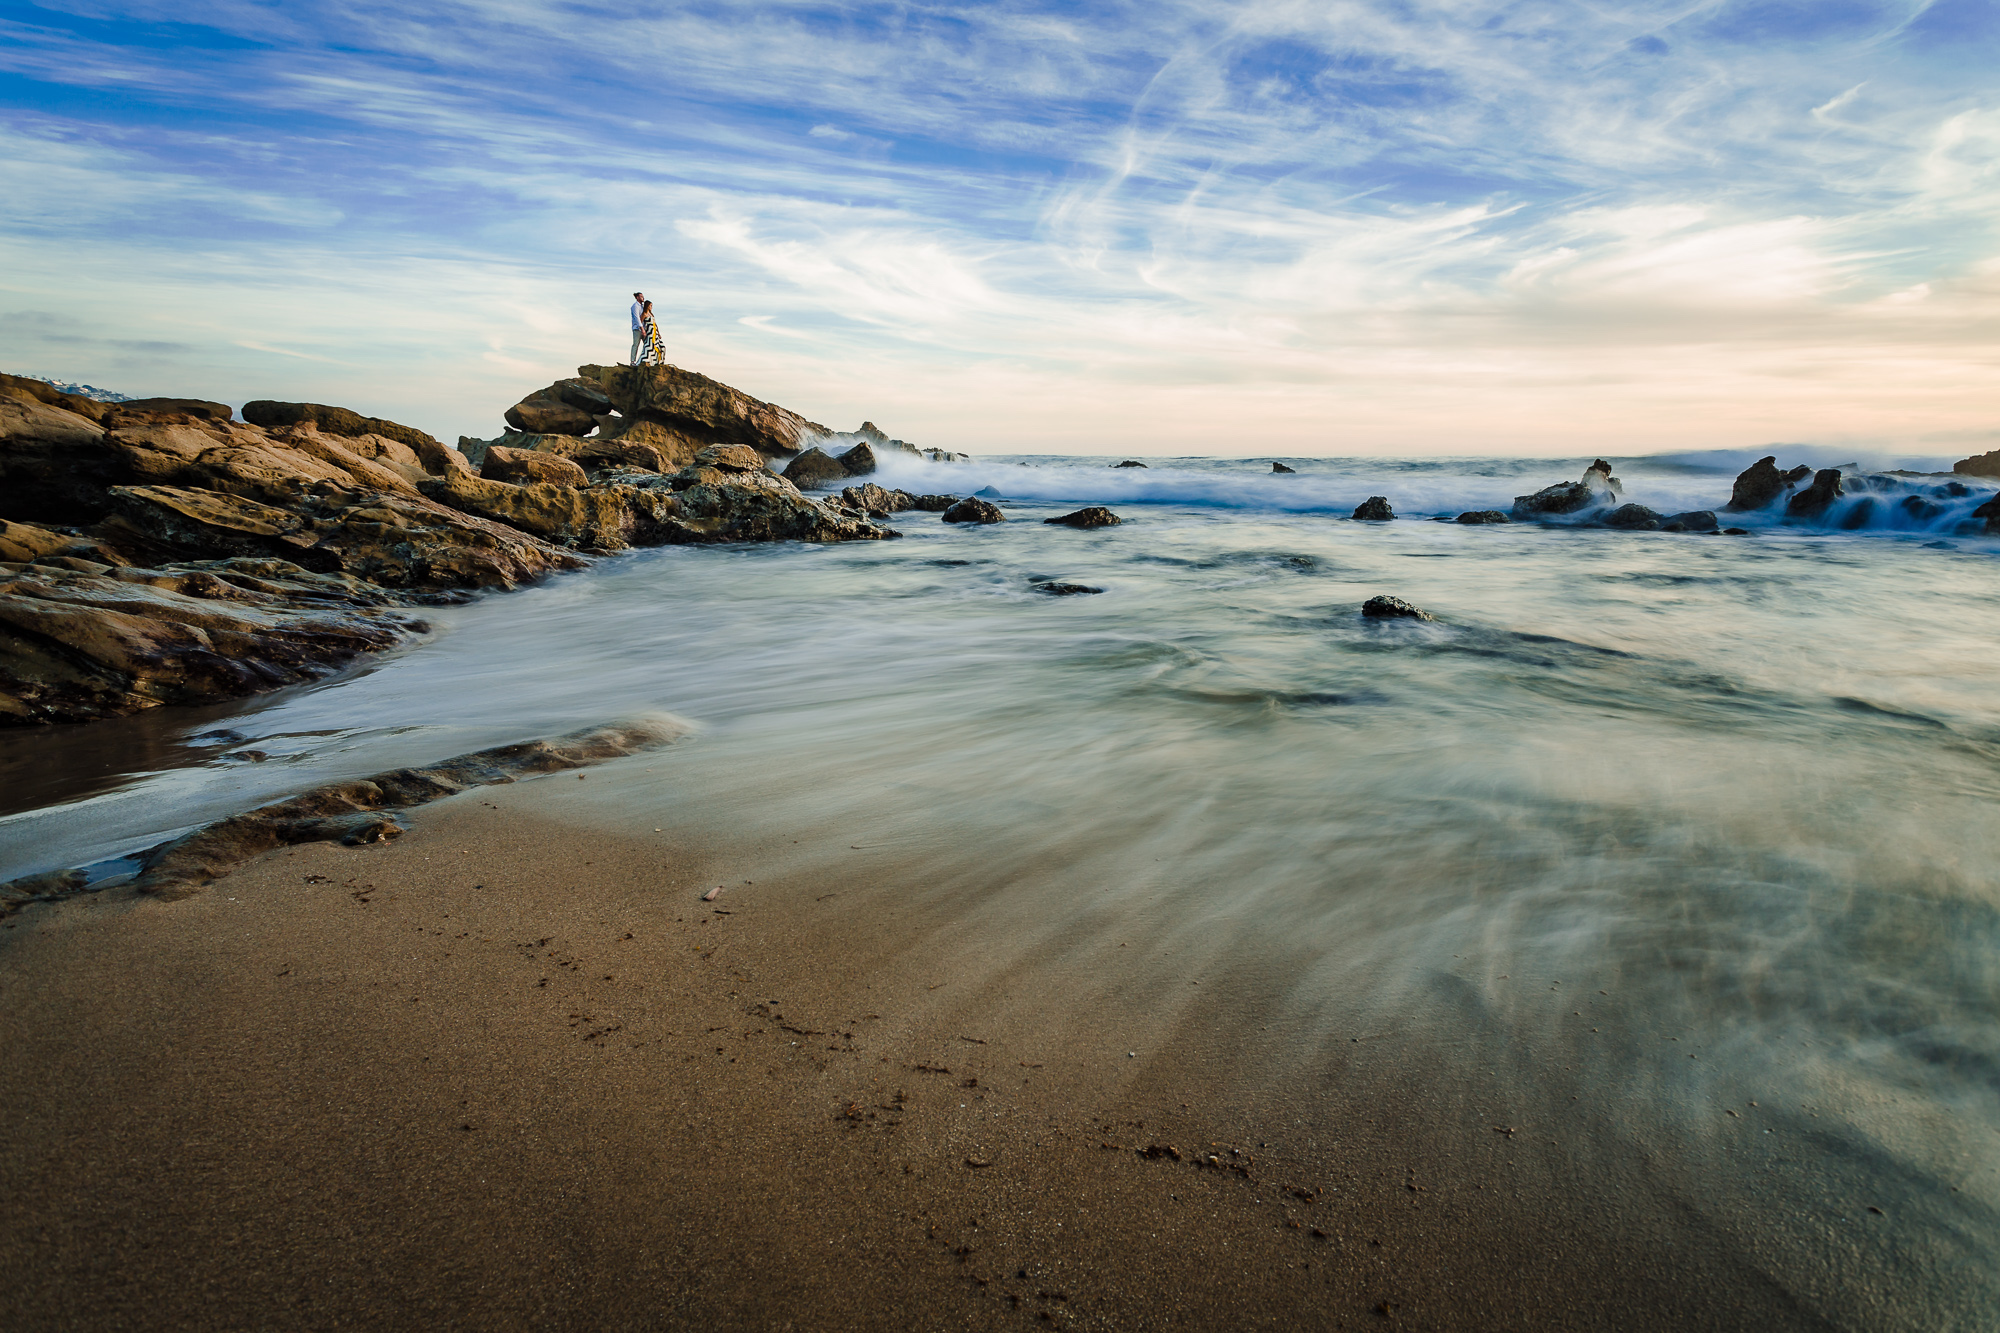
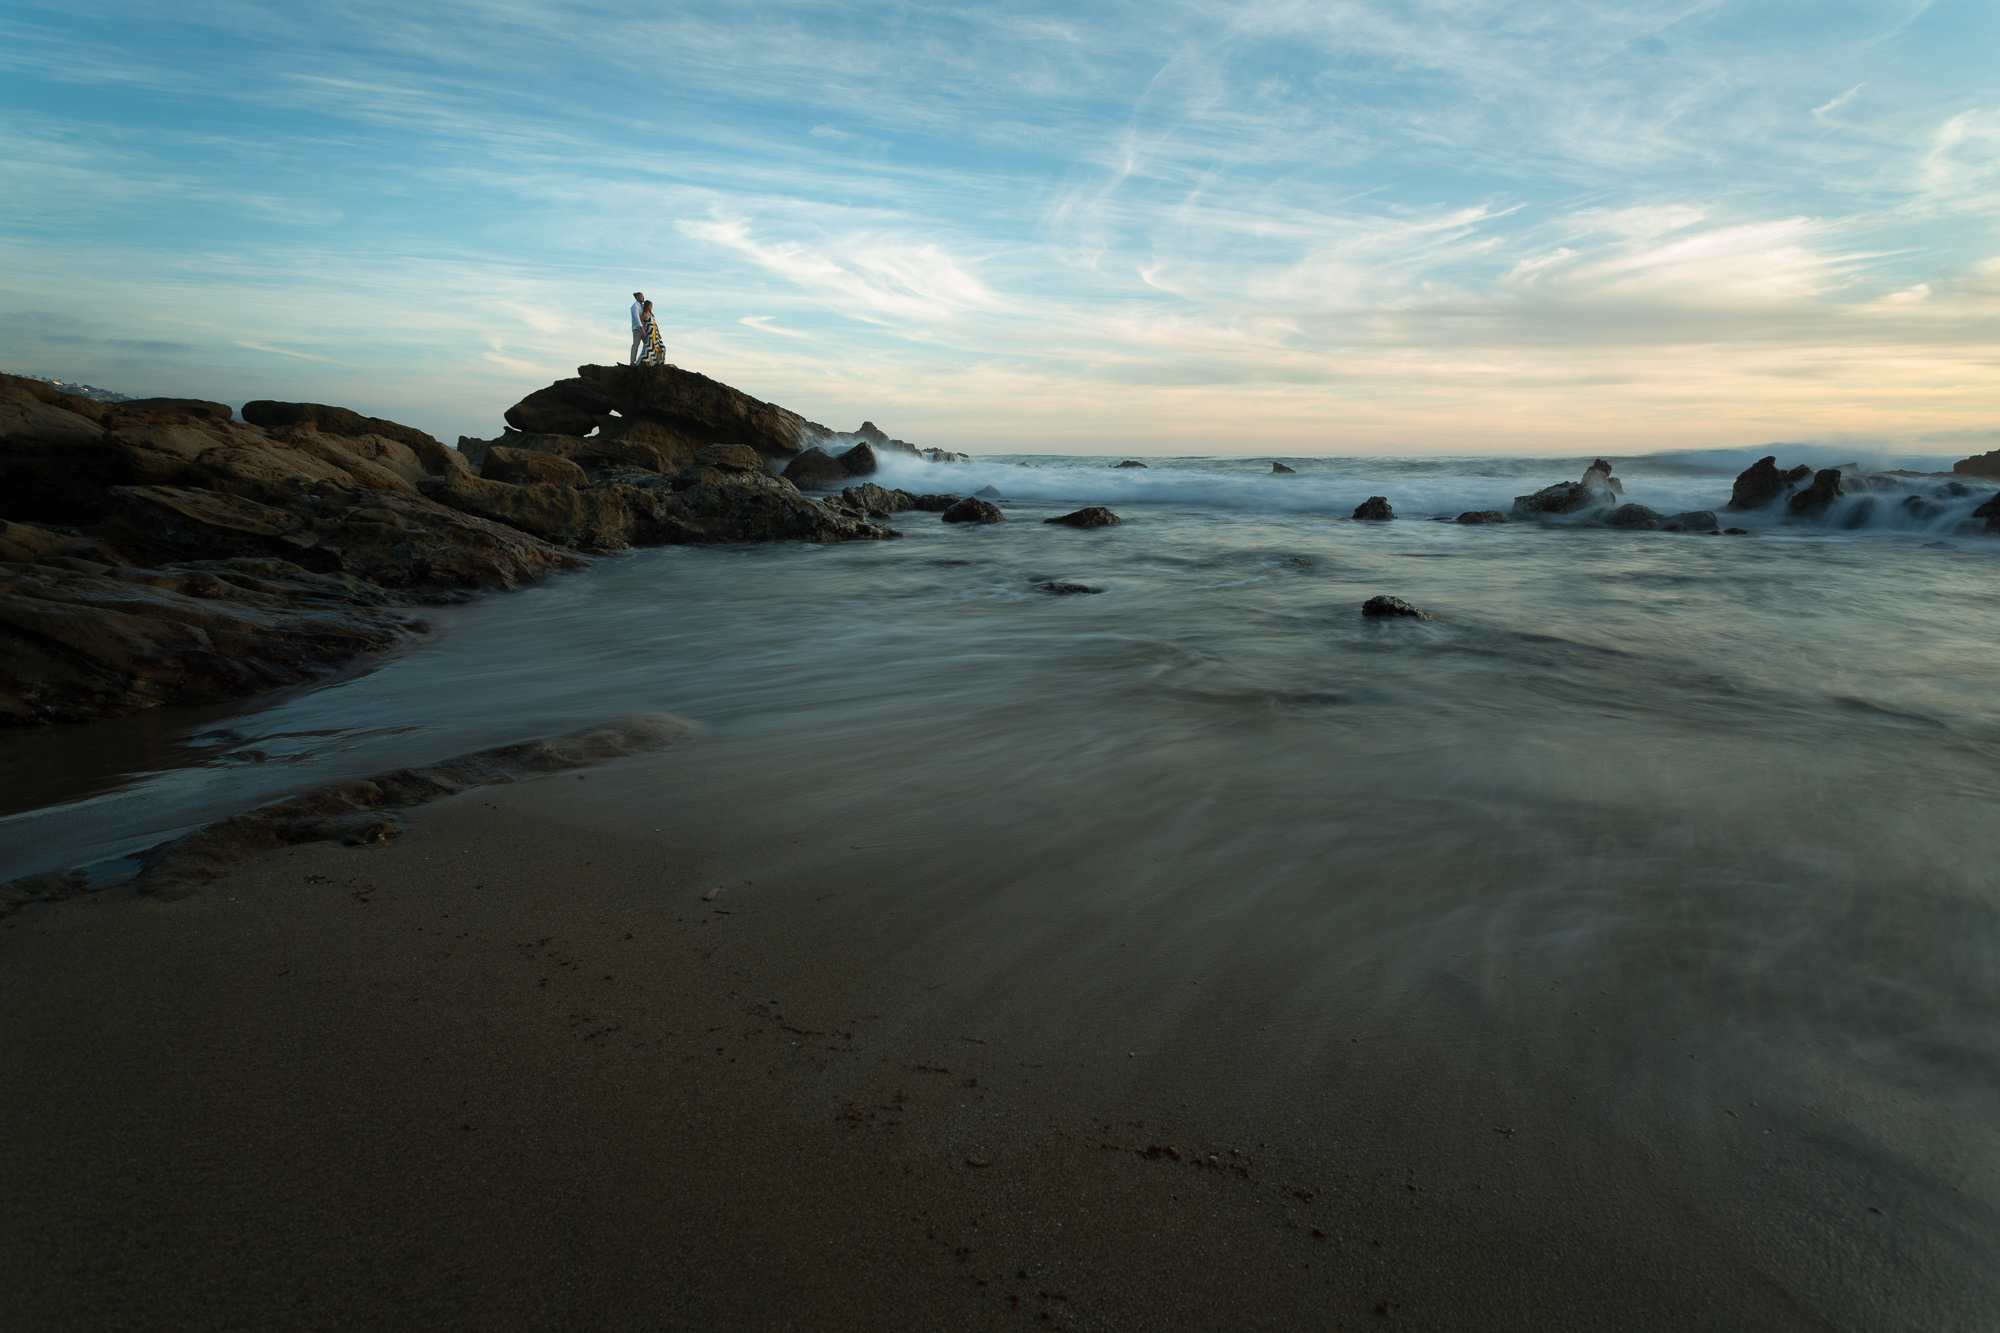
Below are examples of the Lightroom HDR Natural Preset in use.
Leave a Reply
You must be logged in to post a comment.