Free Guide to Using Lightroom
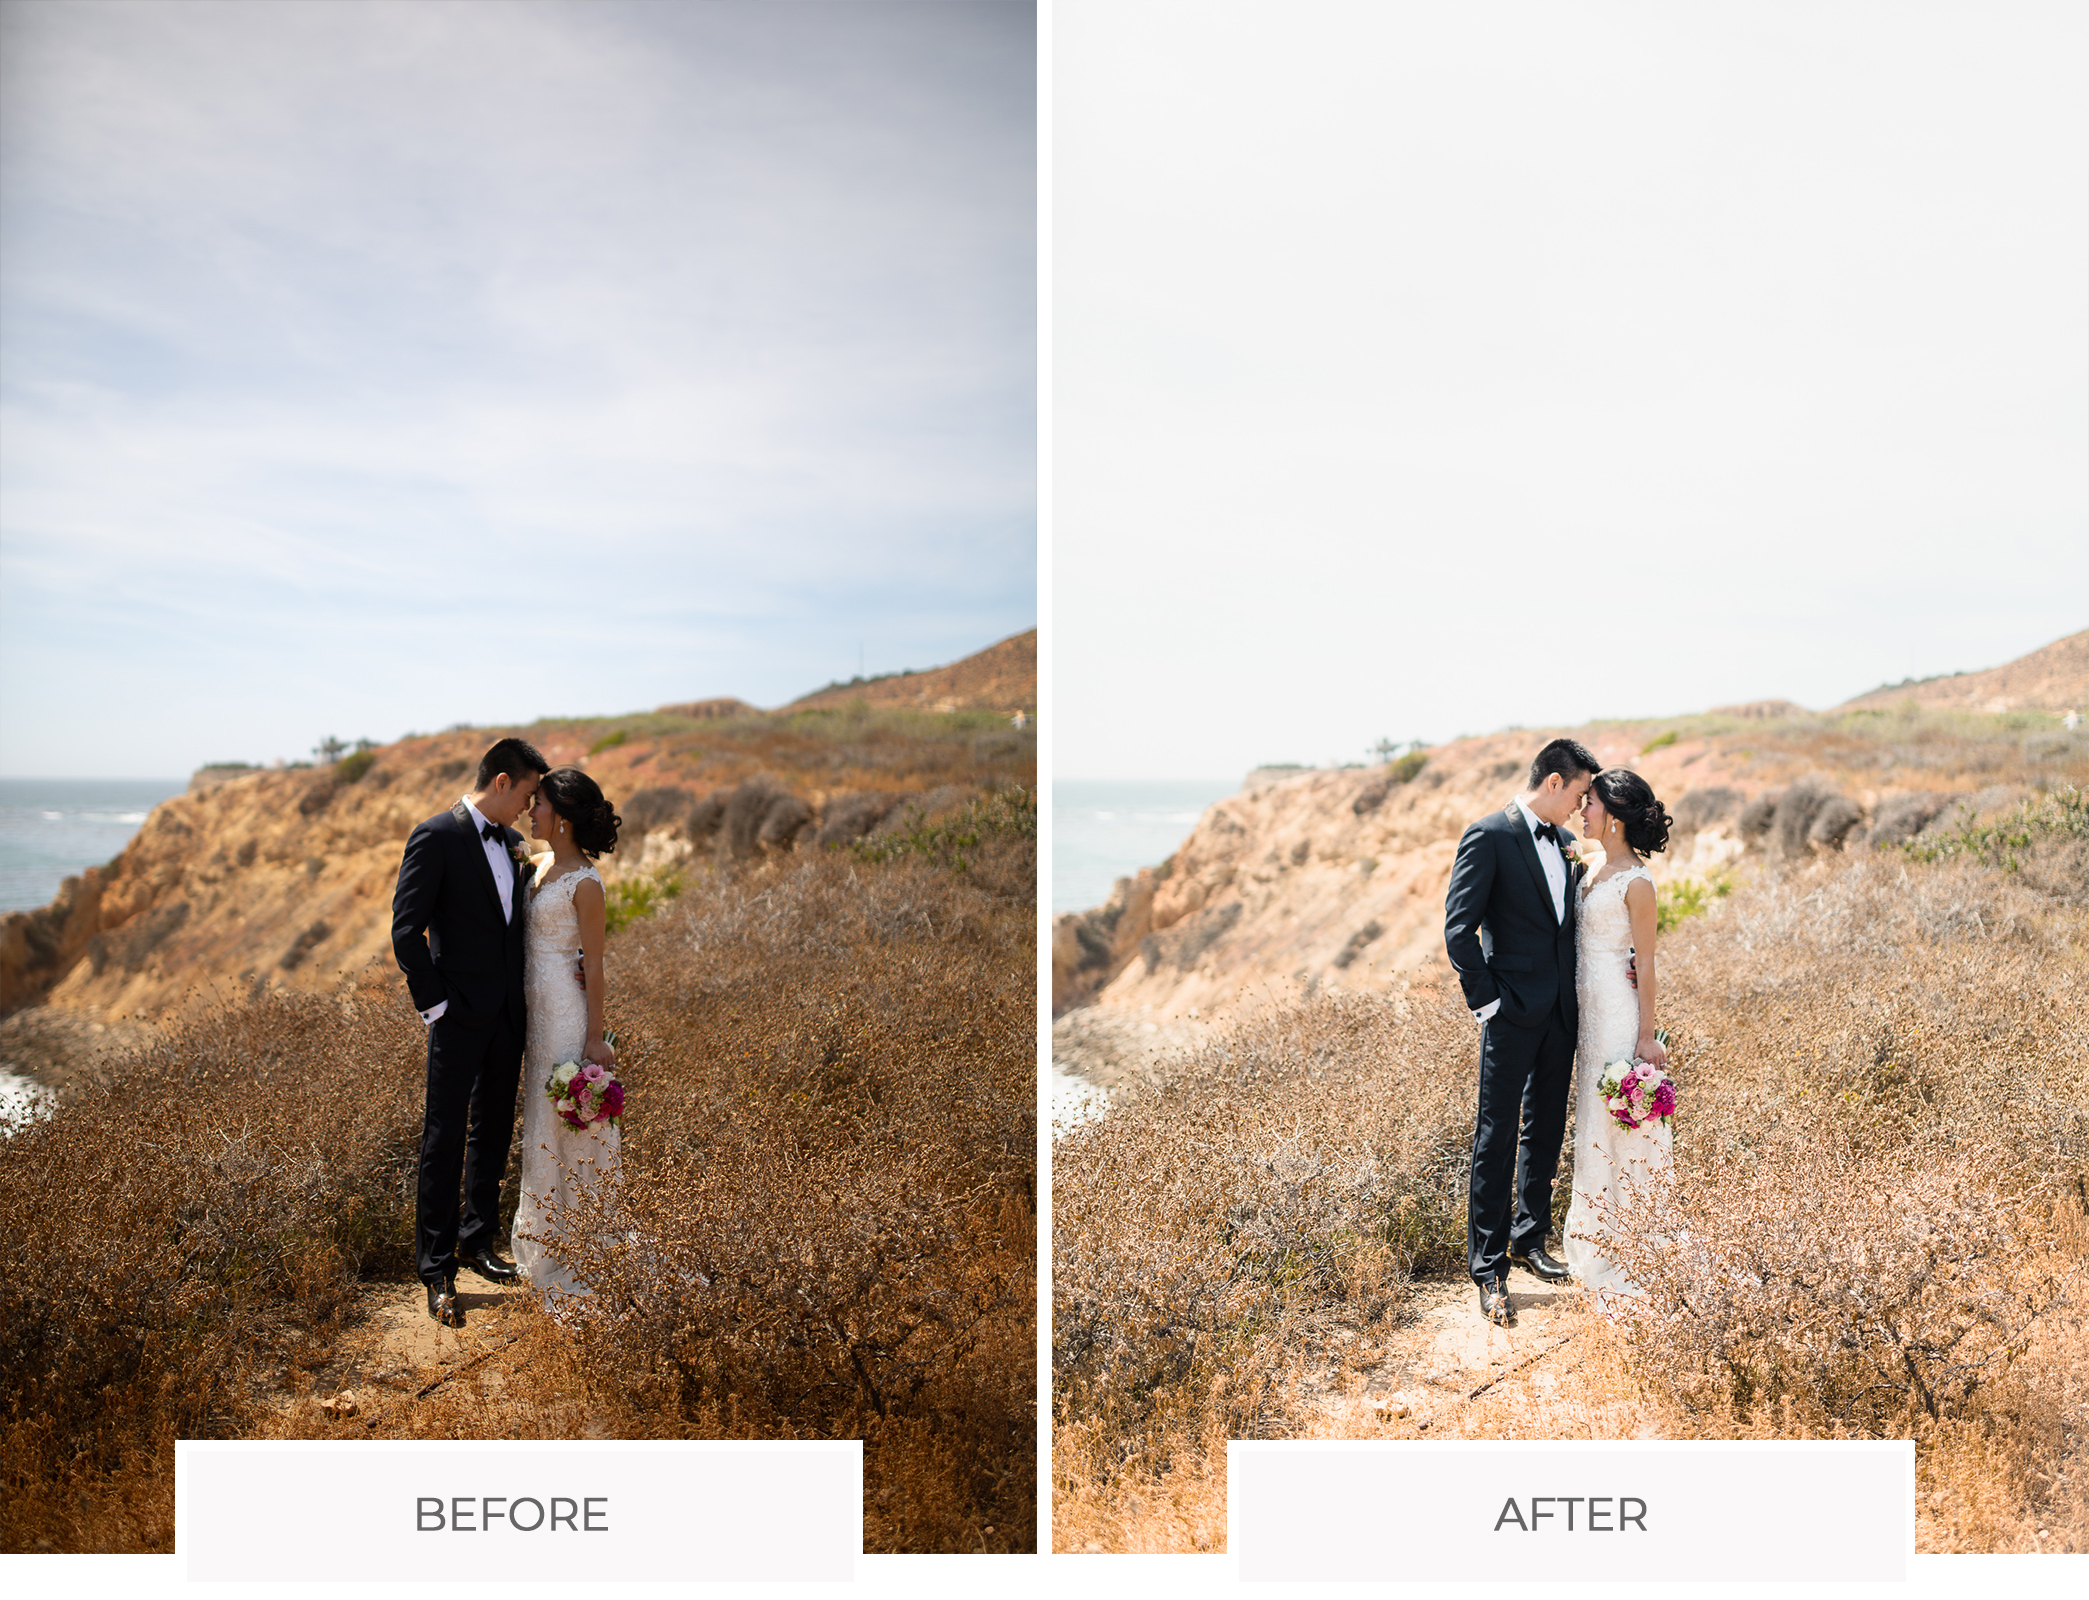
Post-production is the unsung hero of the photographic process. As important as it is to capture great photos, editing can truly make or break a final image.
If you’re just starting out, however, learning to navigate editing software like Adobe Lightroom can quickly feel overwhelming. From setting up your workflow to navigating the tool panels, learning to use Lightroom efficiently requires a bit of time and dedication (and often some helpful Lightroom tutorials). Regardless of where you are in your journey, this free guide to using Lightroom will provide a practical approach to unpacking, understanding, and mastering all things Lightroom, from import to export.
Here is an overview of our Lightroom Tutorials | Free Guide to Using Lightroom:
- Introducing Lightroom
- Lightroom’s Layout: Library and Develop Modules
- Photo Organization & Editing Workflow
Part One: Introducing Lightroom
So, if you haven’t actually purchased Lightroom yet, and you’re wondering what all the fuss is about, here’s the deal: You need a program that can help you do everything, quickly, from start to finish.
LR vs. The Competition – What Are The Best Alternatives To Lightroom?
Lightroom is not only a complete solution for almost your entire workflow, but also a much better solution than the competitors in quite a few areas. Adobe’s raw converter is one of the best at getting the most out of a raw file (dynamic range, sharpness, noise control, color reproduction), and it’s also one of the fastest in terms of streamlining the actual process.
The tools available for culling your keepers from your rejects are some of the most powerful tools on the market; these include applying & filtering keywords and performing actual color-corrections in high-volume and high-speed workflows.
So, are competitors like Capture One and Affinity worth considering? Absolutely, yes. Try them out, they might work for you and your needs; however, Lightroom is still the more popular raw software for a good reason – it’s just that good.
If you’ve ever heard of Camera Raw and are wondering how that fits into the Lightroom picture, read the article linked below to better understand the nuances between the two.
Raw vs. Jpeg – Image Formats & Processing
Before we get too deep into this Lightroom Tutorial, though, let’s talk about something that might be taken for granted, but still needs to be said: You’re shooting with your camera set to RAW, right?
Indeed, most photographers should be shooting in a raw format. There are a few reasons why you might want to shoot JPG instead, but for the most part, you’ll get the most out of Lightroom if you’re working with raw files.
In case you’re wondering, though, here’s why:
Shooting RAW vs JPEG
The biggest difference between raw and JPEG files is this: A JPG file has already been irreversibly edited by the time it is saved to the memory card, but a raw file has no editing whatsoever; it is just an information file that is created from your camera’s exposure settings.
This presents a few advantages for JPG, but many, many advantages for “RAW.”
With a JPG file, you can send it straight to the Internet, or to a printer, and have it look exactly how you saw it on the back of the camera. This can be helpful for both quick, everyday snapshots that you just don’t want to worry about editing, but also for professional work where circulating or printing an image (news/press, sports, etc.) as immediately as possible is required.
With a raw file, you must process the file before you can do anything with it. Not only do you need a special raw conversion application, such as Lightroom, but your images will also usually look a little bit less vibrant than if you had shot a JPG image. That’s OK, because Lightroom makes it easy to enhance your images quickly, even all at once, and achieve a much better overall final result.
This is because a JPG file might not capture all the highlights or shadows in a scene, and if you try to recover them in editing, they won’t look very good. But, with a raw file, highlights and especially shadows can be recovered with ease, and color balance can be changed, all without any negative consequences. WIthin the limits of the image data captured by the exposure, a raw file is completely malleable.
NOTE: Is it “RAW”, or is it “raw”? By the way, why do we sometimes use upper-case, and other times lower-case? Because “RAW” is not actually a filename acronym, like .JPG is. Each camera has their own raw file type, like Canon’s CR2/CR3, Nikon’s NEF, Sony’s ARW, etc.
So, most of the time a raw file should be referred to in the lower case. However, on cameras, the setting itself is actually labelled “RAW”, likely because it’s just easier to read. Therefore, it’s OK to use the uppercase “RAW” when referring to actually setting your camera.
How to Buy Lightroom

Today, Lightroom’s purchasing options are very simple: You must sign up for one of Adobe’s Creative Cloud subscriptions that includes Lightroom. A Lightroom subscription also includes Photoshop as well, starting at $9.99/month,
(Unfortunately, if you own a newer camera, then the only way to edit its raw files in Lightroom – without converting to DNG – is to subscribe to Adobe’s Creative Cloud. You can’t use an old version of Lightroom 6 or earlier that you may have dug up! However, if you did buy Lightroom 6 and still have a copy of it, then you can edit new raw files by converting them to DNG.)
Adobe offers two versions of Lightroom, but they are always both included no matter which subscription you get. Lightroom “Classic” is the traditional interface, for desktop and laptop computers only, and Lightroom “Creative Cloud” is the new version, that is cloud-based, and fully synchronizes with not just the desktop application but also your mobile devices.
You can also subscribe to additional Adobe Creative Cloud Storage, such as 1TB instead of 20GB, or there are a few other options available. Listed below is a complete set of options that include Lightroom:
- $9.99/mo = Adobe Lightroom CC, Lightroom Classic, Photoshop, ACR (Bridge), 20GB storage
- $9.99/mo. = Adobe Lightroom CC, 1 TB storage
- $19.99/mo. = Adobe Lightroom CC Lightroom Classic, Photoshop, ACR (Bridge), 1TB storage
- $52.99/mo. = All Adobe Creative Cloud Applications, 100GB storage
Once you’ve picked a subscription, you’ll have to download Adobe’s Creative Cloud App, which acts as a hub for all the apps you have subscribed to. After logging into this main application, you will be able to install, update, and/or uninstall any of your programs. Then, you’re ready to go!
How to Create a Catalog & Import Photos
When you first open Lightroom, you’ll be asked to create a catalog. This catalog will be an .LRCAT file on your computer that remembers where all your photos are, and what editing you’ve applied to them.
If you ever lose or delete this .LRCAT file, you won’t delete your actual images, but you will forfeit all of the hard work you put into organizing and editing them! Therefore, it is very important to create your catalog in a place where you can keep it safe. It’s also important to back up the .LRCAT file often, so that in case anything goes wrong, you can revert back to that recent catalog.
For more information on how to create and a Lightroom catalog and import photos, check out the articles below:
- How to Create a Catalog in Lightroom Classic CC (2020 Update)
- How to Import Photos into Lightroom Classic CC and Create a Standard Import Preset (2020 Update)
- How to Create an Import Metadata Preset in Lightroom Classic CC (2020 Update)
- Use Tethered Capture to Import Images into Lightroom in 5 Steps
If you’ve ever moved your files to a new location or renamed a folder after setting up a catalog in Lightroom, then you know that doing so will break the link between your images and your Lightroom catalog. Luckily, there’s an easy fix.
How to Customize Your Preferences
Customizing your Lightroom preferences will allow you to streamline your workflow and dial in basics like deciding which catalog you’ll see when you open Lightroom as well as other import options and miscellaneous details.
Part Two: Lightroom’s Layout – Library and Develop Modules
In the second part of this free guide to using Lightroom, we’ll dive deeper into interface, which is broken down into what are called “modules,” and there are two primary modules you will want to fully understand. The Library module is where you’ll import, sort, and generally organize & view your images. The Develop module, of course, will be where you edit your images.
Library Module

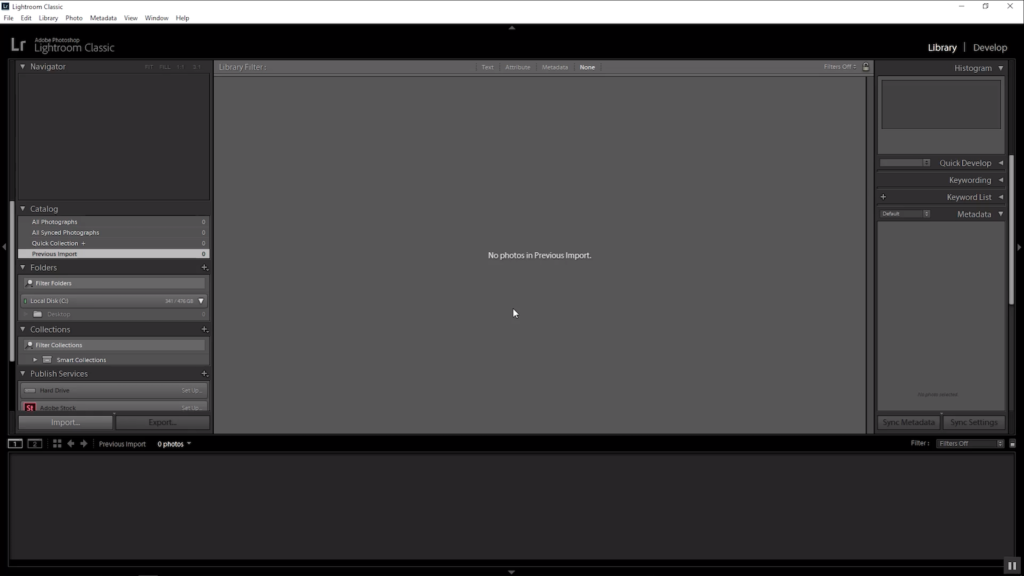
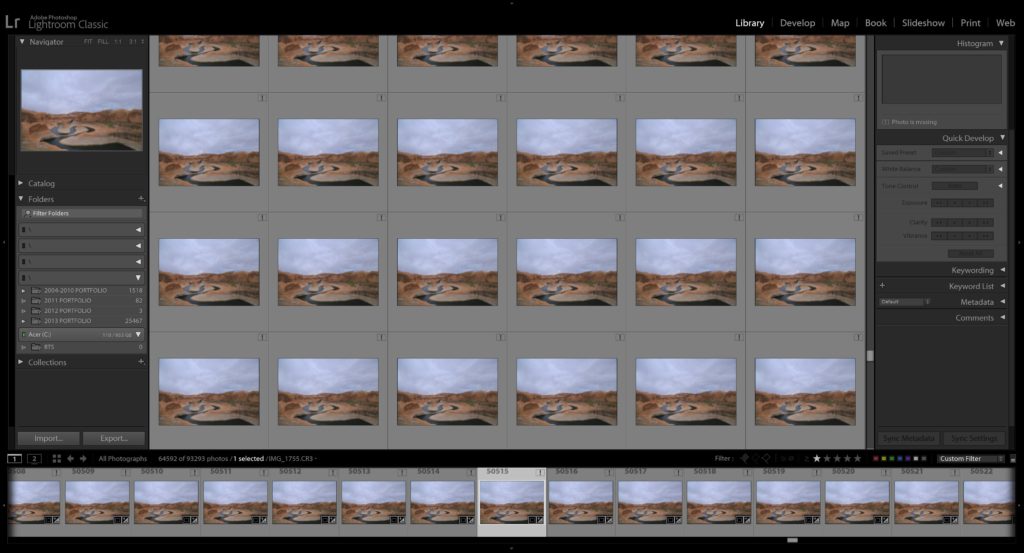
The Library Module is where you can view your photos all at once in a big grid in the center of the screen (aptly named Grid mode), or one image at a time in the center (Loupe mode) with a filmstrip of images across the bottom of the screen.
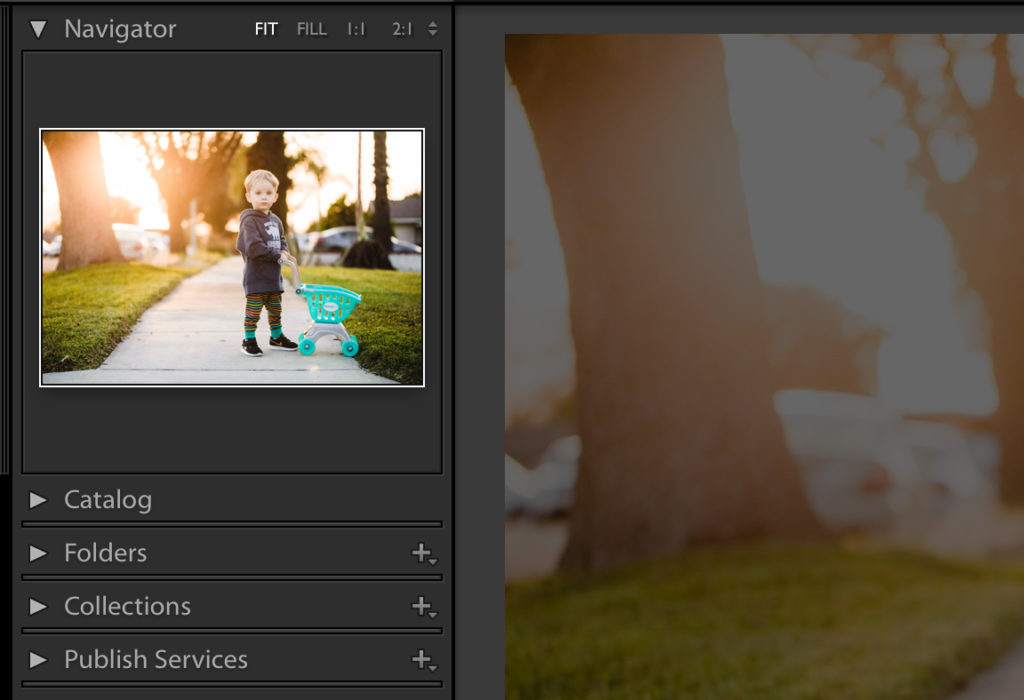
On the left-hand side of the interface (see the image above), you’ll find the tab with your main organization tools, including both the actual folder locations where files actually stay on your computer hard drive(s), and the internal, Lightroom-based organization, called Collections.
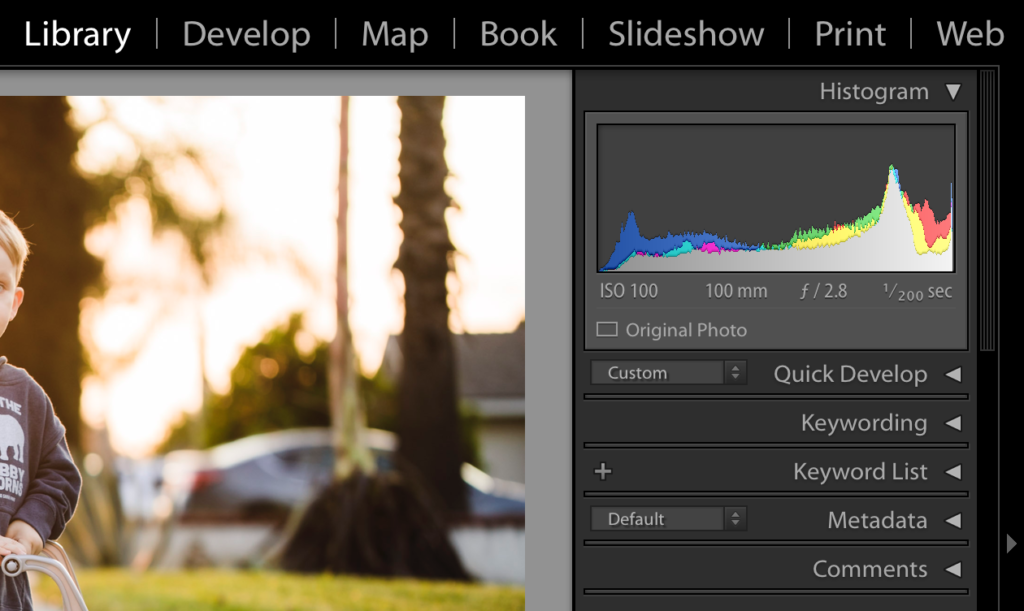
On the right-hand side of the Library interface (see the image above), you will find a handful of additional tools, from your Histogram and Quick Develop tools, to Keywording, Metadata, and more.
In essence, the Library Module will be where you “cull” your photos, that is, separate the keepers from the rejects.
Develop Module
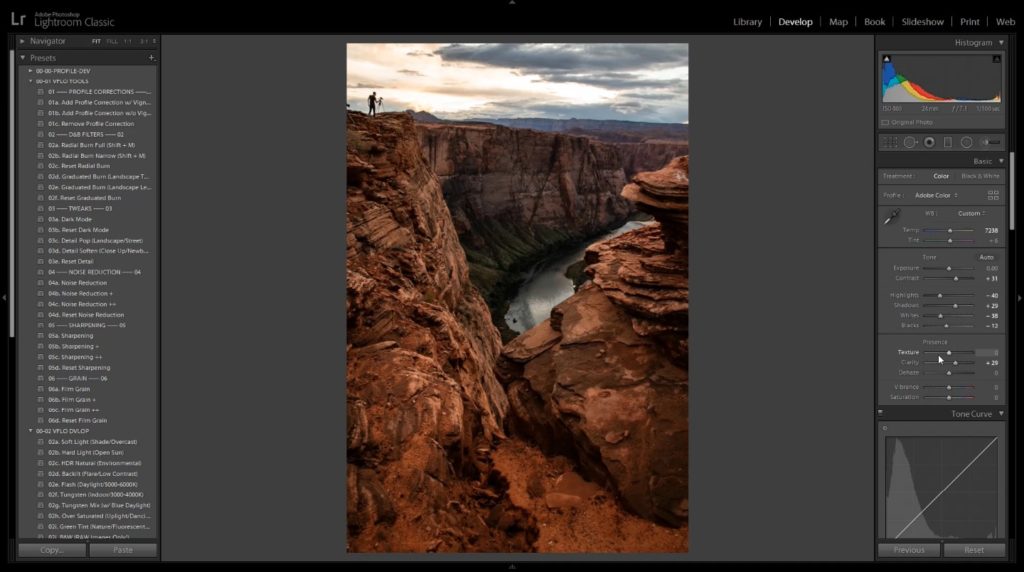
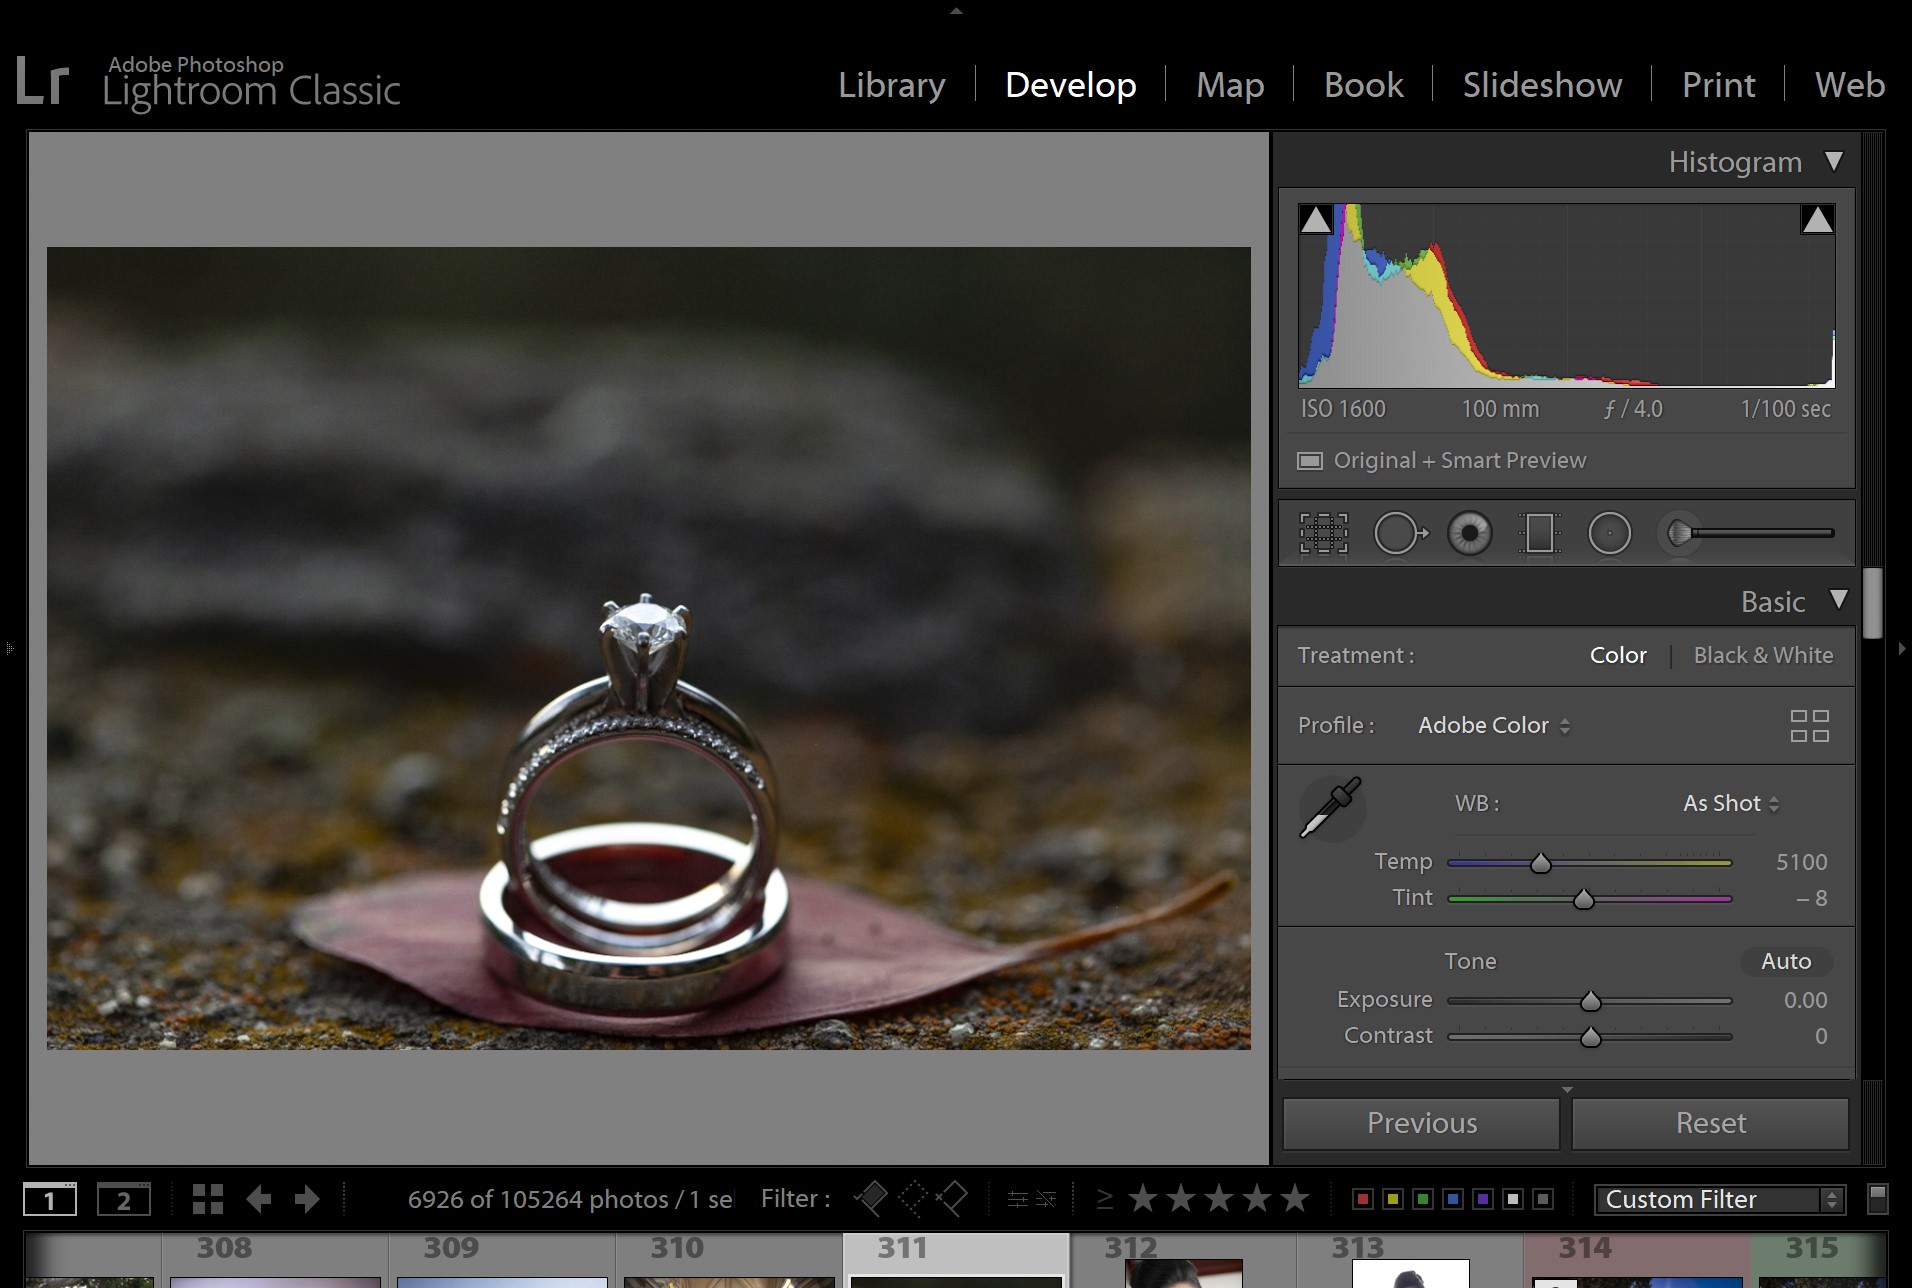
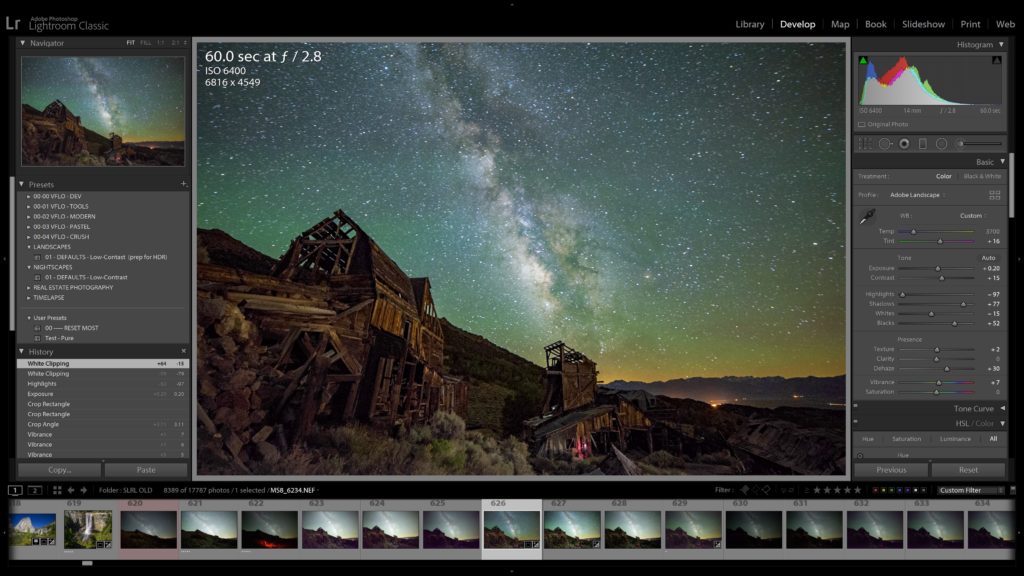
The Develop Module is where you’ll do all the real work of editing your photos. Like the Library Module, you’ll have your filmstrip across the bottom of the screen, and two tabs on the left and right. The right-hand tab is where all your editing tools are, and on the left you will find your Lightroom presets, the editing history for each image, and your collections.
The Develop Module offers a whole realm of new learning opportunities, and we have a few articles on the main aspects of how to master the key techniques you’ll need to get the most out of your images.
Editing Photos
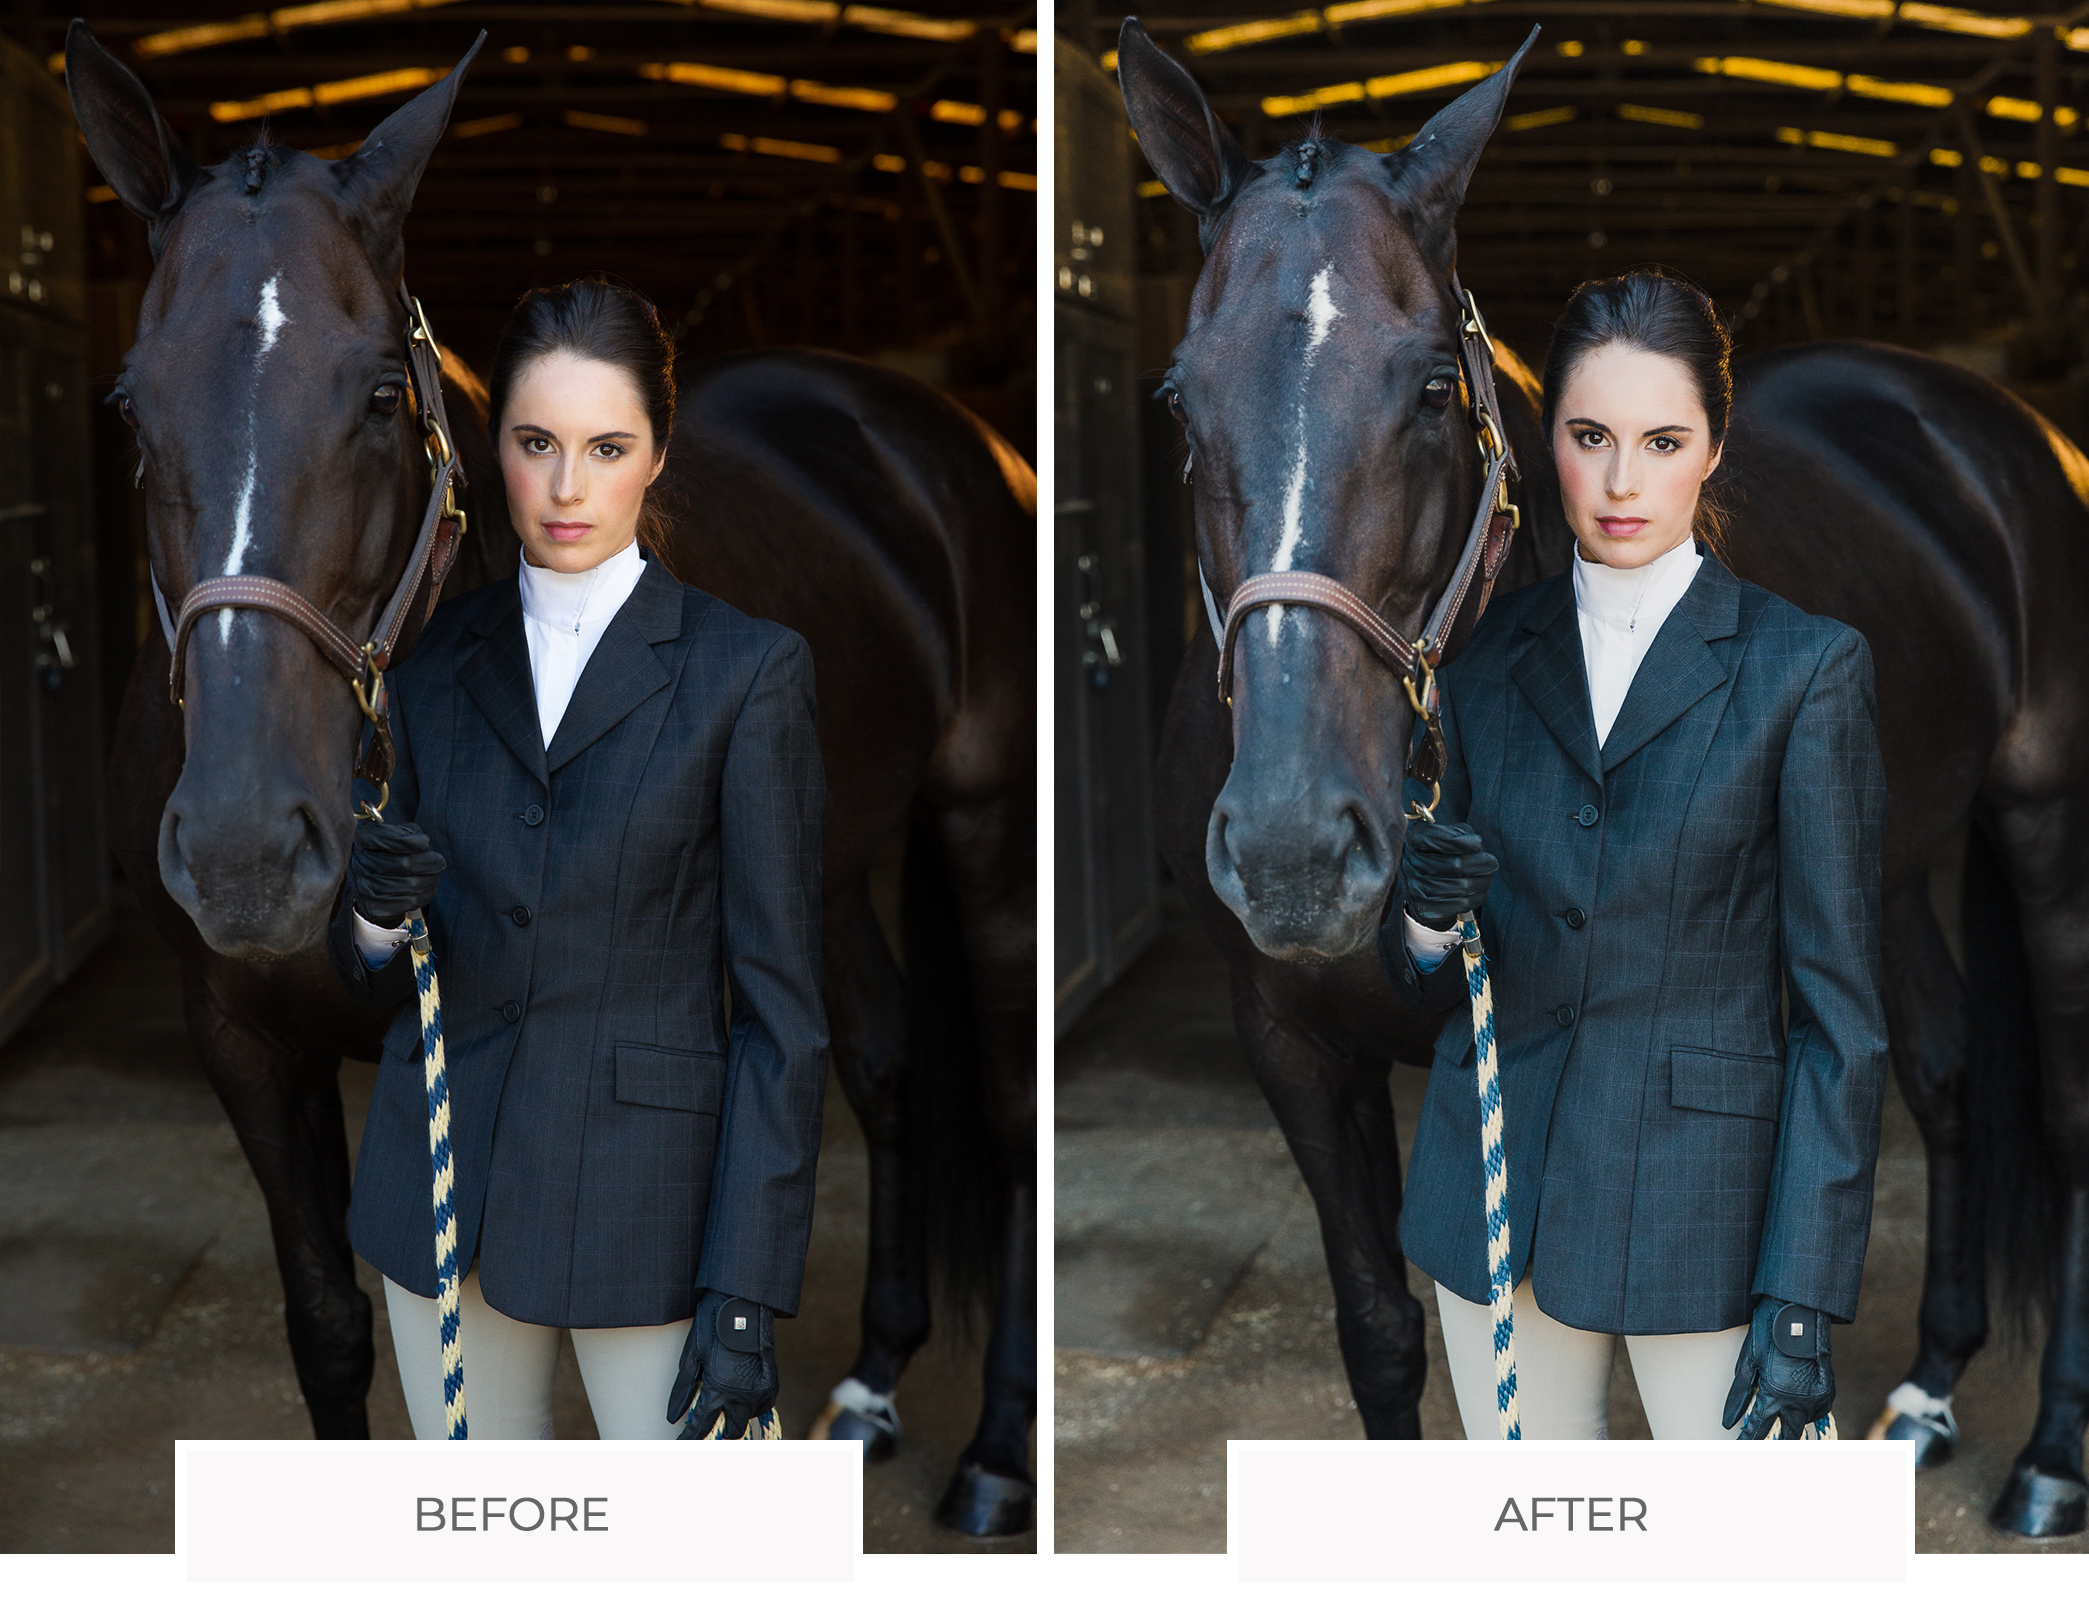
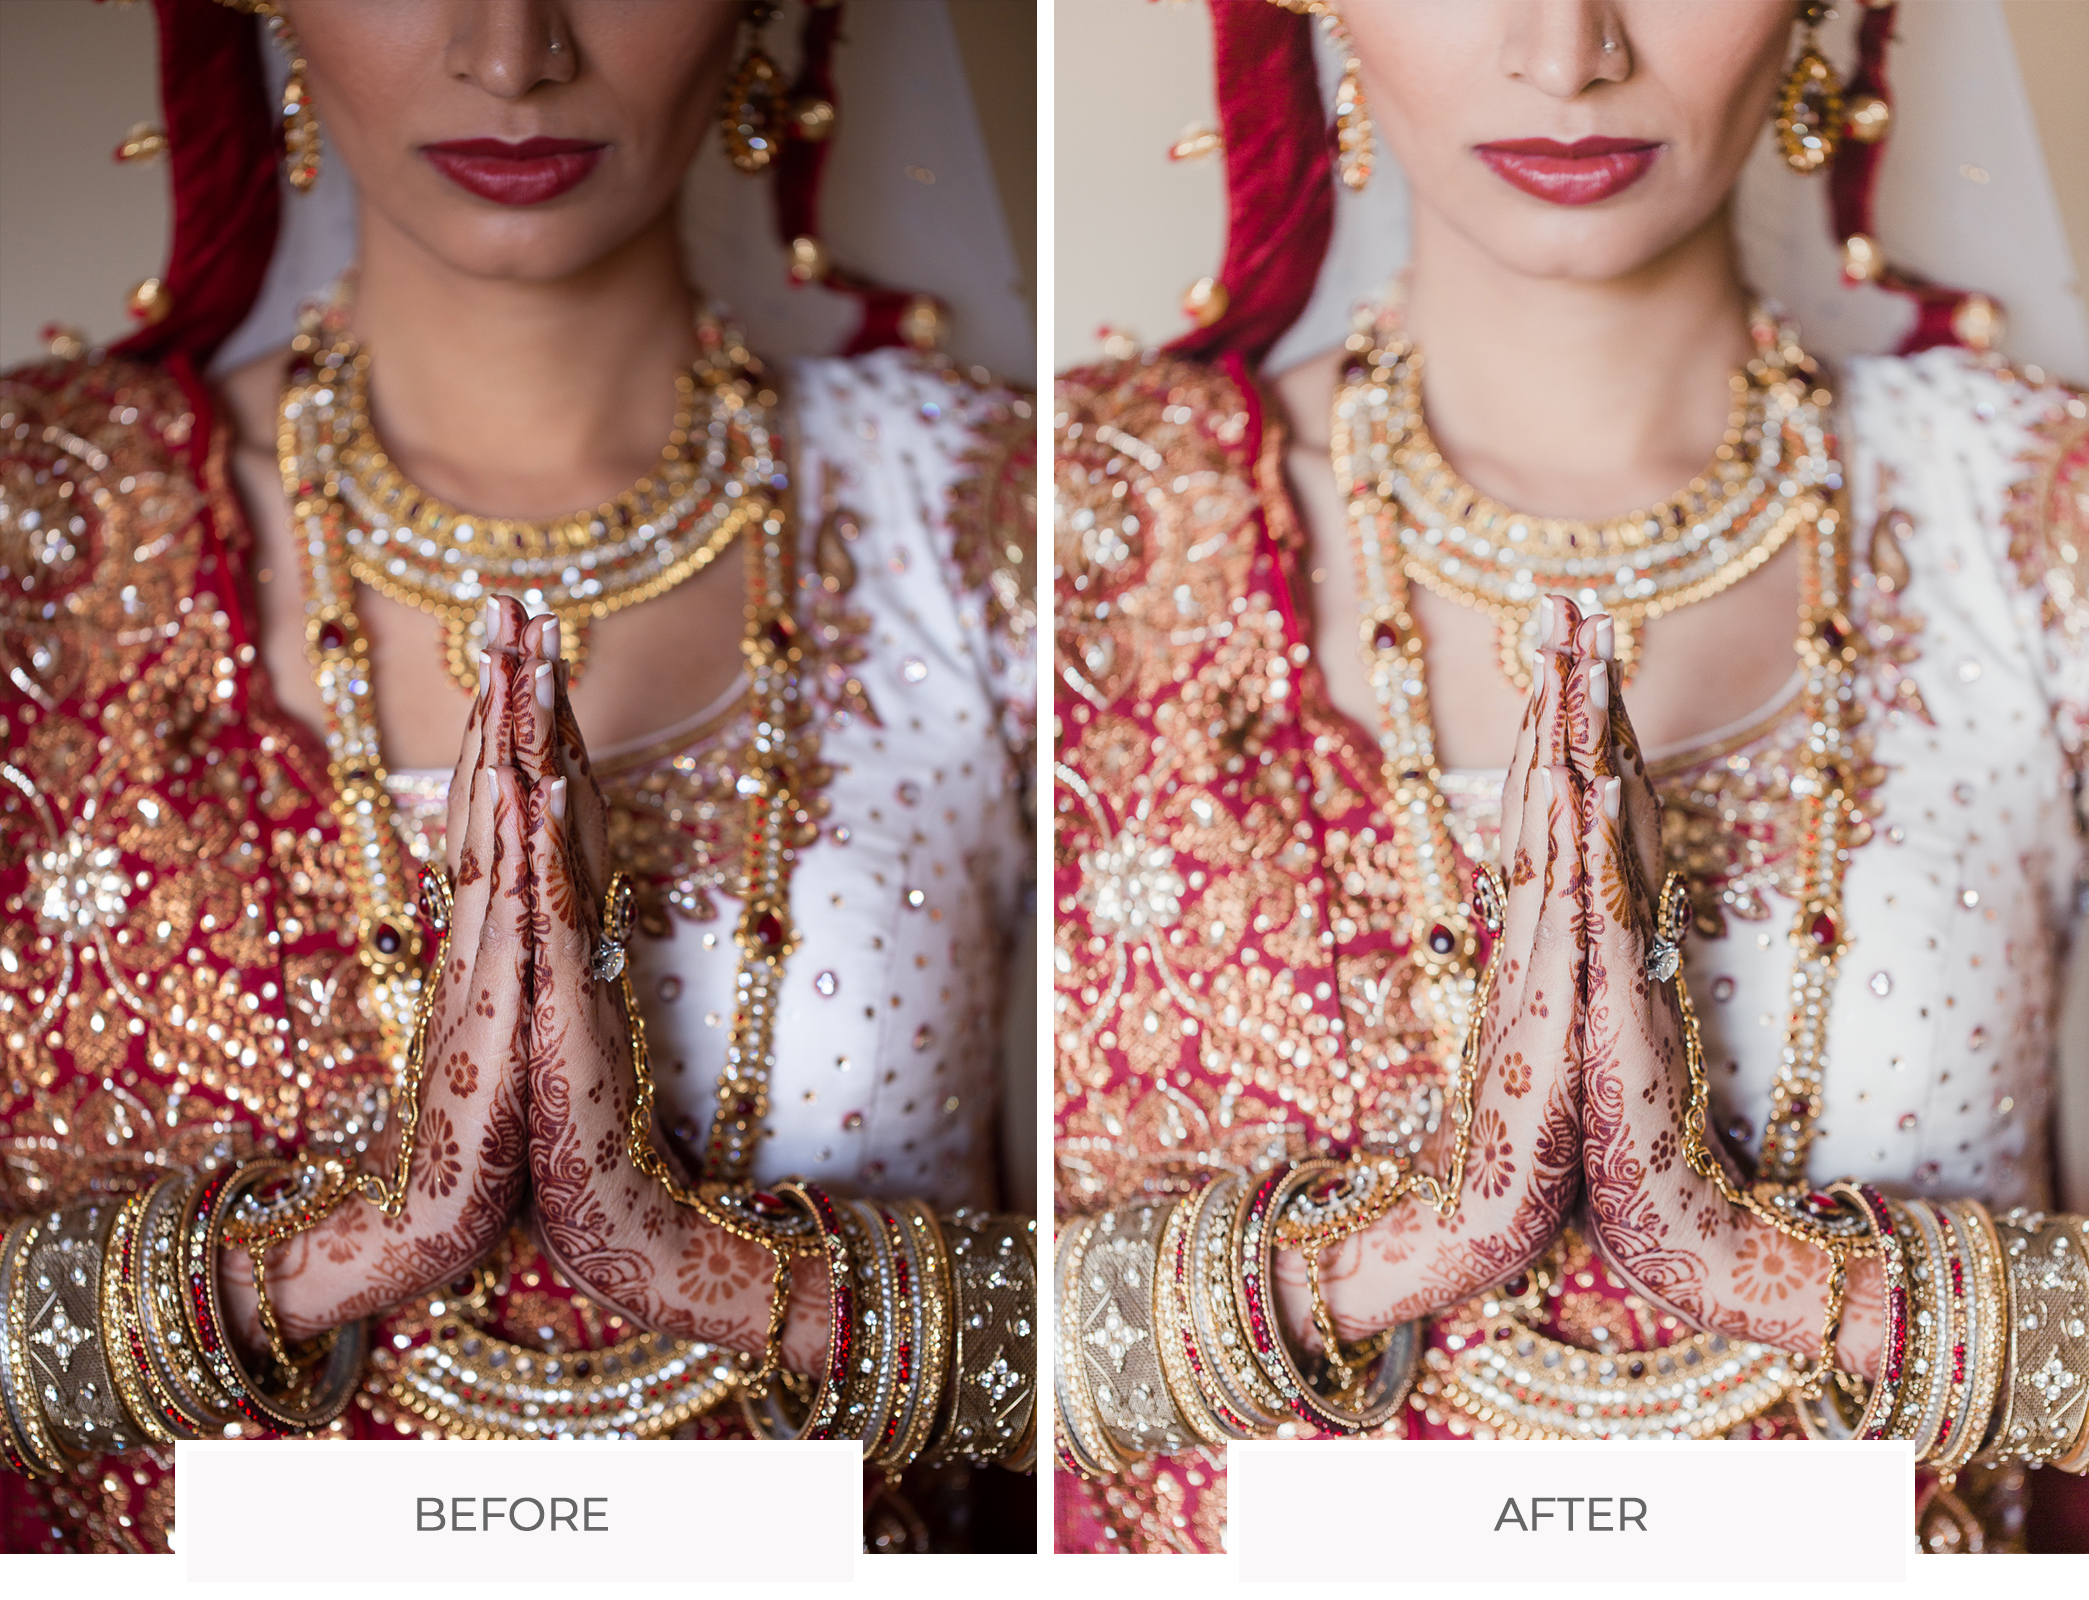
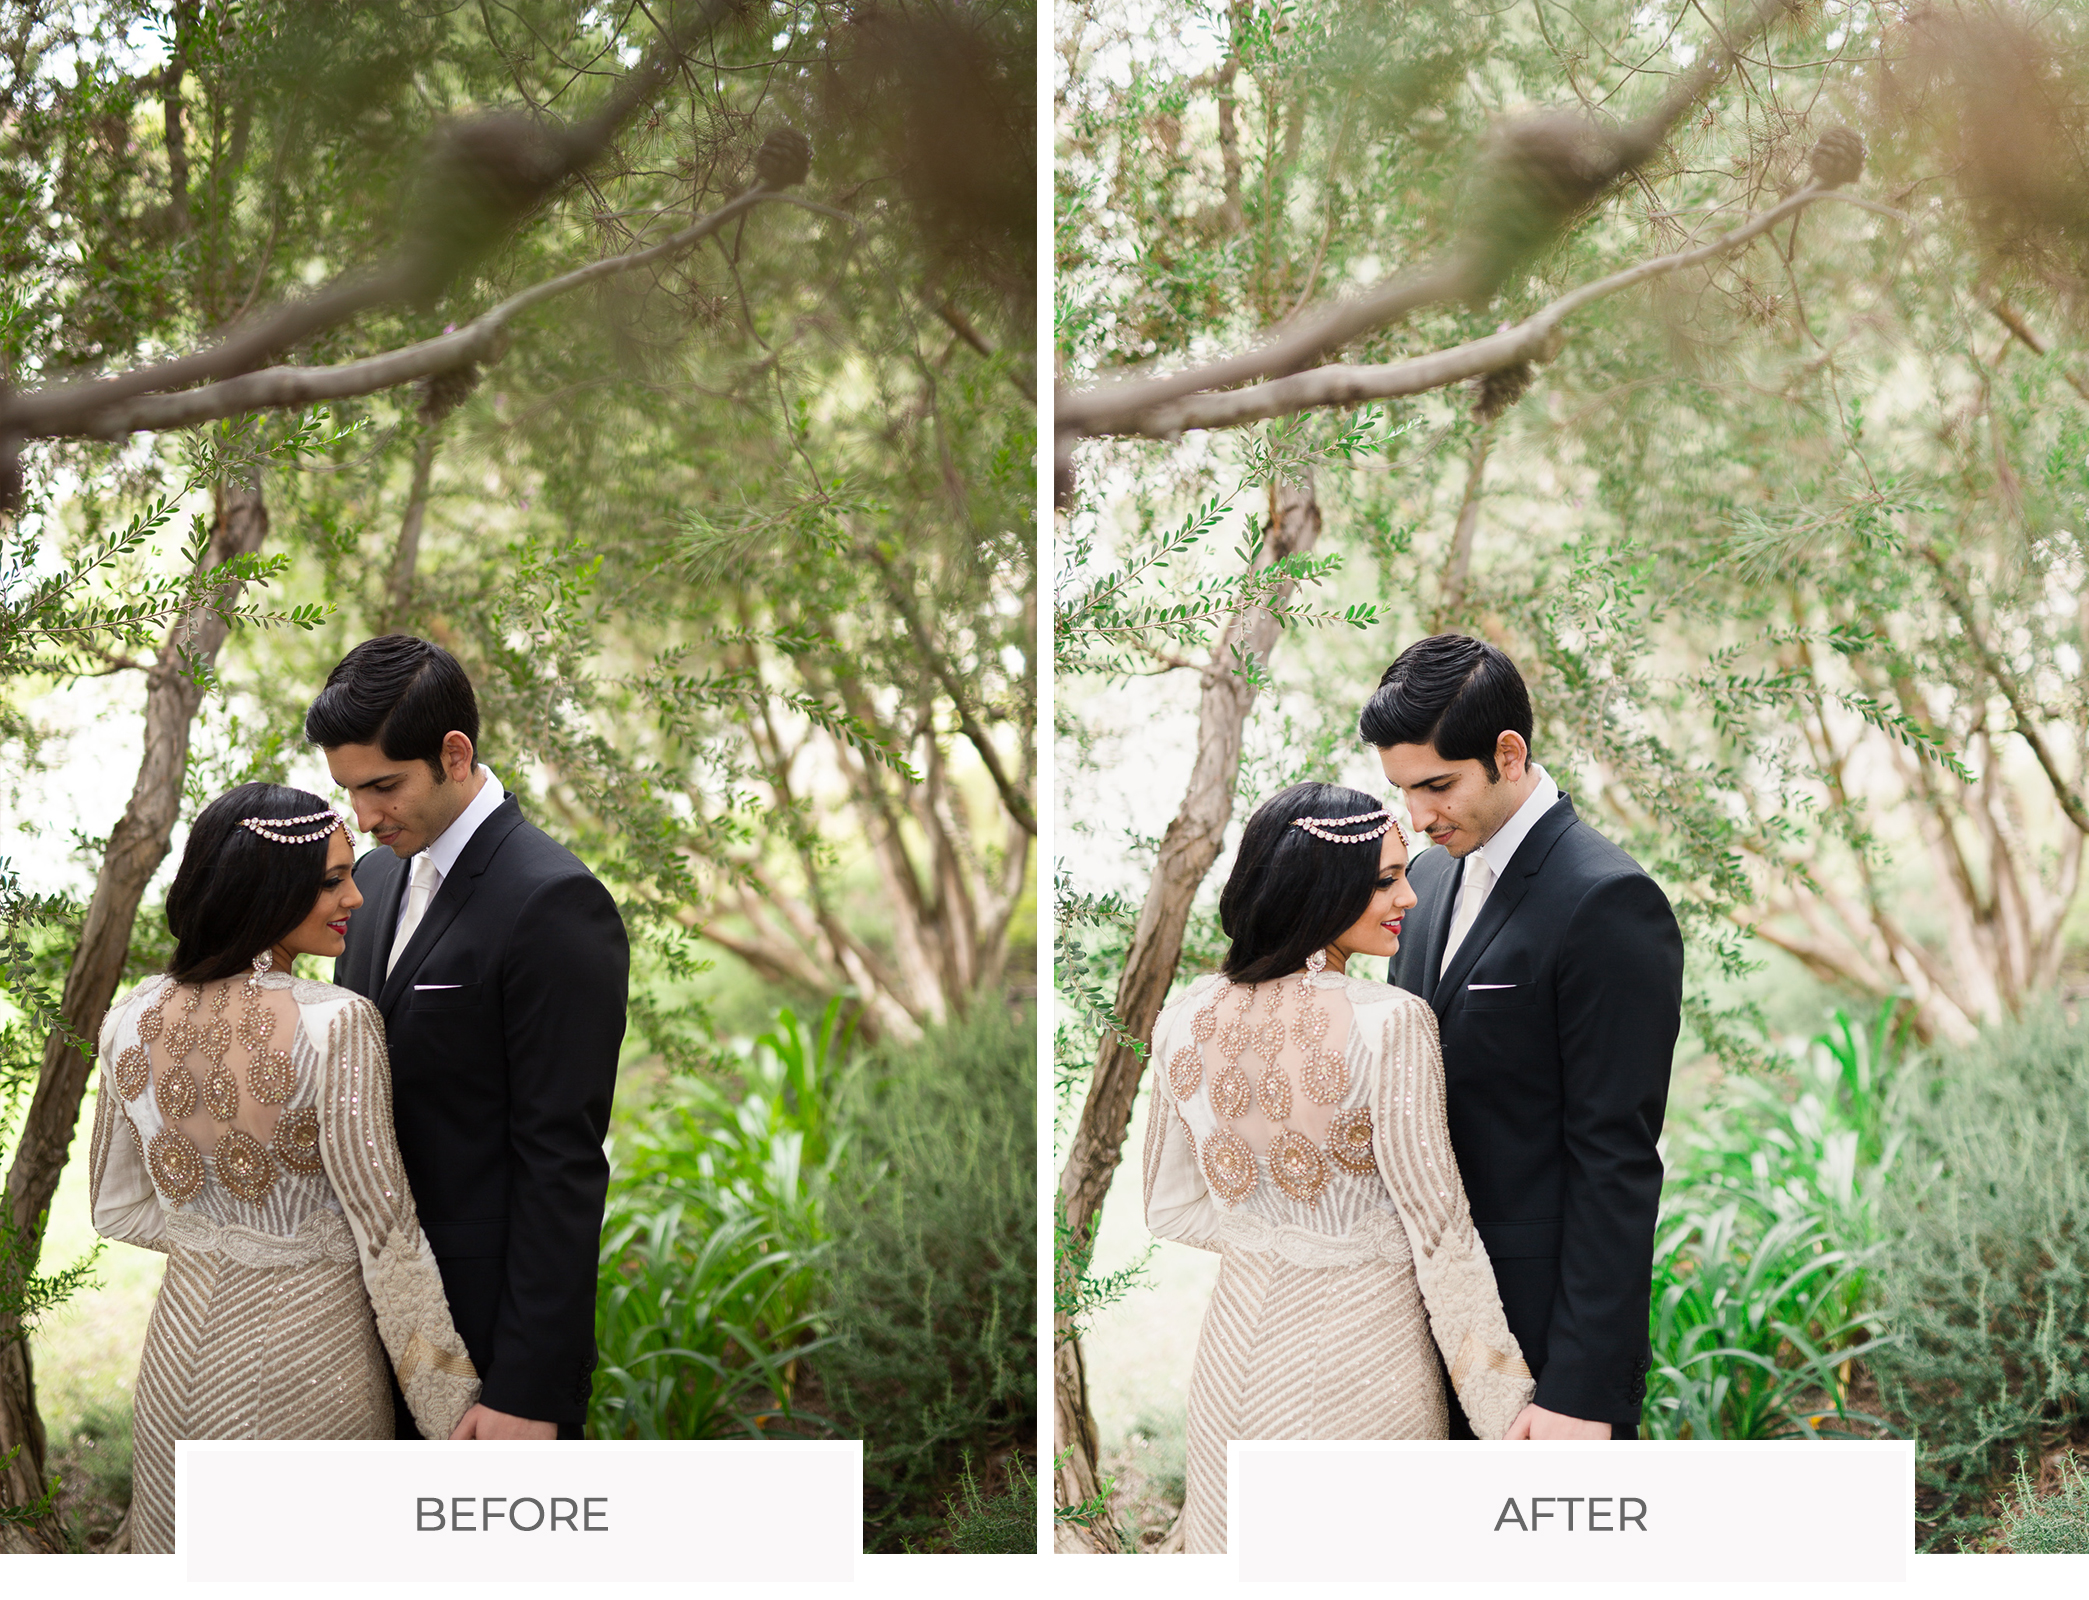
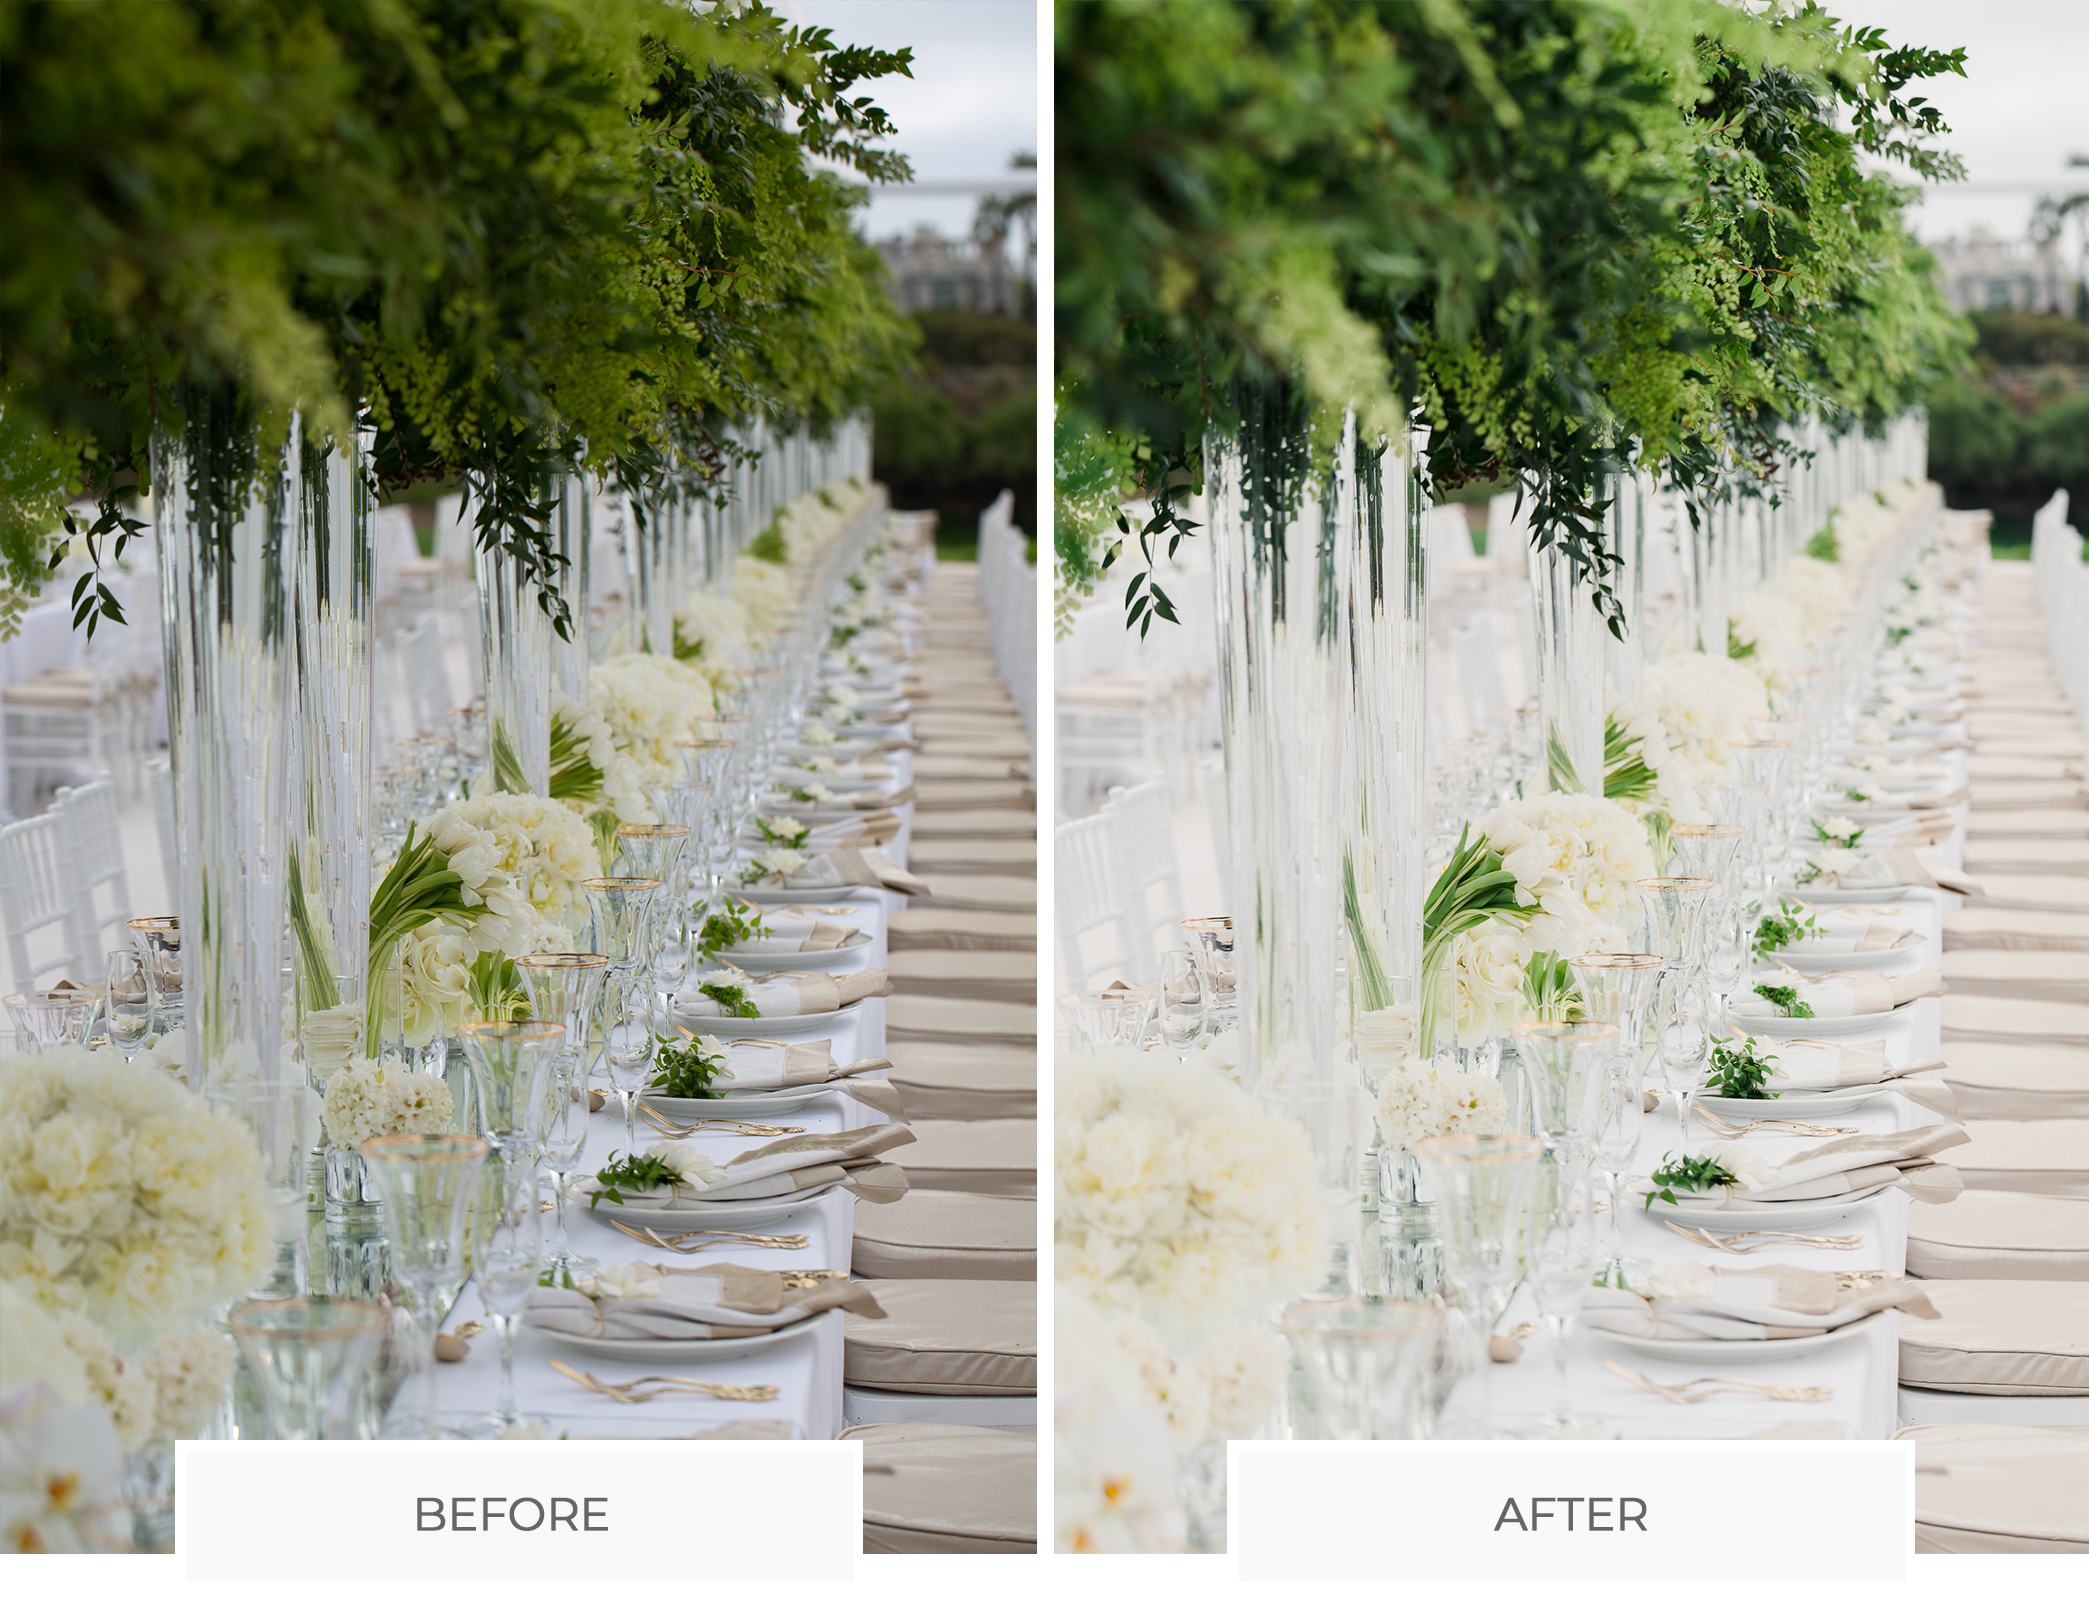
Editing our photos is why we’re here in the first place, and it’s a task that Lightroom handles extremely well. While Lightroom isn’t the most lightning-fast application, it’s still capable of running smoothly, handling huge raw files in large catalogs of tens of thousands of photos, and putting your computer’s hardware to good use.
Lightroom Tutorials on YouTube
You can find a number of tutorials for how to edit images in Lightroom on the SLR Lounge YouTube channel. We’ve included links for a handful of videos below:
- Editing in Lightroom Using the Dark Mode Technique
- How to Quickly Fix Mixed Lighting in Lightroom Using HSL
- The Ultimate Guide to HDR Portrait Editing in Lightroom (Create 3 HDR Presets)
- How to Edit Faster in Lightroom | 6 RAW Processing Tips
- How to Fix Bad Exposures in Lightroom
- How to Replace Skies in Seconds: Complete Lightroom to Luminar 4 Editing Tutorial
The channel also features several videos that demonstrate how to get the shot as well as how to edit it. Here are just a couple examples:
- How to Light & Shoot a Dramatic Portrait by Yourself – Full Behind-the-Scenes Tutorial
- 6 Simple Techniques to Create Great Portraits Anywhere with Any Camera
Special Techniques
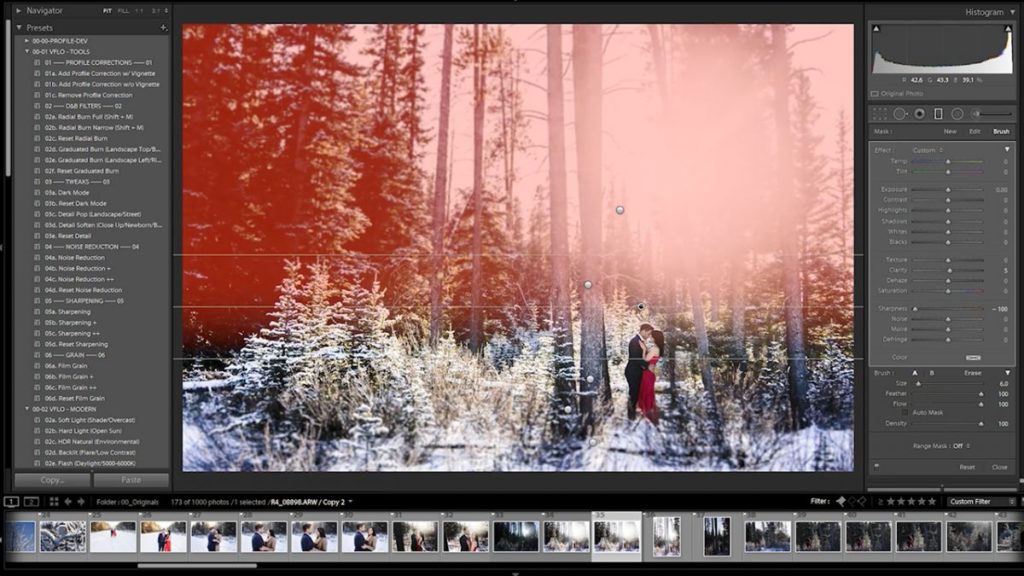
Photoshop holds a reputation as the go-to application for retouching and stylizing photos beyond basic color-correction, but Lightroom’s special editing capabilities should not be underestimated. Check out a few techniques below to get a taste of what Lightroom can do. This list is by no means exhaustive, and we’ll add additional tutorials as they’re published.
- Lightroom Panorama Tutorial
- How to Quickly Create a Convincing Tilt-Shift Effect in Lightroom
- Time-lapse (Coming Soon!)
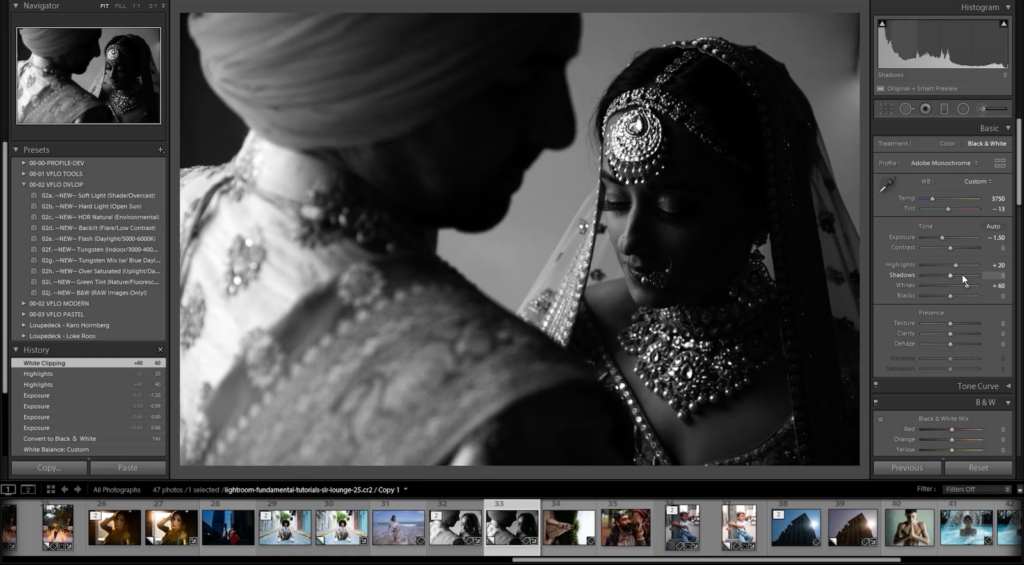
Lightroom is also capable of beautiful black & white conversions, offering both basic tone management for perfect contrast, and advanced functions for tone-mapping that were previously only available in Photoshop. See our full guide about Black & White:
Presets
Before you begin editing every single photo one at a time, and adjusting using every Develop Module slider manually, there is a crucial tool you should consider as a starting point that could help save you tons of time. That is, of course, Lightroom presets.
Basically, whenever you have an adjustment you are going to make all the time, in a very similar manner, then you should either save that as your Adobe default setting, or you should create a preset.
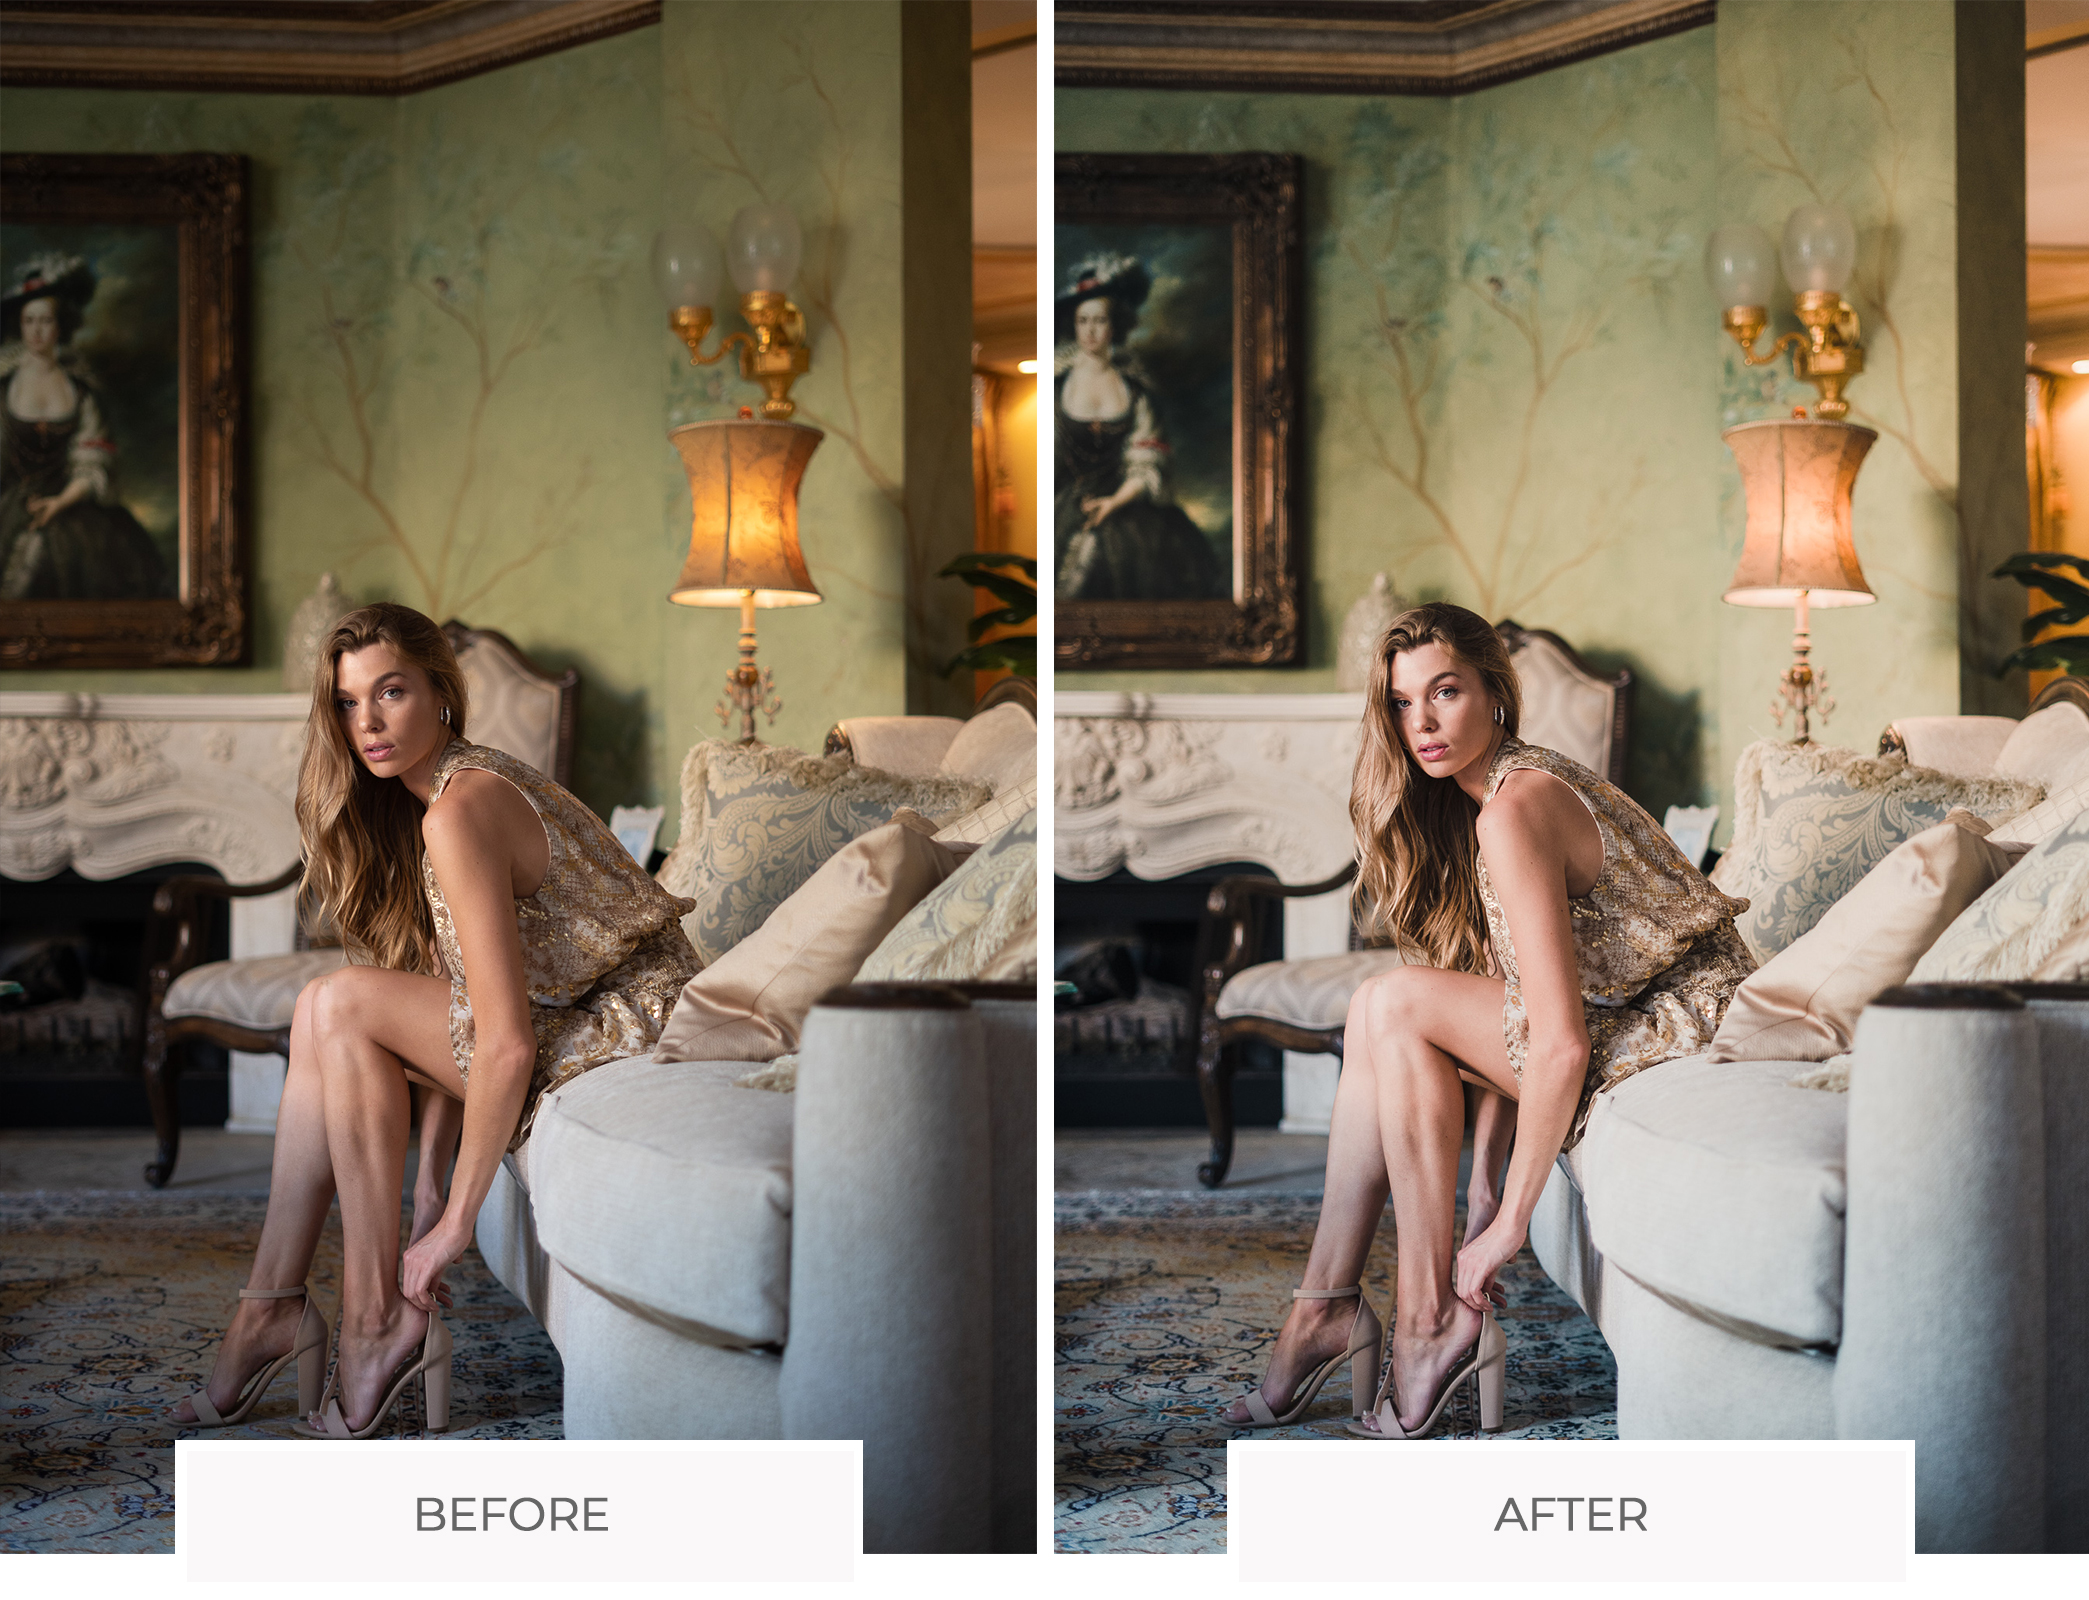
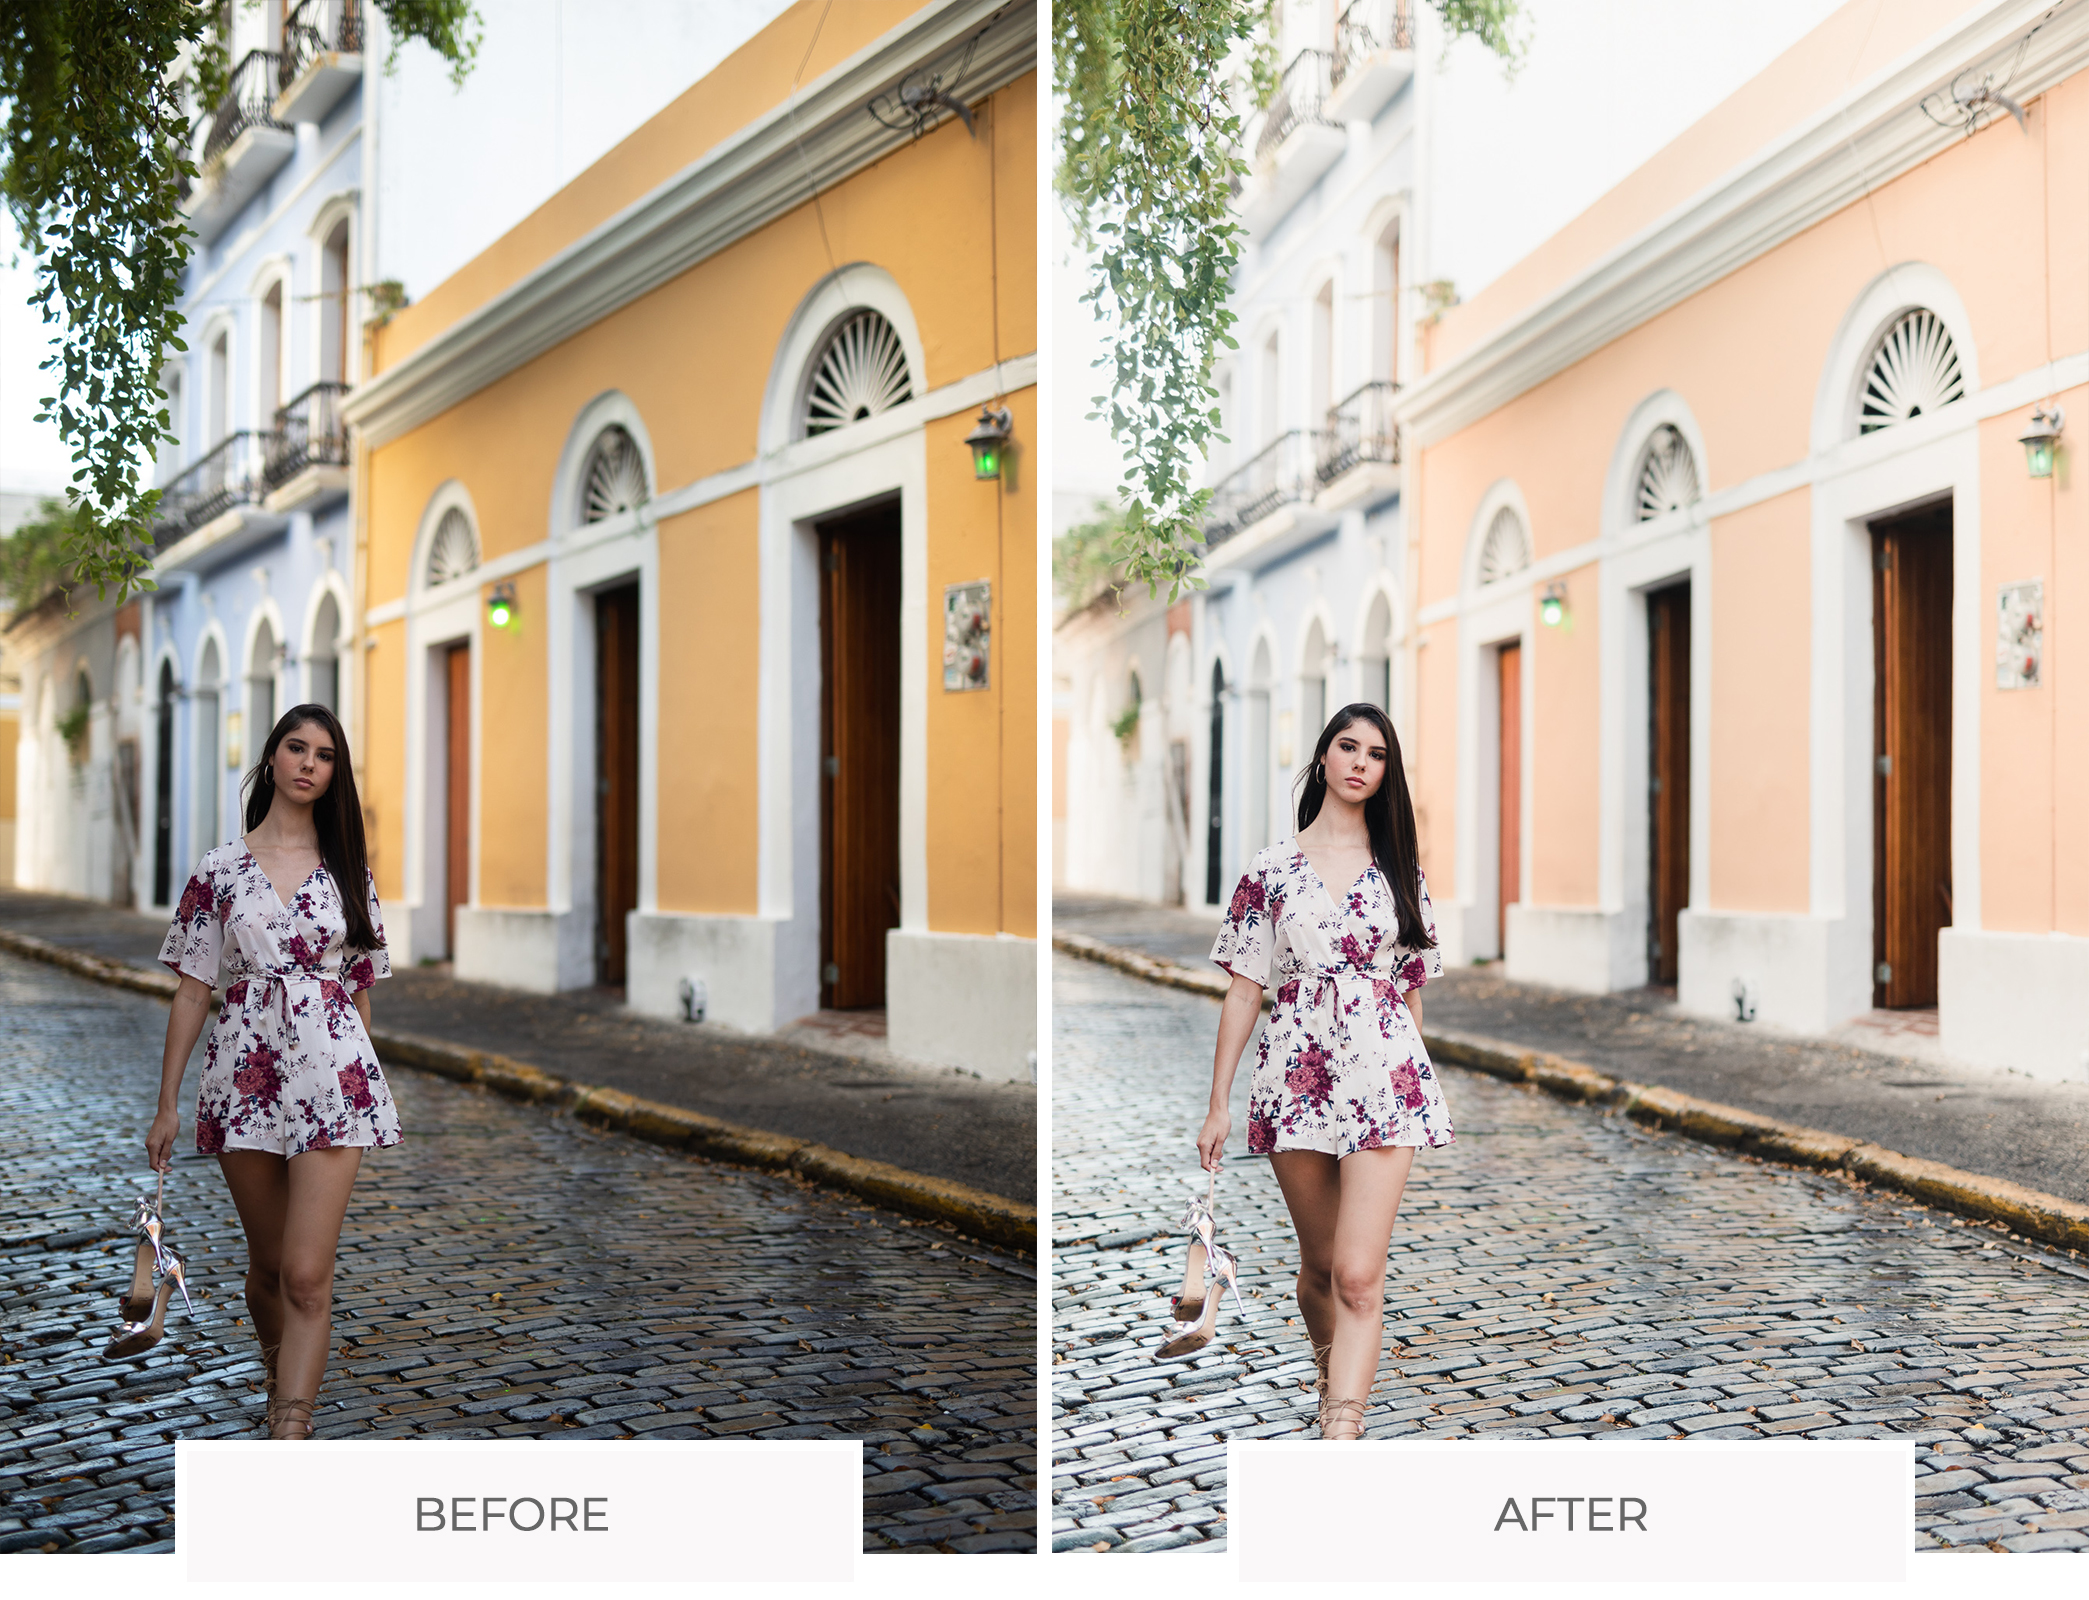
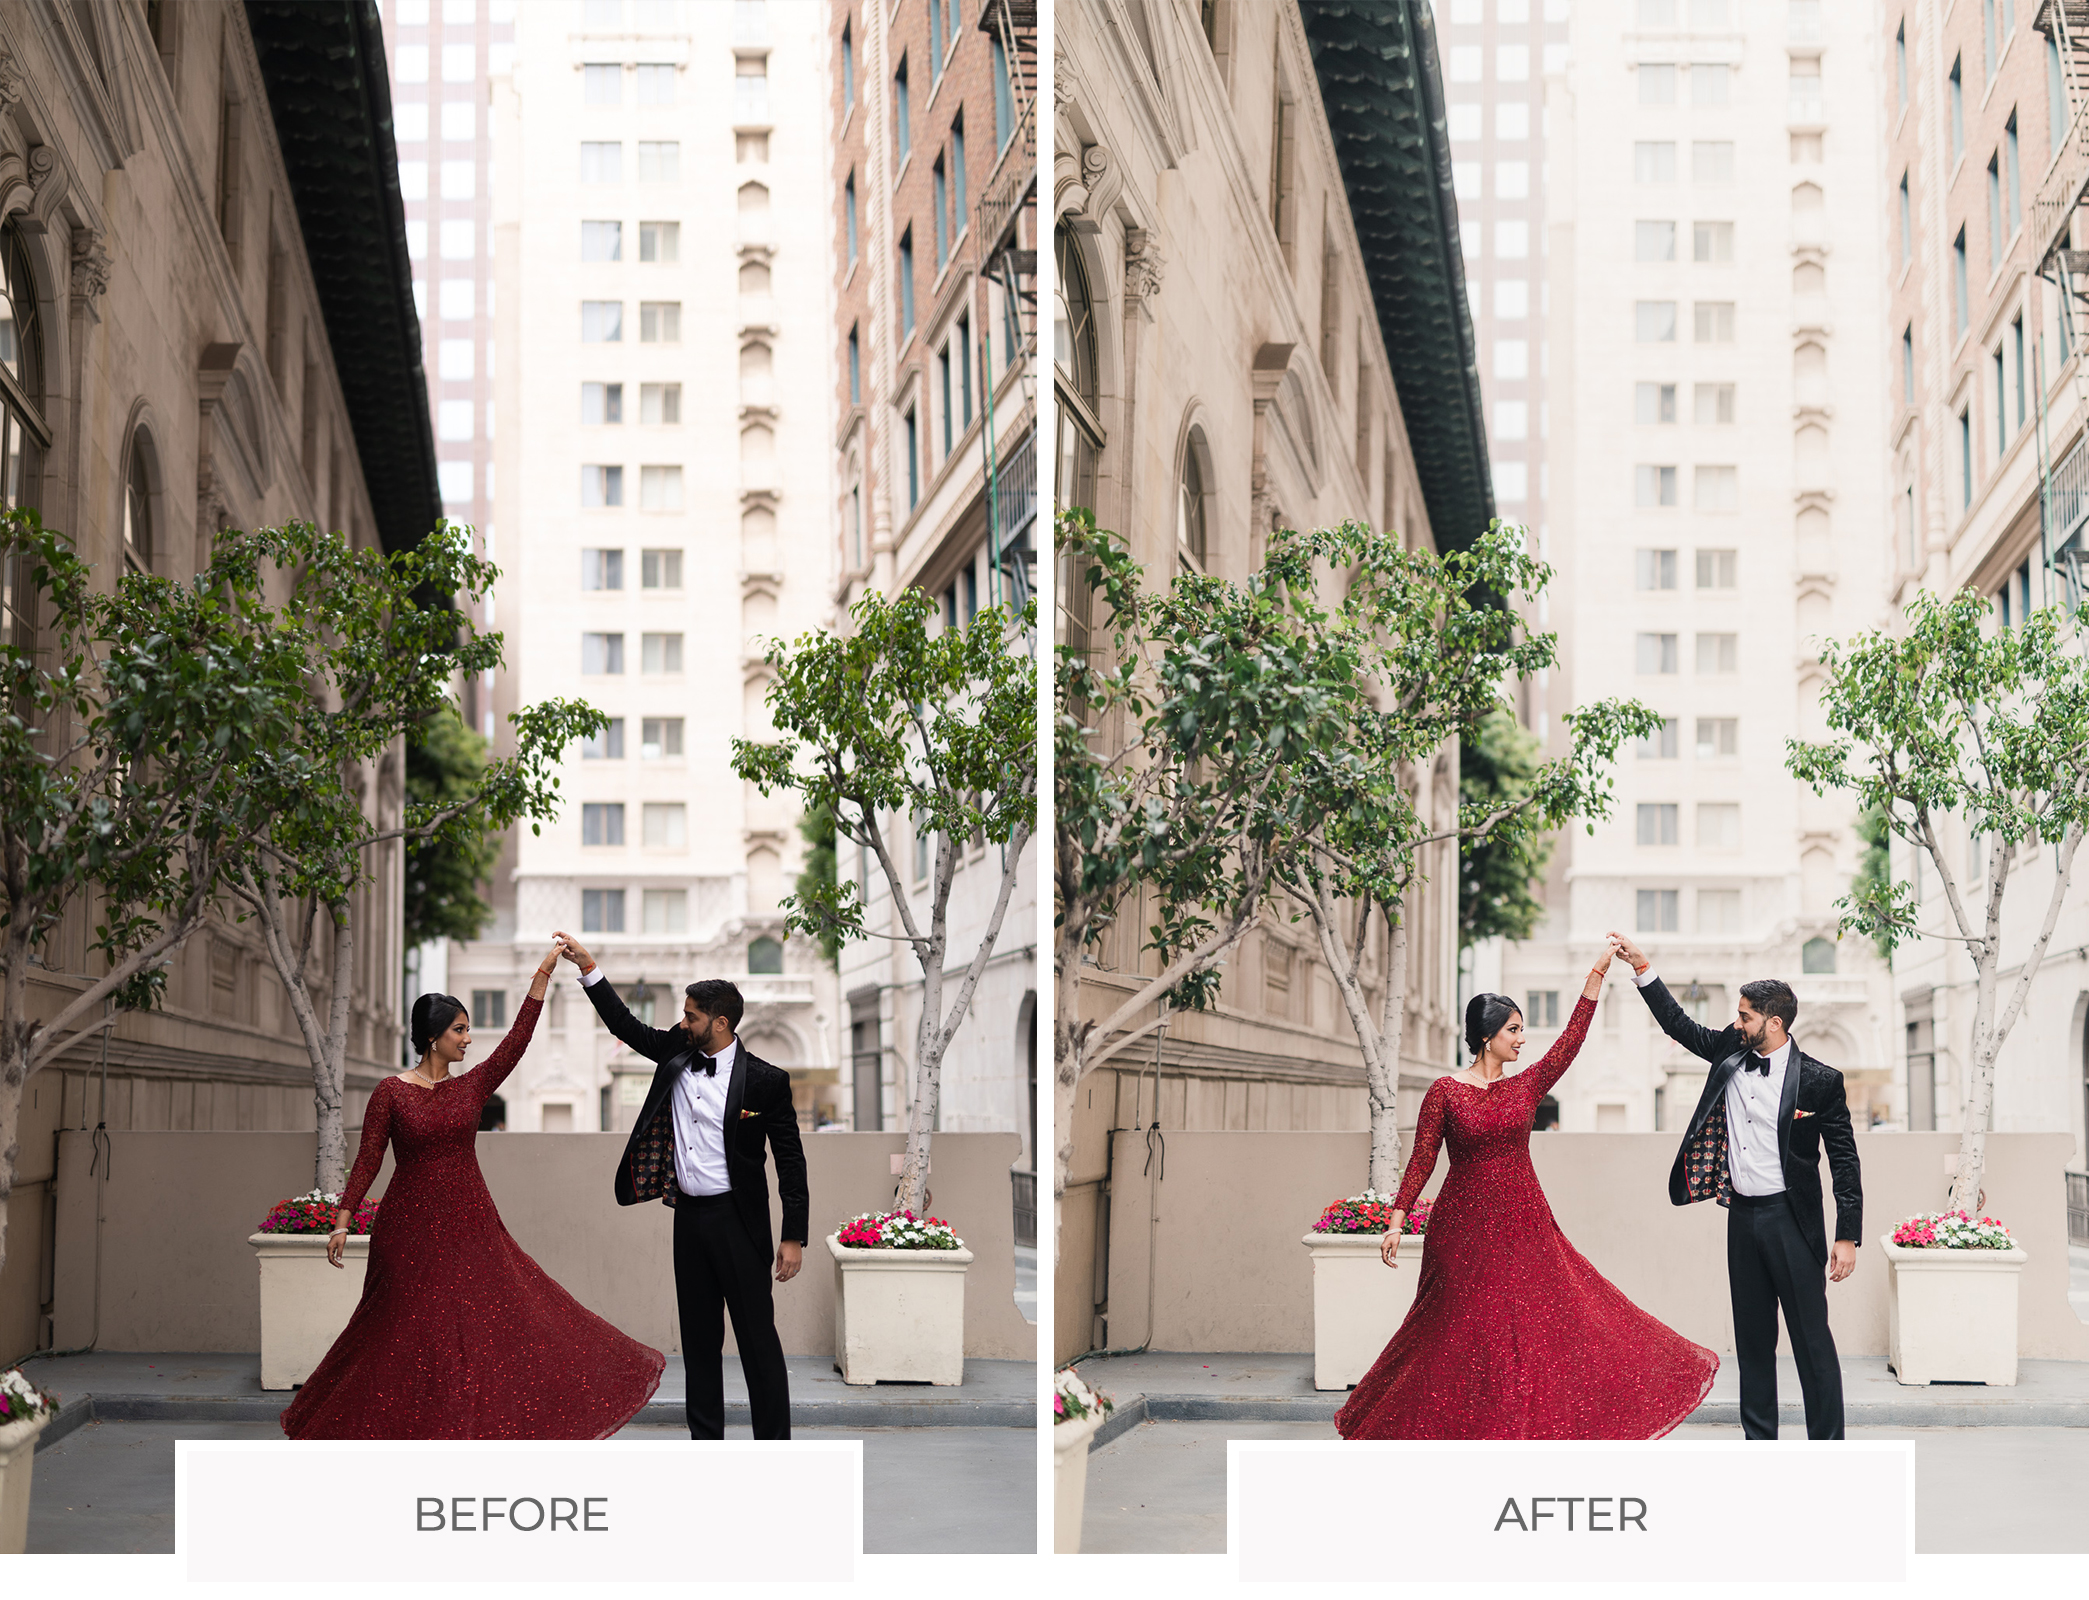
Whether it’s for your most commonly used basic slider adjustments, or the more in-depth things like sharpening, noise reduction, lens corrections, and other custom adjustments, a set of presets can serve as an extremely useful toolkit.
People often dismiss presets as “filters” that only create a particular cliche’d look, but the reality is that presets have dozens of uses. One way or another, creating presets can save you time, whether you’re a portrait/wedding photographer, or a landscape/nightscape photographer.
Some Presets deal more with import and export settings as opposed to editing your photos. We’ll touch more on those in Part Three below.
Batch Editing
Once you’ve started actually editing your photos, you can work efficiently by using Lightroom’s batch editing features. You can edit all your photos at once by using Auto Sync, or you can edit a photo, and then copy & paste your settings to other similar photos using the Copy/Paste or Synchronize.
Correcting Problems
Lightroom’s Develop Module includes a number of powerful tools to help you correct many of the problems you might encounter with the images you’re editing. We’ve listed a few of the most common issues and shared which Lightroom tools you should use to address them below.
- Lens Distortion: Sometimes, lens distortion is a “good” thing (when using a fisheye lens, for example), but most of the time, we try to minimize it. In Lightroom, you can find the Lens Correction tool in the righthand panel of the Develop module. You can use this tool to dial in a profile for your lens, correct lens distortion, and add a vignette, among other things.
- Noise: The Detail panel in the Develop Module houses the tool you need to remove or minimize any unwanted noise (or grain) in the image you’re editing. Simply select and adjust the appropriate “Noise Reduction” sliders (either the Color or Luminance sliders), depending on the type of noise you’re seeing.
- Chromatic Aberration (CA): In the past, you’d have to purchase expensive lenses to cut down the purple (or sometimes green) haze that is chromatic aberration. Luckily, it’s pretty easy to remove in Lightroom either by selecting the “Remove Chromatic Aberration” box under the “Basic” tab of the Lens Correction Panel, or you can select the eyedropper and click on the areas affected by CA.
Part Three: Organization & Workflow
So, you’ve imported and edited some photos, but what do you do when you go out again and capture more images, month after month, year after year? How do you store and edit all of those photos, too?
In the long run, managing all of your files safely and efficiently from import to export requires careful planning. Once you’ve established an efficient workflow, you’ll spend less time handling the files and more time capturing images or running other parts of your business.
General Organization Overview
We’ve put together a mini pathway within in this free guide for using Lightroom to help you get your files in order. It’s especially important to read this over if you’re new to Lightroom. We also have some fixes for those who aren’t necessarily new but who need help straightening out the mess they’ve made of their file storage system.
Lightroom Shortcuts (Hotkeys)
One of the biggest ways you can save time in Lightroom is by avoiding having to find every single tool and option with your mouse. It might not seem very time-consuming to have to click on everything, but just wait until you start using hotkeys! All of a sudden, switching from the Library Module to the Develop Module is as quick as hitting the “D” key, or going back to Grid Mode is as quick as hitting the “G” key!
Understanding the Import Dialog

We spoke briefly of how to import photos above and included information in the General Organization Overview as well, but here are a couple quick links to articles that explain how to use the Import Dialog box as efficiently as possible.
- How to Import Photos into Lightroom Classic CC and Create a Standard Import Preset (2020 Update)
- How to Create an Import Metadata Preset in Lightroom Classic CC (2020 Update)
Understanding the Export Dialogue
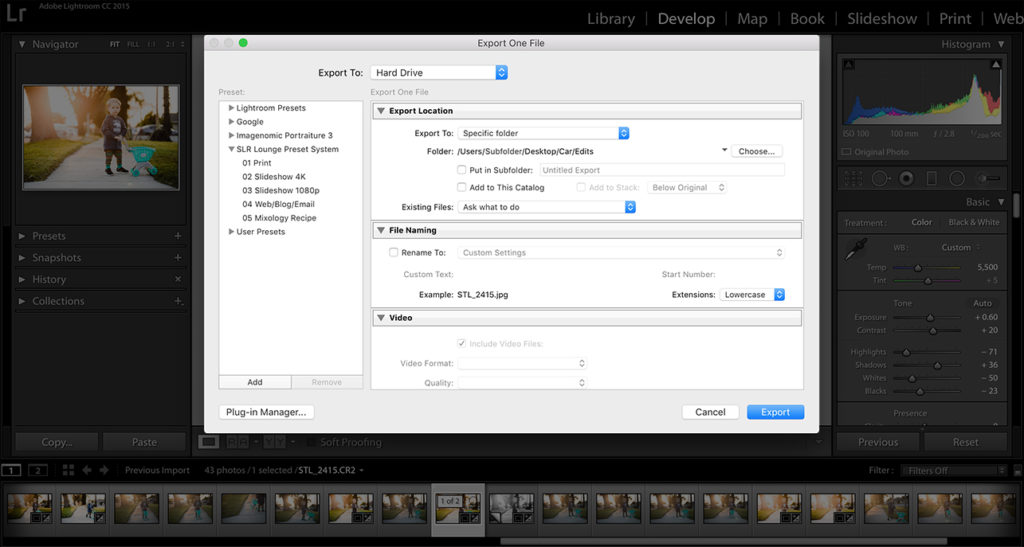
After all your photos have been edited, Lightroom’s helpfulness is still not done making your life easier! There are a few tools that will help you save your raw or other files to JPG (or TIF, etc) so that you can share them online, print them out, or send them to friends/family or paying clients.
The first thing to do is to hit CMD/CTRL+SHIFT+E, to open the export dialog box. You can also right-click an image and hit “Export”, then, “Export…” …but the hotkey is super useful to know!
For more in-depth information about how to customize your image exports, check out these articles below:
- The Best Lightroom Export Settings for Instagram and Facebook
- The Best Lightroom Export Settings for Print
- 6 Lightroom Export Hacks that Everyone Should Know
Backing Up Photos

Last but definitely not least, you’ll need a system for backing up your photos. The importance of creating a failsafe backup system cannot be overstated.
It’s crucial that you understand that Lightroom only backs up your catalogs, not your images. You have to manually back up your photos. If you don’t already know the “Three C’s” strategy for backing up images, it’s as simple as this:
- Copy: The first step involves copying your files from your camera to your computer or an external hard drive. This might involve importing your files into Lightroom using the import presets mentioned above.
- Clone: Because most hardware is destined to fail at some point, be sure to create clones of your files. While there are several ways to go about doing this, one way we can suggest is using an app called Carbon Copy Cloner, which lets you completely customize & automate your cloning and it checks for incremental changes on the fly. You might consider running this task while you’re occupied with other work. Copying/cloning terabytes of data can take a pretty long time.
- Cloud Storage: Again, because hardware regularly fails, Cloud Storage is the final and probably most important step of the backup process. So long as you sync your files to your Cloud Storage on a regular basis, all you need to do in the event of an emergency is download the backup from the cloud and start right where you’ve left off.
If you would like more information on this topic, you can read the following article:
Mastering Lightroom Workshop
We hope you’ve enjoyed this free guide to using Lightroom. For a more comprehensive, in-depth overview of how to use Lightroom, check out this workshop from SLR Lounge: Mastering Lightroom | A-Z Tutorials on Lightroom. From learning the interface and catalog structure to mastering Lightroom’s raw processing, this workshop is guaranteed to level up your Lightroom abilities.
